التعاون
فنون
الجمال والعناية
حِرَف
الثقافة والتاريخ
ترفيه
البيئة
الطعام والمشروبات
الهندسة العكسية
العلوم
رياضة
التقنية
الأجهزة القابلة للارتداء
Arthur F. Payne · Public domain (1914)


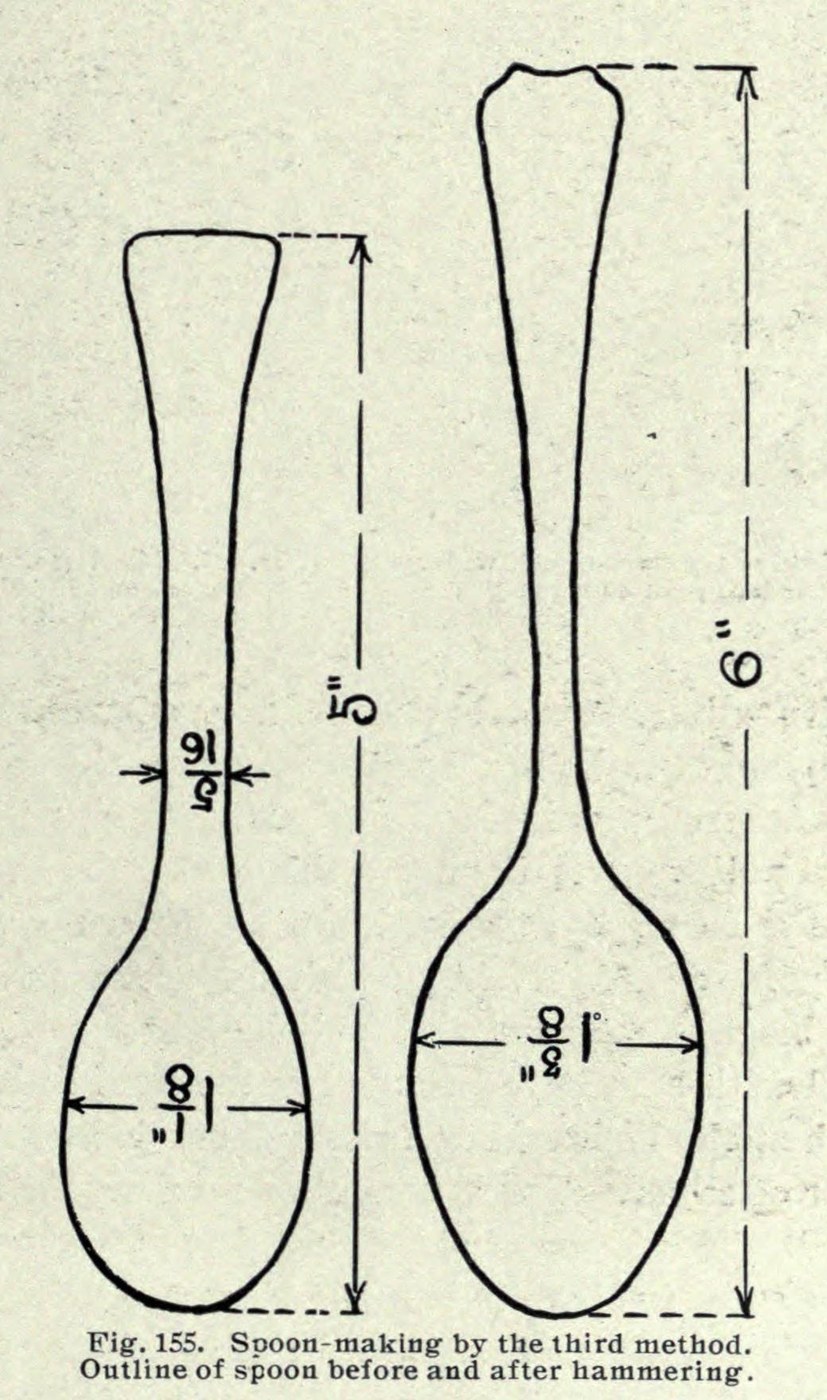
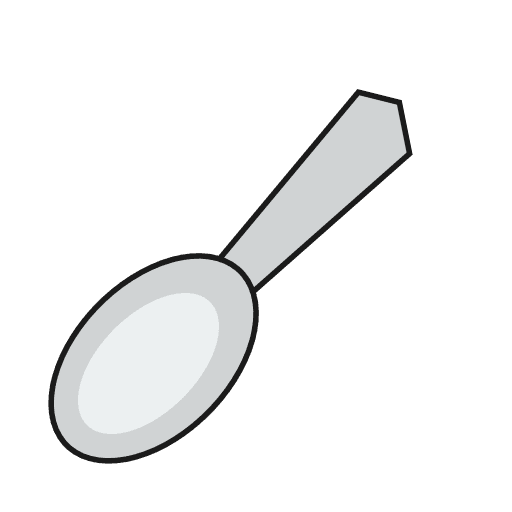
Teaspoon Sawn Short from Silver Sheet, Then Hammered Out (Payne 1914)
Saw the spoon out of flat silver smaller than it will end up: shorter, narrower in the bowl and thicker in the shank. Hammering then stretches it to full size. Arthur Payne said this method was used largely for silver teaspoons.
Source: A. F. Payne, Art Metalwork with Inexpensive Equipment (1914), pp. 180–184; annealing from his chapter XI. The millimetre figure is ours. Picture: Payne's Fig. 155, the blank and the finished spoon.
متوسط
1 day
التعليمات
1
1
Saw out the short blank
Saw out the short blank
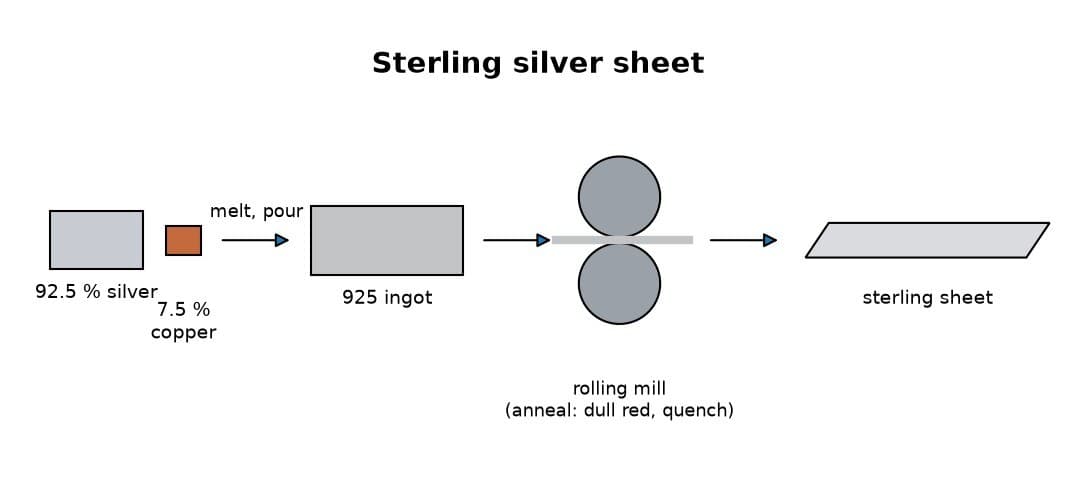
Mark out and saw the blank from 15-gauge sterling silver (about 1.45 mm; our conversion): 5 in long, the bowl 1⅛ in wide and the shank 5⁄16 in wide. The finished spoon will be 6 in long with a bowl 1⅝ in wide.
المواد لهذه الخطوة:
 صفائح فضة إسترلينية1 piece 15 gauge, enough for the 5 in blank
الأدوات المطلوبة:
 مخطاط
 منشار الصائغ
2
2
Stretch the bowl wider
Stretch the bowl wider
Hammer the bowl on a flat anvil with the ball-pein hammer, held at a slight angle towards the side you want it to grow. This makes the bowl thinner and wider.
الأدوات المطلوبة:
 سندان
 مطرقة كروية الرأس
3
3
Narrow the shank with the neck hammer
Narrow the shank with the neck hammer
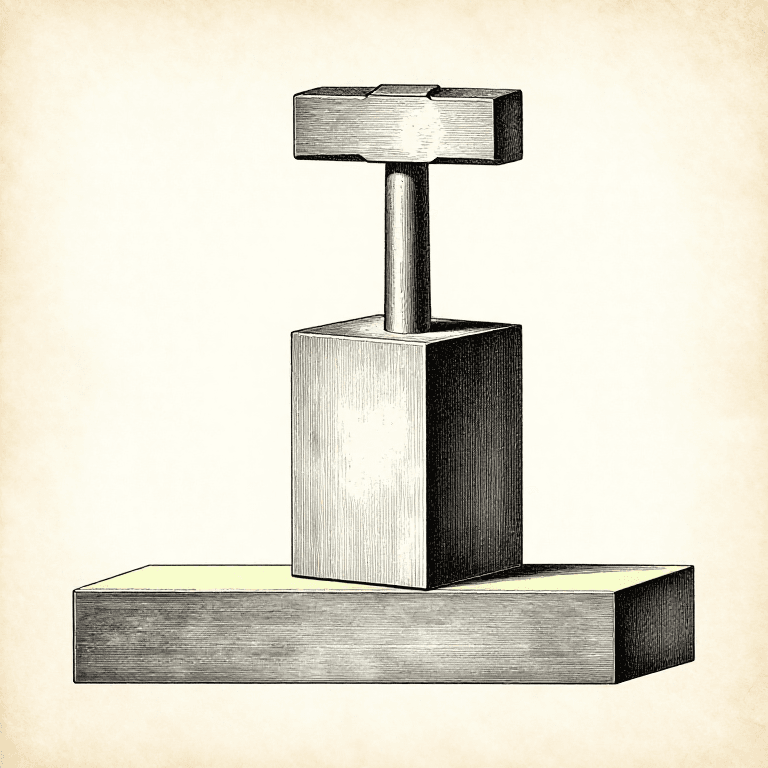
Hold the spoon on edge on a rounded convex stake and hammer the shank narrower with the neck hammer. This lengthens the spoon and makes the shank narrower and thicker. Widen the tip of the handle the same way as the bowl.
الأدوات المطلوبة:
 وتد
 مطرقة العنقمطرقة كروية الرأس
4
4
Anneal and repeat
Anneal and repeat
When the silver gets hard, heat it to a dull red and plunge it into water, or let it cool. Repeat the hammering and annealing until the spoon is roughly to shape.
المواد لهذه الخطوة:
 ماء1 as required
الأدوات المطلوبة:
 موقد بنزن
 ملقط
 وعاء زجاجي
5
5
File and planish
File and planish
File the rough edges smooth, then planish the whole spoon carefully.
الأدوات المطلوبة:
 مبارد (مبرد يدوي)
 مطرقة التسويةوتد
6
6
Polish out the file marks
Polish out the file marks
Rub out all the scratches and file marks with emery cloth.
الأدوات المطلوبة:
 قماش السنباذج
7
7
Anneal to even the fire scale
Anneal to even the fire scale
Anneal the spoon thoroughly once more. Heated silver grows a thin white skin, the fire scale, and this brings it back over the spots where filing and polishing took it off, so the colour is even.
المواد لهذه الخطوة:
ماء1 as requiredالأدوات المطلوبة:
موقد بنزنملقطوعاء زجاجي8
8
Planish with smooth hammers
Planish with smooth hammers
Planish the spoon on smooth tools with smooth, bright hammers. This makes it stiff again after the annealing.
الأدوات المطلوبة:
مطرقة التسويةسندانوتد9
9
Final polish with rouge
Final polish with rouge
Polish it lightly with a soft cotton flannel and a little red rouge.
الأدوات المطلوبة:
 خرقة تلميع المجوهرات
 أحمر الصائغ
المواد
2- 1 piece 15 gauge, enough for the 5 in blankعنصر نائب
- 2 as requiredعنصر نائب
الأدوات المطلوبة
14- عنصر نائب
- عنصر نائب
- عنصر نائب
- عنصر نائب
- عنصر نائب
- عنصر نائب
- عنصر نائب
- عنصر نائب
- عنصر نائب
- عنصر نائب
- عنصر نائب
- عنصر نائب
- عنصر نائب
- عنصر نائب
هذا المخطط يصنع
المخططات ذات الصلة
هذه المخططات تشارك المعرفة مع هذا — التقنيات والمواد والمبادئ
CC0 ملكية عامة
هذا المخطط مُصدر بموجب CC0. يحق لك نسخه وتعديله وتوزيعه واستخدامه لأي غرض، دون طلب إذن.
ادعم الصانع بشراء منتجات عبر مخططه حيث يكسب عمولة الصانع يحددها البائعون، أو أنشئ نسخة جديدة من هذا المخطط وضمّنه كرابط في مخططك لمشاركة الإيرادات.