
ART
BEAUTY & WELLNESS
CRAFT
CULTURE & HISTORY
ENTERTAINMENT
ENVIRONMENT
FOOD & DRINKS
REVERSE ENGINEERING
SCIENCES
SPORTS
TECHNOLOGY
WEARABLES
Air Blow Gun: Press-Button Valve and Conical Air Shield
Martin

Created by

Martin

23. October 2026NO
1
0
0
0
0

Air Blow Gun: Press-Button Valve and Conical Air Shield

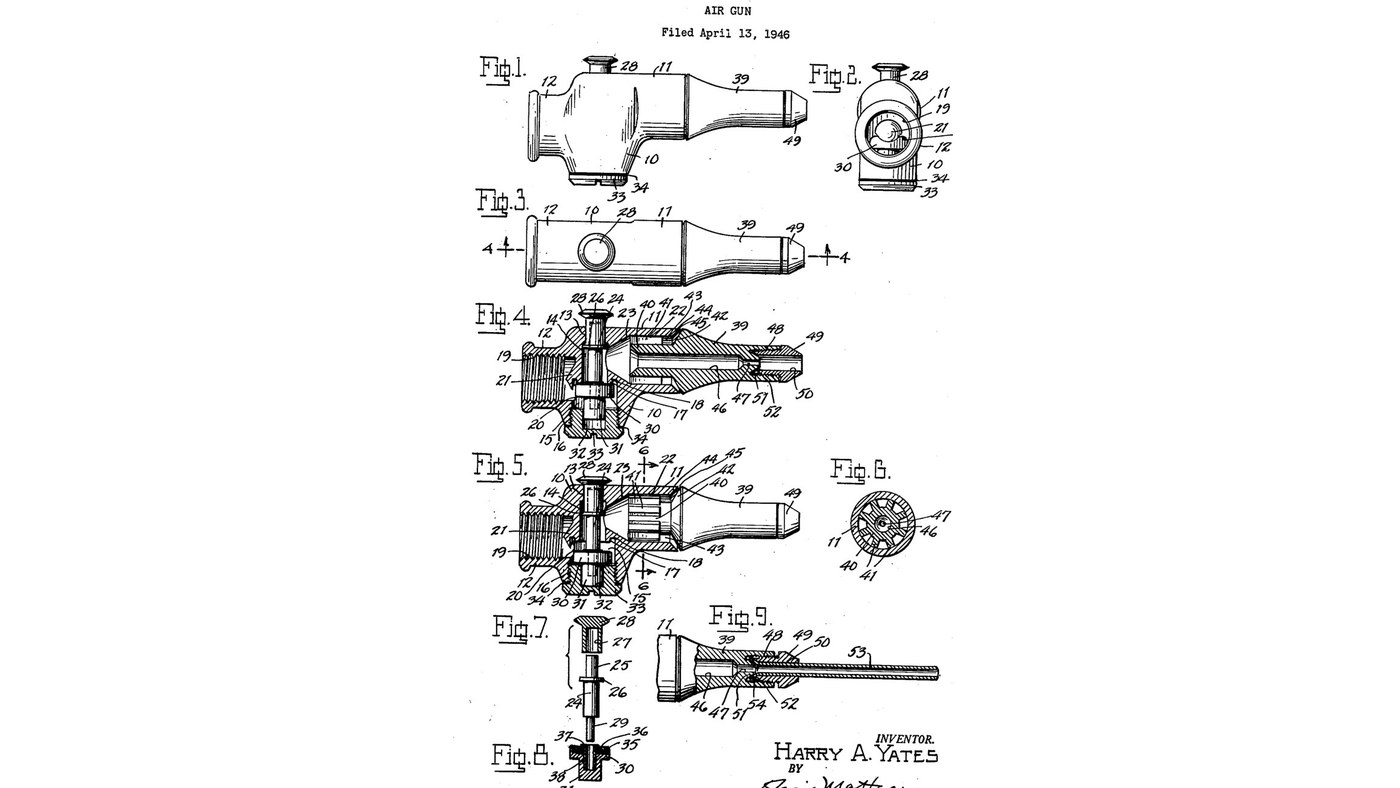
Harry Yates's air gun (US 2,604,361, 1952) for blowing chips off lathes and drills. A press-button valve is held shut by the line pressure itself; pressed, it lets air into a ribbed nozzle that splits it into a central jet and a cone of air from a ring slot, which keeps flying chips away from the worker's eyes. The rubber valve face comes out by unscrewing one cap. The patent gives no materials (except the rubber face), threads or sizes; the machine tools named are ours. The picture: the patent's drawing.
Advanced
1 day

Instructions

1

Bore the body

Bore the body's vertical opening: stem bearing (13), wider air passage (14), wider chamber (15) threaded at the bottom (16), with a valve seat rib (17) undercut round its edge. Ours: lathe and boring bar, tap for the thread.

Materials for this step:

Blow Gun BodyBlow Gun Body1 piece

Tools needed:

Metal LatheMetal Lathe
Boring BarBoring Bar
Tap and Die SetTap and Die Set
2

Bore the hose pocket so it breaks into the chamber

Bore and thread the hose pocket (19) so its edge cuts into the chamber, opening the port (20) and leaving a centre projection (21): an overhang that turns incoming air down into the chamber, away from the seat.

Tools needed:

Metal LatheMetal Lathe
Boring BarBoring Bar
Tap and Die SetTap and Die Set
3

Bore the barrel

Bore the front barrel (11) to a cylindrical pocket (22) joined to the air passage by a tapered passage (23). Bevel the barrel's front end (44).

Tools needed:

Metal LatheMetal Lathe
Boring BarBoring Bar
4

Fit stem and press-button

Pass the valve stem (24) up through the body and press its stud (25) into the socket (27) of the press-button (28). The button slides in the bearing; the stem's flange (26) stops it coming out upward, the button head downward. Ours: arbor press.

Materials for this step:

Valve StemValve Stem1 piece
Valve Press-ButtonValve Press-Button1 piece

Tools needed:
Arbor PressArbor Press
5

Make the valve closure

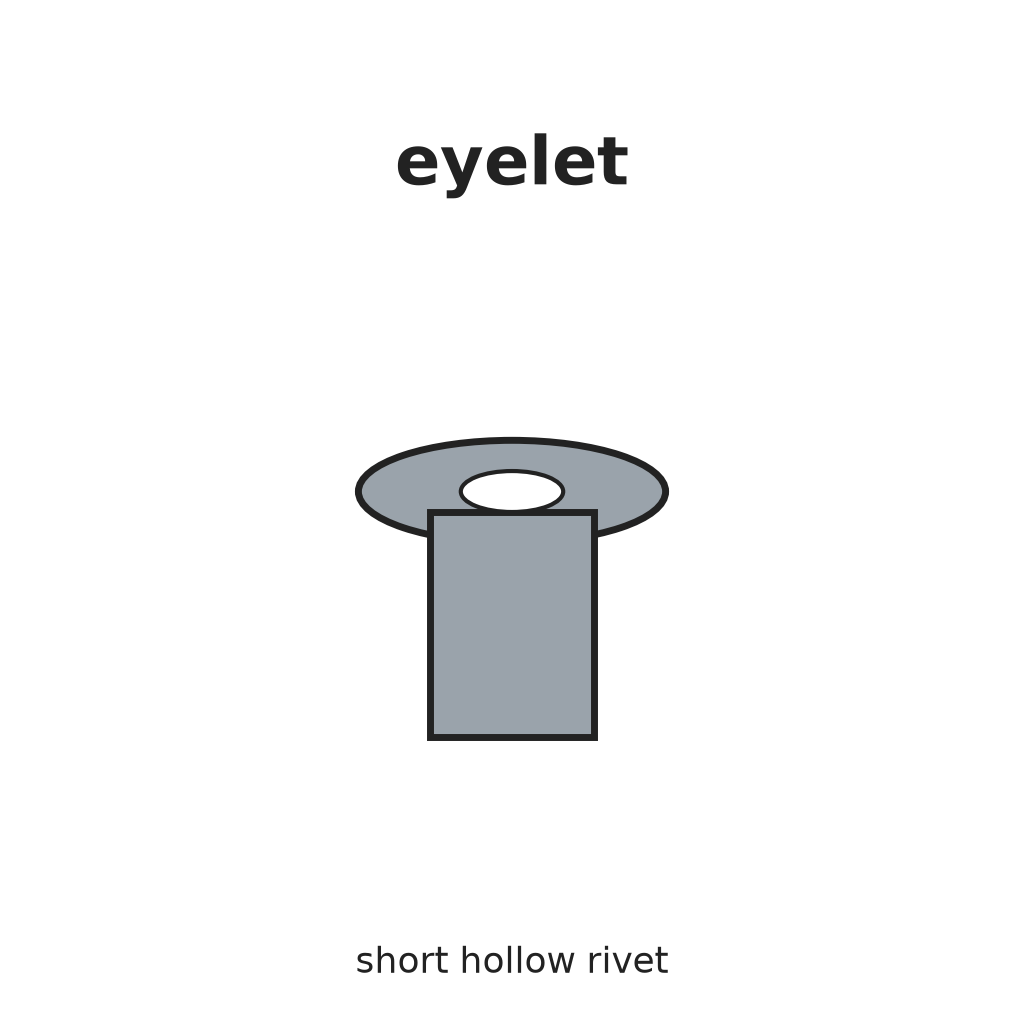
Set the rubber valve face (36) in the recess (35) on top of the closure member (30) and press a flanged tubular eyelet (37) into its centre hole (38) to hold it.

Materials for this step:

Valve ClosureValve Closure1 piece
Rubber Valve FaceRubber Valve Face1 piece
EyeletEyelet1 piece

Tools needed:

Arbor PressArbor Press
6

Close the chamber

Slide the closure's stud (31) into the pocket (32) of the closure cap (33) and screw the cap into the chamber, a gasket (34) under its flange. The stem's pin (29) rests on the closure. Ours: flat screwdriver in the cap's slot.

Materials for this step:

Closure CapClosure Cap1 piece
GasketGasket1 piece

Tools needed:

Screwdriver - FlatScrewdriver - Flat
7

Press in the nozzle

Force the nozzle's ribs (41) into the barrel pocket (22) until its inner end stops on the tapered passage (23). That stop fixes the ring slot (45) between the nozzle's cone shoulder (42) and the barrel bevel (44).

Materials for this step:

Air NozzleAir Nozzle1 piece

Tools needed:

Arbor PressArbor Press
8

Screw on the tip and the hose nipple

Screw the tip (49) into the nozzle's threaded pocket (48); its bore (50) is wider than the jet hole (47) so it does not touch the jet, and it can clamp an extension tube. Screw a hose nipple into the hose pocket (19).

Materials for this step:

Nozzle TipNozzle Tip1 piece
Hose NippleHose Nipple1 piece

Tools needed:

Adjustable WrenchAdjustable Wrench
9

Try the jet and the shield

Ours: connect an air hose from a compressor. The line pressure alone holds the valve shut. Press the button: a central jet leaves the jet hole, and a cone of air from the ring slot surrounds it.

Tools needed:

Air CompressorAir Compressor
Air HoseAir Hose

Materials

11

Tools Required

8

Related Blueprints

These blueprints share knowledge with this one — techniques, materials, or principles that connect them in the learning graph.
CC0 Public Domain

This blueprint is released under CC0. You are free to copy, modify, distribute, and use this work for any purpose, without asking permission.

Support the Maker by purchasing products through their Blueprint where they earn a Maker Commission set by Vendors, or create a new iteration of this Blueprint and include it as a connection in your own Blueprint to share revenue.

Discussion

(0)

Log in to join the discussion

Loading comments...