ART
BEAUTY & WELLNESS
CRAFT
CULTURE & HISTORY
ENTERTAINMENT
ENVIRONMENT
FOOD & DRINKS
REVERSE ENGINEERING
SCIENCES
SPORTS
TECHNOLOGY
WEARABLES
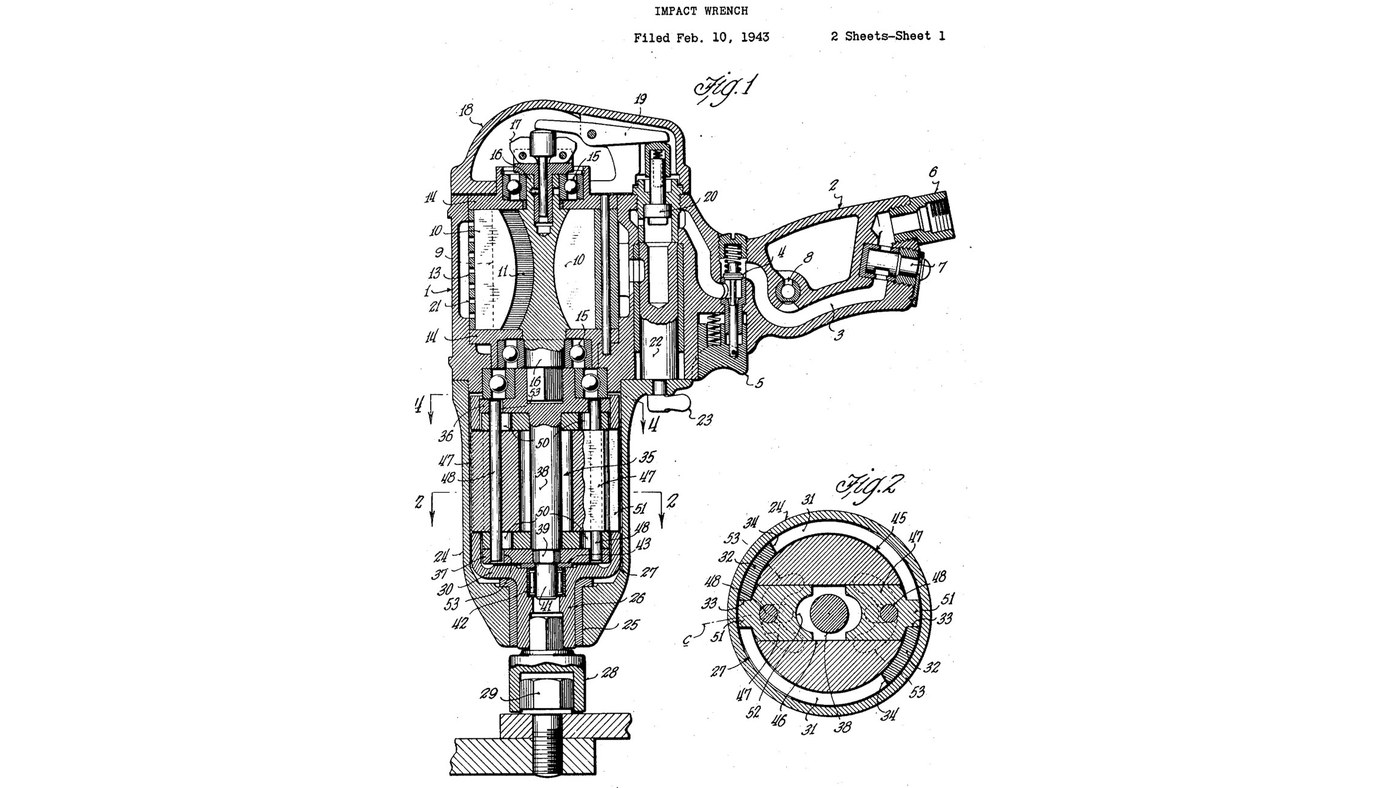


Impact Wrench: Centrifugal-Dog Clutch on a Reversible Air Motor
Louis Fosnot's impact wrench (Independent Pneumatic Tool, US 2,425,793, 1947). A reversible vane air motor turns a carrier that drags a heavy slotted hammer round with it. Centrifugal force throws two sliding dogs out of the hammer to strike the jaws of the anvil, which carries the socket; on each blow the hammer recoils, cam slots pull the dogs back in, and the motor, which never stops, spins the hammer up for the next blow. The blows land at the largest radius, so a small tool hits hard.
The patent gives no sizes or materials beyond a light-metal case, and leaves the motor's ports to the trade; the motor is taken as a bought part. The picture: the patent's sheet 1.
Advanced
2 days
Instructions
1
1
Fit valve, trigger and nipple in the cast case
Fit valve, trigger and nipple in the cast case
Use the motor case and side handle cast in one piece of light metal. Fit the spring-closed throttle valve (4) in the handle's air passage (3), the trigger block (5) to open it, and the hose nipple (6) at the passage's end.
Materials for this step:
 Tool Motor Case1 piece
 Throttle Valve1 piece
 Trigger1 piece
 Hose Nipple1 piece
Tools needed:
 Adjustable Wrench
2
2
Mount the vane motor
Mount the vane motor
Clamp the vane motor's cylinder (13), fixed against turning, between its end plates (14) in the case. The plates carry ball bearings (15) for the rotor's shaft ends (16); the rotor (9) sits off-centre with sliding blades (10) in its slots (11).
Materials for this step:
 Vane Air Motor1 piece
 Ball Bearing2 pieces
Tools needed:
 Arbor Press
3
3
Fit the reversing valve
Fit the reversing valve
Fit the turning reversing valve (22) in the case between the rotor and the throttle valve, with its handle (23) outside: one way the motor screws up right-hand threads, the other way it undoes them.
Materials for this step:
 Reversing Valve1 piece
Tools needed:
Adjustable Wrench4
4
Pin the dogs into the hammer
Pin the dogs into the hammer
Slide one rectangular dog (47) into each end of the hammer's cross-slot (46). Press a pin (48) through the bore (49) of each dog so its ends stick out into the hammer's radial slots (50), letting the dog slide in and out but not fall out. Ours: arbor press.
Materials for this step:
 Impact Hammer1 piece
 Impact Dog2 pieces
 Steel Pin2 pieces
Tools needed:
Arbor Press5
5
Build the carrier round the hammer
Build the carrier round the hammer
Put the hammer on the carrier shaft (38) through its centre openings (54). Fit the lower plate (37) on the shaft's hexagon (39). The pin ends now ride in the curved cam slots (53) of both plates.
Materials for this step:
 Clutch Carrier1 piece
Tools needed:
Arbor Press6
6
Set the carrier in the anvil
Set the carrier in the anvil
Lower the carrier into the anvil cup (27): a thrust plate (43) between the lower plate and the anvil's end wall (30), the shaft's lower end (41) in a roller bearing (42) inside the hollow spindle (26). The dogs face the anvil's jaws (32) through its side openings (31).
Materials for this step:
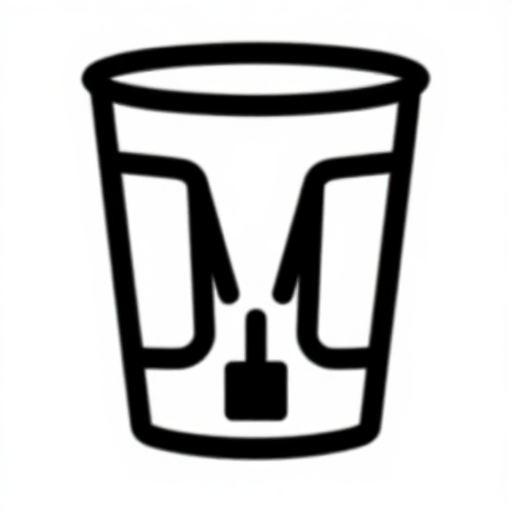 Impact Anvil1 piece
 Thrust Plate1 piece
 Roller Bearing1 piece
Tools needed:
Arbor Press7
7
Couple to the motor and bolt on the housing
Couple to the motor and bolt on the housing
Engage the rotor's shaft end in the upper plate's socket (44). Bolt the clutch housing (24) to the motor case; its bushing (25) carries the anvil spindle. Ours: wrench for the bolts.
Materials for this step:
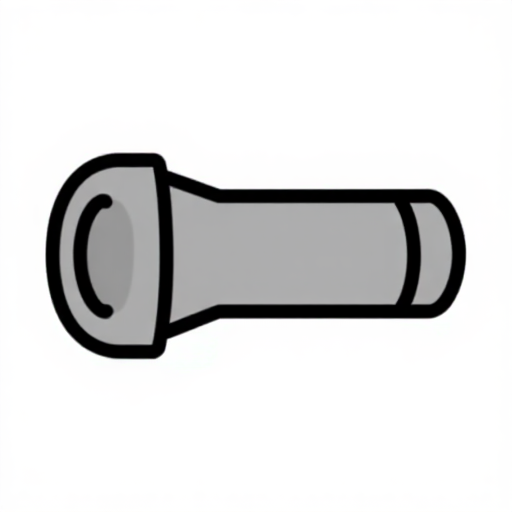 Clutch Housing1 piece
 Metal Bushing1 piece
Tools needed:
Adjustable Wrench8
8
Fit the socket and run it
Fit the socket and run it
Put a socket (28) of the nut's size on the spindle. Ours: connect an air hose from a compressor. Run the nut down; once it is tight the dogs strike the jaws in rapid blows. On each blow the hammer recoils and the cams draw the dogs in until the carrier spins it up again.
Materials for this step:
 Wrench Socket1 piece
Tools needed:
 Air Compressor
 Air Hose
Materials
17- 1 piecePlaceholder
- 1 piecePlaceholder
- 1 piecePlaceholder
- 1 piecePlaceholder
- 1 piecePlaceholder
- Placeholder
- 1 piecePlaceholder
- 1 piecePlaceholder
- 2 piecesPlaceholder
- 2 piecesPlaceholder
- 1 piecePlaceholder
- 1 piecePlaceholder
- 1 piecePlaceholder
- 1 piecePlaceholder
- 1 piecePlaceholder
- 1 piecePlaceholder
- 1 piecePlaceholder
CC0 Public Domain
This blueprint is released under CC0. You are free to copy, modify, distribute, and use this work for any purpose, without asking permission.
Support the Maker by purchasing products through their Blueprint where they earn a Maker Commission set by Vendors, or create a new iteration of this Blueprint and include it as a connection in your own Blueprint to share revenue.