ศิลปะ
ความงามและสุขภาพ
งานฝีมือ
วัฒนธรรมและประวัติศาสตร์
ความบันเทิง
สิ่งแวดล้อม
อาหารและเครื่องดื่ม
วิศวกรรมย้อนรอย
วิทยาศาสตร์
กีฬา
เทคโนโลยี
อุปกรณ์สวมใส่
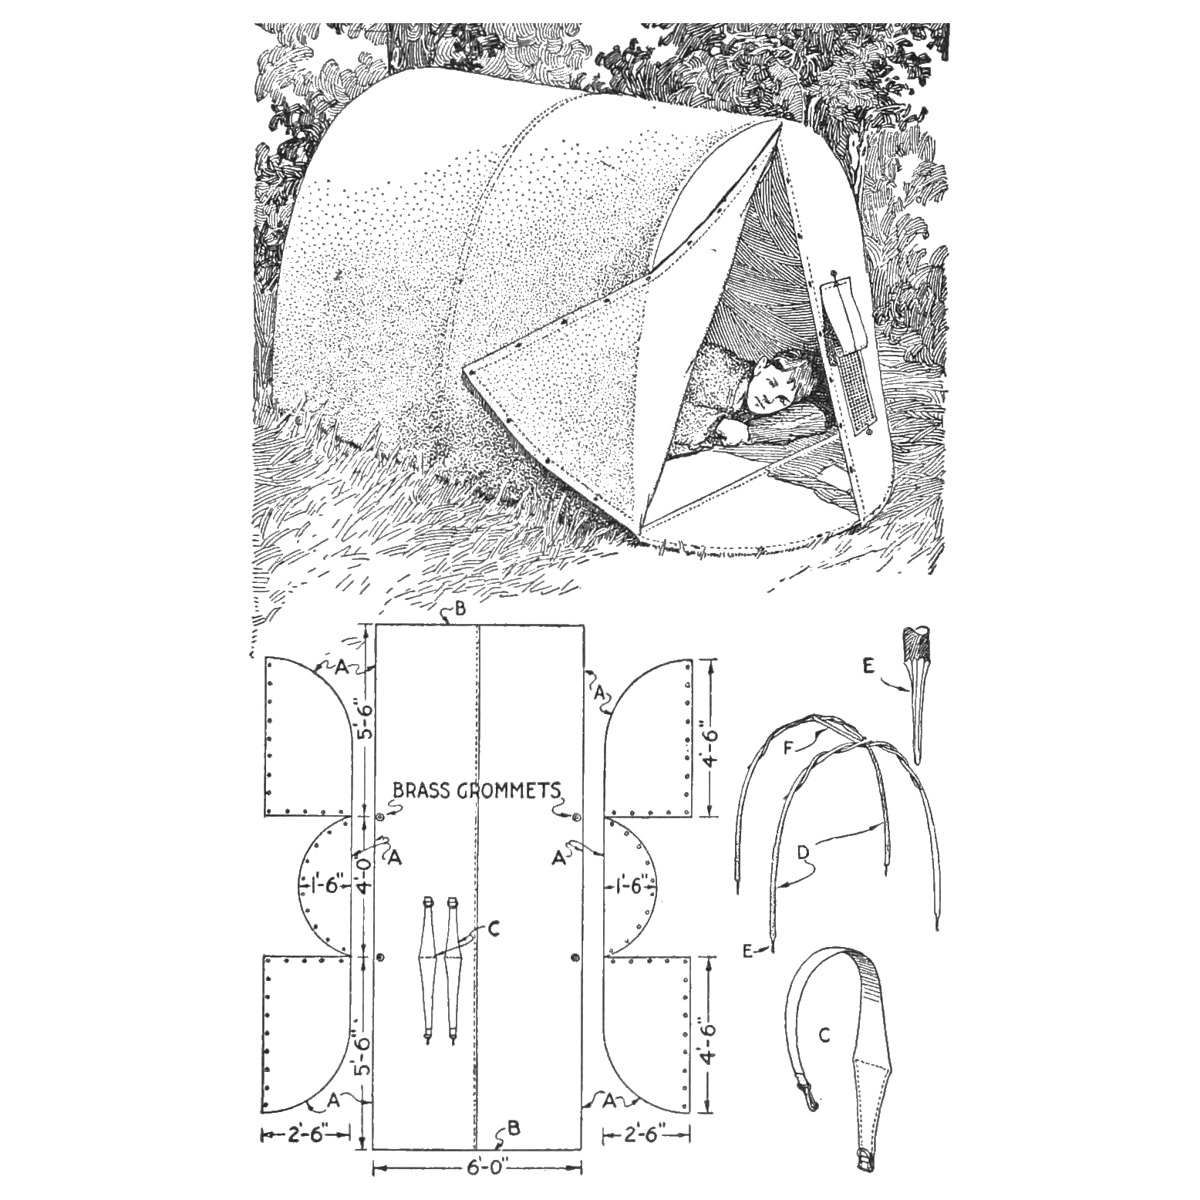


Shoulder-Pack Tent: One-Piece 8-oz Duck Body, Buttoned Ends and Bent-Sapling Frames (Boy Mechanic, 1919)
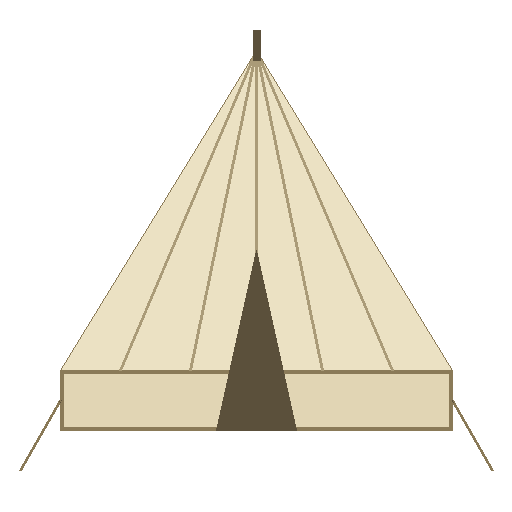
J. D. Boylan's shoulder-pack tent from The Boy Mechanic, Book 3 (1919): ground and roof of 8-oz duck in one piece 6 ft wide, buttoned end pieces, and a frame of pliable branches cut at camp, their pointed ends pushed through grommets into the ground. Rolled up, it is a pack with its own shoulder straps.
ระดับกลาง
About 2 days
คำแนะนำ
1
1
His layout in centimetres
His layout in centimetres
กำลังโหลดสมุด Jupyter…
2
2
Read The Boy Mechanic, Book 3
Read The Boy Mechanic, Book 3
"It is of light weight, easily set up or taken down, and when buttoned closely is practically rain, wind, and bug-proof." Stakes, rope braces and poles are not needed: the supports are cut at camp.
3
3
Cut and sew the main piece
Cut and sew the main piece
Cut the ground section and covering of 8-oz duck in one piece 6 ft wide, joined at the middle as drawn (5 ft 6 in, 4 ft 0 in and 5 ft 6 in along its length). Sew the edges A together, and the edges B, which form the ridge, after the other pieces are joined.
วัสดุสำหรับขั้นตอนนี้:
 ผ้าใบ1 ชิ้น
 ด้ายเย็บผ้า1 ชิ้น
เครื่องมือที่ต้องใช้:
 กรรไกร
 จักรเย็บผ้า
 เข็มเย็บผ้า
 ตลับเมตร
 ดินสอ
4
4
Make the ends
Make the ends
Make each end of three pieces: one for the ground (rounded, 1 ft 6 in) and two, divided vertically, for the end covering (2 ft 6 in by 4 ft 6 in on the drawing). Sew them in and fit snap buttons down the divided end (buttonholes, buckles or harness snaps also do).
วัสดุสำหรับขั้นตอนนี้:
ผ้าใบ1 ชิ้นด้ายเย็บผ้า1 ชิ้น กระดุมแป๊ก12 ชิ้น
เครื่องมือที่ต้องใช้:
กรรไกรจักรเย็บผ้าเข็มเย็บผ้า5
5
Grommets and straps
Grommets and straps
Fit brass grommets where drawn, for the points of the supports. Sew on the shoulder straps C so they are in place when the tent is folded and rolled into a pack.
วัสดุสำหรับขั้นตอนนี้:
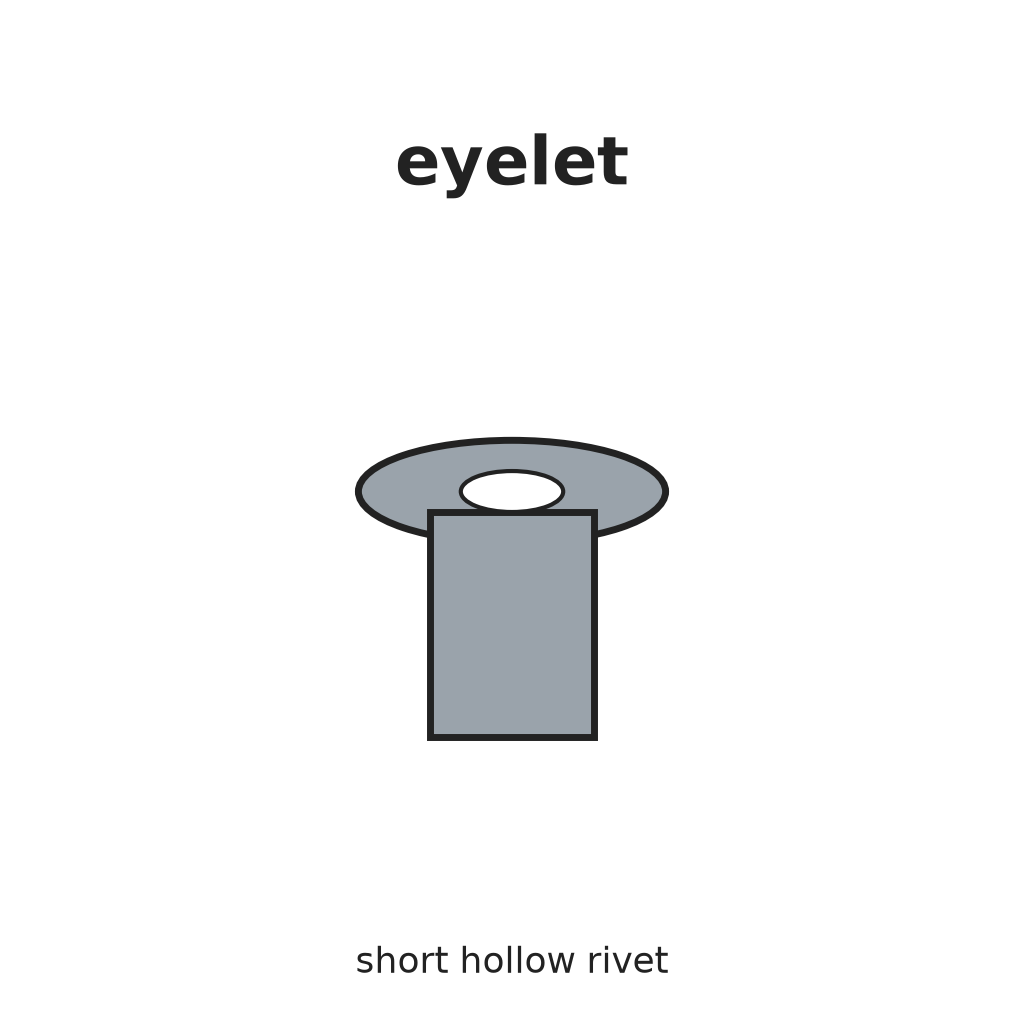 ห่วงหมุดย้ำ8 ชิ้น
 แถบผ้าฝ้ายทอ1 ชิ้นด้ายเย็บผ้า1 ชิ้น
เครื่องมือที่ต้องใช้:
 ค้อนเข็มเย็บผ้า
6
6
Cut the frames and pitch
Cut the frames and pitch
At camp cut pliable branches for the supports D, point their ends E and twist them together at the top; cut a ridge pole F. Lay the canvas flat, put the twisted supports through the grommets, spring them into the ends of the canvas, and spring the ridge pole between the supports.
วัสดุสำหรับขั้นตอนนี้:
 เสาไม้3 ชิ้น
เครื่องมือที่ต้องใช้:
 ขวานกำปั้น
 มีดตัดหนัง
7
7
Troubleshooting
Troubleshooting
Pack tent troubleshooting.
Flow
Loading...
8
8
History and honest limits
History and honest limits
From "Homemade Shoulder-Pack Tent" by J. D. Boylan, in **The Boy Mechanic, Book 3**, Popular Mechanics, 1919 (Project Gutenberg 71856; checked on the archive.org scan boymechanic0003unse, p. 131). Panel sizes are read from his drawing; the number of grommets and snaps is ours. The tools and metric figures are ours.
วัสดุ
6- 2 ชิ้นตัวยึดตำแหน่ง
- 3 ชิ้นตัวยึดตำแหน่ง
- 12 ชิ้นตัวยึดตำแหน่ง
- 8 ชิ้นตัวยึดตำแหน่ง
- 1 ชิ้นตัวยึดตำแหน่ง
- 3 ชิ้นตัวยึดตำแหน่ง
พิมพ์เขียวนี้สร้าง
บลูพริ้นท์ที่เกี่ยวข้อง
บลูพริ้นท์เหล่านี้แบ่งปันความรู้ — เทคนิค วัสดุ หรือหลักการ

CC0 สาธารณสมบัติ
พิมพ์เขียวนี้เผยแพร่ภายใต้ CC0 คุณสามารถคัดลอก แก้ไข แจกจ่าย และใช้งานผลงานนี้เพื่อวัตถุประสงค์ใดก็ได้ โดยไม่ต้องขออนุญาต
สนับสนุนเมกเกอร์โดยซื้อสินค้าผ่านพิมพ์เขียวของพวกเขา ซึ่งพวกเขาจะได้รับ ค่าคอมมิชชันเมกเกอร์ ที่ผู้ขายกำหนด หรือสร้างเวอร์ชันใหม่ของพิมพ์เขียวนี้และรวมเป็นการเชื่อมต่อในพิมพ์เขียวของคุณเพื่อแบ่งรายได้