การทำงานร่วมกัน
ศิลปะ
ความงามและสุขภาพ
งานฝีมือ
วัฒนธรรมและประวัติศาสตร์
ความบันเทิง
สิ่งแวดล้อม
อาหารและเครื่องดื่ม
วิศวกรรมย้อนรอย
วิทยาศาสตร์
กีฬา
เทคโนโลยี
อุปกรณ์สวมใส่
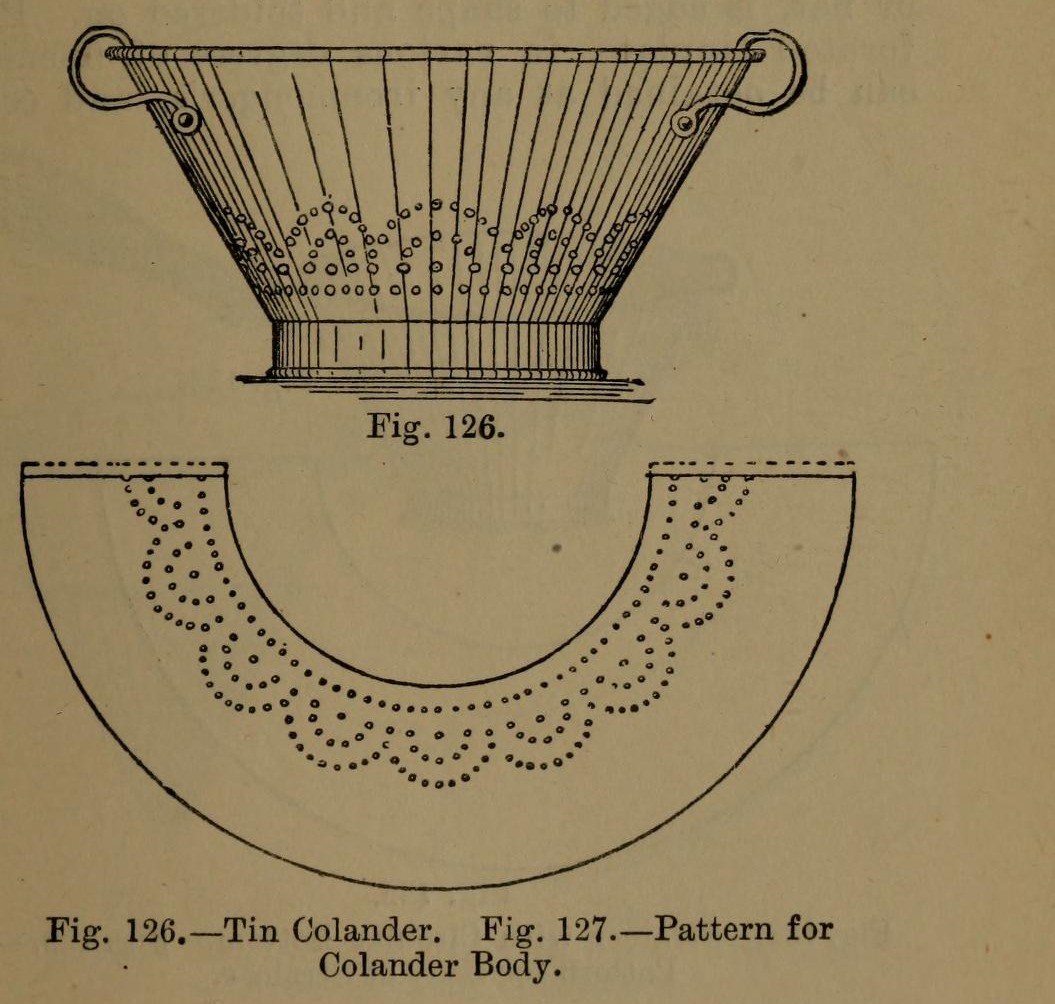


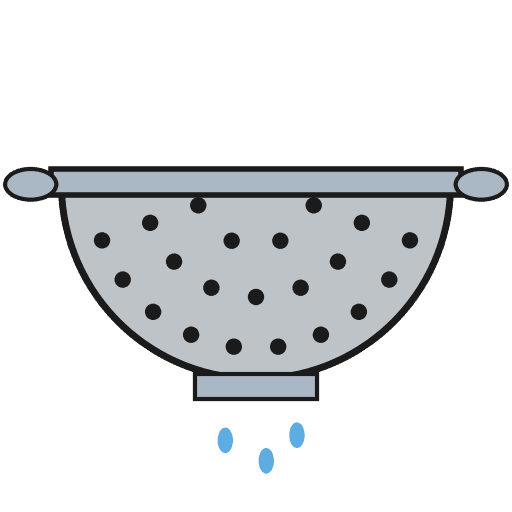
Colander: a Tinplate Colander with Perforated Body and Bottom (Hasluck, 1907)
A tinsmith's colander for straining: a tapered tinplate body and a hollowed bottom, both punched full of holes, standing on a wired hoop, with two bow handles.
The body pattern is a ring segment: outer radius = top diameter, inner radius = bottom diameter, which gives sides at 60 degrees.
Source: Paul N. Hasluck, Tinplate Work (1907), pp. 50-51. Unknown: sizes, solder. Picture: Figs. 126-127 of the book.
ระดับกลาง
Unknown
คำแนะนำ
1
1
Set out the body pattern
Set out the body pattern
Choose the top and bottom diameters. On tinplate, strike an arc with radius equal to the top diameter and, from the same centre, one equal to the bottom diameter (Fig. 127); the sides then slope at 60 degrees. Mark the rows of holes, add edges for a grooved seam and the wire, and cut it out.
วัสดุสำหรับขั้นตอนนี้:
 แผ่นเหล็กชุบดีบุก1 body
เครื่องมือที่ต้องใช้:
 วงเวียนปลายแหลมสองขา
 เหล็กขีด
 กรรไกรตัดแผ่นโลหะ
2
2
Break, punch and planish the body
Break, punch and planish the body
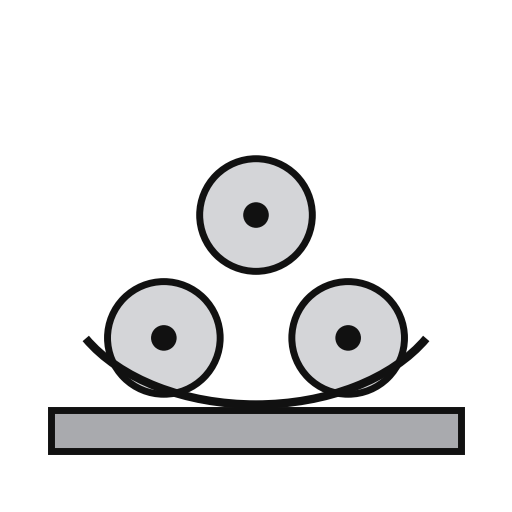
'Break' the pattern through the rollers, turning it the opposite way each pass, so it won't crease when bent. Punch the holes on a hardwood block, then flatten and planish the burrs.
เครื่องมือที่ต้องใช้:
 เครื่องม้วนแผ่นเหล็ก
 เครื่องเจาะรูแผ่นโลหะ
 ท่อนไม้เนื้อแข็ง
 ค้อนเกลาผิว
3
3
Seam and wire the body
Seam and wire the body
Set off the edges for a grooved seam, bend the body to shape and seam it. Solder the seam inside. Set off an edge on the wide end and wire it with No. 10 B.W.G. wire. If you like, raise a swage about 1 1/2 in below the wired edge: it stiffens the colander and looks better.
วัสดุสำหรับขั้นตอนนี้:
 ลวดเหล็กดัด1 No. 10 B.W.G.
 ตะกั่วบัดกรีดีบุก-ตะกั่ว1 seam
เครื่องมือที่ต้องใช้:
 ค้อนไม้
 หลัก
 หัวแร้งไฟฟ้า
 ฟลักซ์
4
4
Make and fit the bottom
Make and fit the bottom
Cut out the bottom, hollow it and edge it to fit the small end. Inside, mark circles from 1 in across at the centre, each 1 in wider than the last, out to the edge. Punch holes at short intervals round them and flatten the burrs on an upturned hollowing hammer. Solder the bottom on.
วัสดุสำหรับขั้นตอนนี้:
แผ่นเหล็กชุบดีบุก1 bottomตะกั่วบัดกรีดีบุก-ตะกั่ว1 bottomเครื่องมือที่ต้องใช้:
วงเวียนปลายแหลมสองขากรรไกรตัดแผ่นโลหะเครื่องเจาะรูแผ่นโลหะค้อนเกลาผิวหัวแร้งไฟฟ้าฟลักซ์5
5
Add the hoop and handles
Add the hoop and handles
Cut a strip 1 1/2 in wide, as long as the circumference of the bottom. Wire it with No. 10 B.W.G., round it, seam it and solder it on as the foot. Rivet a pair of bow handles opposite each other at the top.
วัสดุสำหรับขั้นตอนนี้:
แผ่นเหล็กชุบดีบุก1 hoopลวดเหล็กดัด1 hoopตะกั่วบัดกรีดีบุก-ตะกั่ว1 hoop ด้าม2 bow handles
 หมุดย้ำเหล็ก1 number not given
เครื่องมือที่ต้องใช้:
กรรไกรตัดแผ่นโลหะหัวแร้งไฟฟ้าฟลักซ์ ค้อนย้ำหมุด
6
6
Clean and scald
Clean and scald
Clean with turpentine and whiting, then polish with dry whiting. Before first use, steep it a short time in boiling water, as for any metal article for the kitchen.
เครื่องมือที่ต้องใช้:
 น้ำมันสน
 แคลเซียมคาร์บอเนต (ผงชอล์ก)
 น้ำ
วัสดุ
5- 1 hoopตัวยึดตำแหน่ง
- 1 hoopตัวยึดตำแหน่ง
- 1 hoopตัวยึดตำแหน่ง
- 2 bow handlesตัวยึดตำแหน่ง
- 1 number not givenตัวยึดตำแหน่ง
เครื่องมือที่จำเป็น
15- ตัวยึดตำแหน่ง
- ตัวยึดตำแหน่ง
- ตัวยึดตำแหน่ง
- ตัวยึดตำแหน่ง
- ตัวยึดตำแหน่ง
- ตัวยึดตำแหน่ง
- ตัวยึดตำแหน่ง
- ตัวยึดตำแหน่ง
- ตัวยึดตำแหน่ง
- ตัวยึดตำแหน่ง
- ตัวยึดตำแหน่ง
- ตัวยึดตำแหน่ง
- ตัวยึดตำแหน่ง
- ตัวยึดตำแหน่ง
- ตัวยึดตำแหน่ง
วัสดุจากพิมพ์เขียวที่เชื่อมต่อ


พิมพ์เขียวนี้สร้าง
CC0 สาธารณสมบัติ
พิมพ์เขียวนี้เผยแพร่ภายใต้ CC0 คุณสามารถคัดลอก แก้ไข แจกจ่าย และใช้งานผลงานนี้เพื่อวัตถุประสงค์ใดก็ได้ โดยไม่ต้องขออนุญาต
สนับสนุนเมกเกอร์โดยซื้อสินค้าผ่านพิมพ์เขียวของพวกเขา ซึ่งพวกเขาจะได้รับ ค่าคอมมิชชันเมกเกอร์ ที่ผู้ขายกำหนด หรือสร้างเวอร์ชันใหม่ของพิมพ์เขียวนี้และรวมเป็นการเชื่อมต่อในพิมพ์เขียวของคุณเพื่อแบ่งรายได้