ศิลปะ
ความงามและสุขภาพ
งานฝีมือ
วัฒนธรรมและประวัติศาสตร์
ความบันเทิง
สิ่งแวดล้อม
อาหารและเครื่องดื่ม
วิศวกรรมย้อนรอย
วิทยาศาสตร์
กีฬา
เทคโนโลยี
อุปกรณ์สวมใส่



Distortion and Sequence: The Weld Pulls, So Decide Where It Pulls To
Every weld shrinks as it cools, and it drags the parts with it. A frame that was square when it was tacked comes out of the jig as a parallelogram; two plates butted flat come out as a shallow roof; a long seam in sheet makes the sheet ripple.
None of that is a beginner's fault. Steel expands about twelve micrometres per metre per degree, the weld metal is restrained while it is hot, and it therefore ends up shorter than it started.
Since the pull cannot be prevented, the work is to predict it, balance it, and use less heat. This rung puts numbers on all three.
ระดับกลาง
4 hours
คำแนะนำ
1
1
Three shrinkages, in three directions
Three shrinkages, in three directions
**Transverse shrinkage** closes the joint across the seam. Two plates tacked with a 3 mm gap end up with less. It follows the amount of metal deposited, so it is worst in thick multi-pass joints.
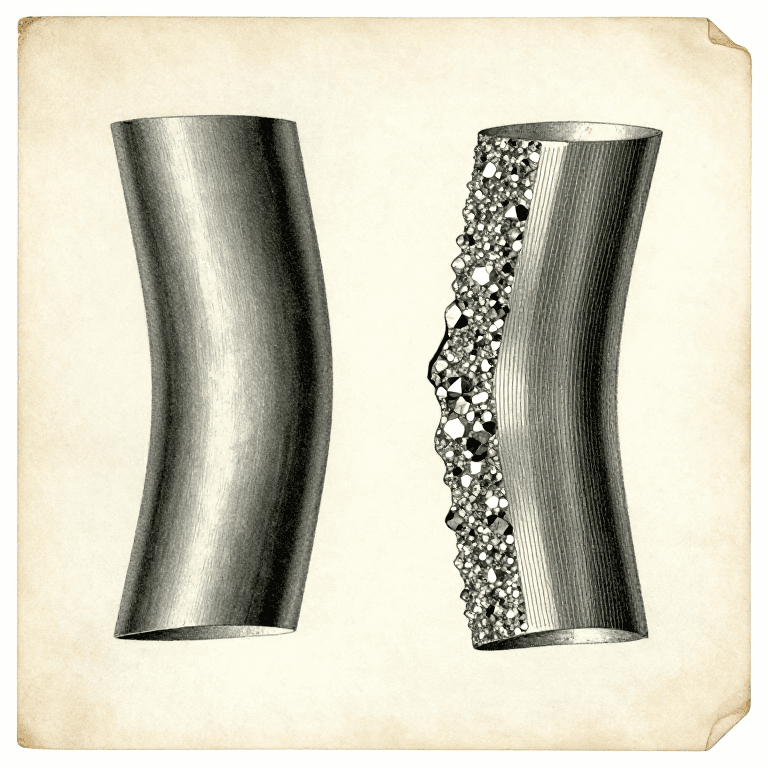
**Longitudinal shrinkage** shortens the seam along its length. It is much smaller than the transverse figure, but on a long member it bows the whole piece towards the weld — which is why a beam welded on one flange only ends up curved.
**Angular distortion** is the fold along the seam. It happens because a single-sided weld has more metal near one face, so that face shrinks more. This is the one that ruins frames, and it is the one the sequence can actually cancel.
All three are worse with more heat, and heat per unit length is the number the bead rung worked out.
วัสดุสำหรับขั้นตอนนี้:
 แผ่นเหล็กกล้าละมุน2 ชิ้น
 เหล็กแบนกล้าละมุน2 ชิ้น
เครื่องมือที่ต้องใช้:
 ฉากรวมอเนกประสงค์
 ไม้บรรทัด
2
2
How far it moves
How far it moves
กำลังโหลดสมุด Jupyter…
เครื่องมือที่ต้องใช้:
 คอมพิวเตอร์ตั้งโต๊ะ
3
3
Tack, then think about the order
Tack, then think about the order
**Tack from the middle outwards**, not from one end. Tacking from one end pushes the accumulated shrinkage ahead of you and the far end closes up before you get there.
**Back-step.** Weld short lengths, each one laid in the opposite direction to the overall progress: start 100 mm along and weld back to the start, then start 200 mm along and weld back to 100, and so on. Each short run shrinks into metal already welded instead of into the open joint.
**Balance across the neutral axis.** On a tee, weld one side then the other. On a box, weld opposite corners alternately. Never finish one whole side before starting the other.
**Skip around.** On a frame with many joints, never weld two adjacent joints one after the other. Move to the far side and let the first cool.
**Pre-set.** For a distortion you cannot cancel, set the parts up bent the opposite way by the amount the notebook predicts and let the weld pull them straight. That is how a fabricator makes a straight beam out of a process that always bends one.
วัสดุสำหรับขั้นตอนนี้:
แผ่นเหล็กกล้าละมุน2 ชิ้น เหล็กฉากเหล็กกล้าละมุน2 ชิ้น
 ลวดเชื่อม1 แพ็ค
เครื่องมือที่ต้องใช้:
 เครื่องเชื่อมอาร์ก
 หน้ากากเชื่อมปรับความมืดอัตโนมัติ
 ถุงมืองานเชื่อม
 แคลมป์ตัวซีฉากรวมอเนกประสงค์
 ก้อนหินสบู่
4
4
Clamping helps less than you think, and costs something
Clamping helps less than you think, and costs something
The obvious answer to distortion is to hold the work rigidly. It works, but only while the clamps are on.
Restraint does not remove the shrinkage — it converts it into **residual stress** locked into the joint. Release the clamps and some of the movement happens anyway. Worse, a heavily restrained joint in a thick or hardenable steel can crack as it cools, because the contracting weld has nowhere to go.
So use clamps and jigs to hold **alignment** — to keep the gap and the angle where you set them — and control distortion with sequence, balance and less heat instead. Those work by reducing the shrinkage rather than fighting it.
If a piece still comes out bent, it can be pulled back by flame straightening: heating a small wedge-shaped area, letting the surrounding cold metal upset it, and letting it shrink on cooling. That is the same physics used deliberately — and it puts yet more residual stress in, so it is a repair, not a plan.
วัสดุสำหรับขั้นตอนนี้:
แผ่นเหล็กกล้าละมุน2 ชิ้นเครื่องมือที่ต้องใช้:
แคลมป์ตัวซี แคลมป์แบบบาร์ฉากรวมอเนกประสงค์
 เกจวัดมุมดิจิทัล
วัสดุ
4- 2 ชิ้นตัวยึดตำแหน่ง
- 2 ชิ้นตัวยึดตำแหน่ง
- 2 ชิ้นตัวยึดตำแหน่ง
- 1 แพ็คตัวยึดตำแหน่ง
เครื่องมือที่จำเป็น
10- ตัวยึดตำแหน่ง
- ตัวยึดตำแหน่ง
- ตัวยึดตำแหน่ง
- ตัวยึดตำแหน่ง
- ตัวยึดตำแหน่ง
- ตัวยึดตำแหน่ง
- ตัวยึดตำแหน่ง
- ตัวยึดตำแหน่ง
- ตัวยึดตำแหน่ง
- ตัวยึดตำแหน่ง
บลูพริ้นท์ที่เกี่ยวข้อง
บลูพริ้นท์เหล่านี้แบ่งปันความรู้ — เทคนิค วัสดุ หรือหลักการ

CC0 สาธารณสมบัติ
พิมพ์เขียวนี้เผยแพร่ภายใต้ CC0 คุณสามารถคัดลอก แก้ไข แจกจ่าย และใช้งานผลงานนี้เพื่อวัตถุประสงค์ใดก็ได้ โดยไม่ต้องขออนุญาต
สนับสนุนเมกเกอร์โดยซื้อสินค้าผ่านพิมพ์เขียวของพวกเขา ซึ่งพวกเขาจะได้รับ ค่าคอมมิชชันเมกเกอร์ ที่ผู้ขายกำหนด หรือสร้างเวอร์ชันใหม่ของพิมพ์เขียวนี้และรวมเป็นการเชื่อมต่อในพิมพ์เขียวของคุณเพื่อแบ่งรายได้