การทำงานร่วมกัน
ศิลปะ
ความงามและสุขภาพ
งานฝีมือ
วัฒนธรรมและประวัติศาสตร์
ความบันเทิง
สิ่งแวดล้อม
อาหารและเครื่องดื่ม
วิศวกรรมย้อนรอย
วิทยาศาสตร์
กีฬา
เทคโนโลยี
อุปกรณ์สวมใส่
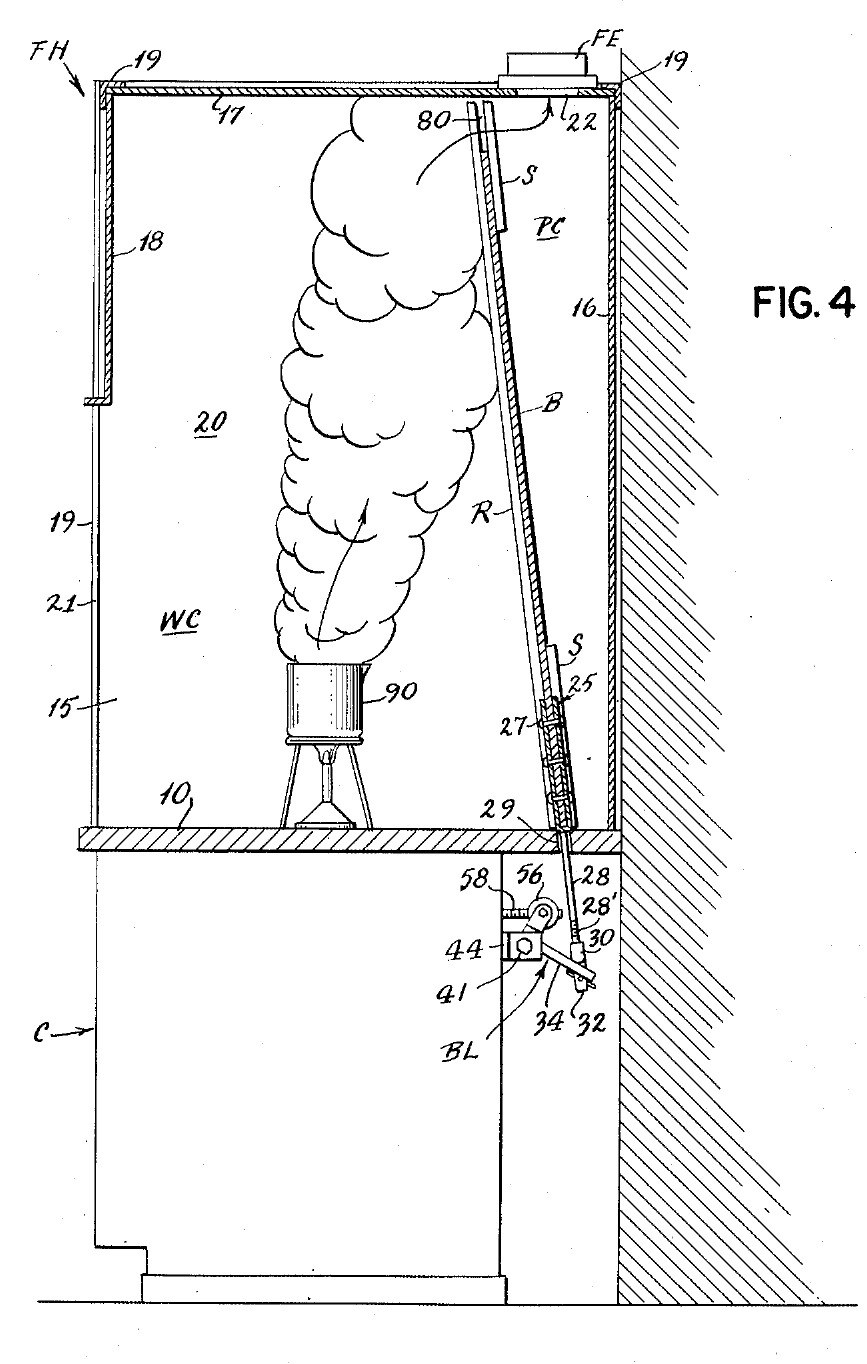


Fume Hood (Ducted): Sloping Stone Baffle Set from Outside by a Crank (Liptay, US 2,779,265, 1957)
A bench fume hood on a stone counter, drawn off through a duct with a fan. Inside, a sloping stone baffle leaves a gap at the top and one at the bottom. A crank under the counter slides the baffle: one gap grows as the other shrinks, so the air sweeps light fumes out at the top or heavy fumes out at the bottom, with no one reaching inside.
Result: a ducted hood whose air flow can be set for light or heavy fumes during work.
Source: J. M. Liptay, US 2,779,265 (1957). Unknown: sizes, air flow, the fan and most materials. Picture: the patent drawing.
ขั้นสูง
Unknown
คำแนะนำ
1
1
Build the cabinet and stone counter
Build the cabinet and stone counter
Build a sheet metal cabinet. Fix spaced sheet metal channels to its front panel and rear wall, and lay a stone slab on them as the counter. Bore a hole through the slab near the back, at the middle, for the baffle's lifting rod. Not given: sizes, the metal.
วัสดุสำหรับขั้นตอนนี้:
 โลหะที่ไม่ทราบ1 cabinet and channels
 แผ่นหินเรียบ1 counter
เครื่องมือที่ต้องใช้:
 กรรไกรตัดแผ่นโลหะ
 สว่านแท่น
 ขนาดที่ไม่ทราบ
2
2
Build the hood
Build the hood
On the counter, make a frame of corner angle irons. Fix to it two sides, a rear wall, a roof and a front panel. Leave the front open below the front panel: this is the large opening where you work and where air comes in. Cut the fume outlet in the roof, towards the back. Not given: the panel material, sizes.
วัสดุสำหรับขั้นตอนนี้:
 เหล็กฉากเหล็กกล้าละมุน1 corner frame
 วัสดุที่ไม่ทราบ1 sides, rear wall, roof, front panel
เครื่องมือที่ต้องใช้:
 เลื่อยตัดเหล็กขนาดที่ไม่ทราบ
3
3
Fit the exhaust pipe and fan
Fit the exhaust pipe and fan
Fix an exhaust pipe over the roof outlet, with a fan in it, to draw the fumes out. Not given: the pipe, the fan, the air flow.
วัสดุสำหรับขั้นตอนนี้:
 ท่อลม1 exhaust pipe
 เครื่องเป่าลม1 fan
เครื่องมือที่ต้องใช้:
 ประแจเลื่อน
4
4
Fit the sloping baffle
Fit the sloping baffle
Make a solid stone baffle almost as wide as the hood. Set it sloping up and forward from the rear wall, so it splits the inside into the work space in front and a duct behind that widens upward to the outlet. Guide it on sloping rails in front and strips behind, fixed to the sides, so it can slide. Leave a gap between its top and the roof, and one between its bottom and the counter. Not given: the rails' metal, sizes.
วัสดุสำหรับขั้นตอนนี้:
แผ่นหินเรียบ1 baffleโลหะที่ไม่ทราบ1 rails and stripsเครื่องมือที่ต้องใช้:
ขนาดที่ไม่ทราบ5
5
Make the lifting rod
Make the lifting rod
Cut a notch in the middle of the baffle's lower edge. Make a V-shaped yoke whose legs straddle the baffle front and back, rivet the legs to it, and give the yoke a rod that hangs down through the hole in the counter. Thread the rod's lower end. Not given: the metal.
วัสดุสำหรับขั้นตอนนี้:
โลหะที่ไม่ทราบ1 yoke, rod, rivetsเครื่องมือที่ต้องใช้:
 ชุดย้ำหมุด
 ชุดต๊าปและดายทำเกลียว
6
6
Fit the bell crank
Fit the bell crank
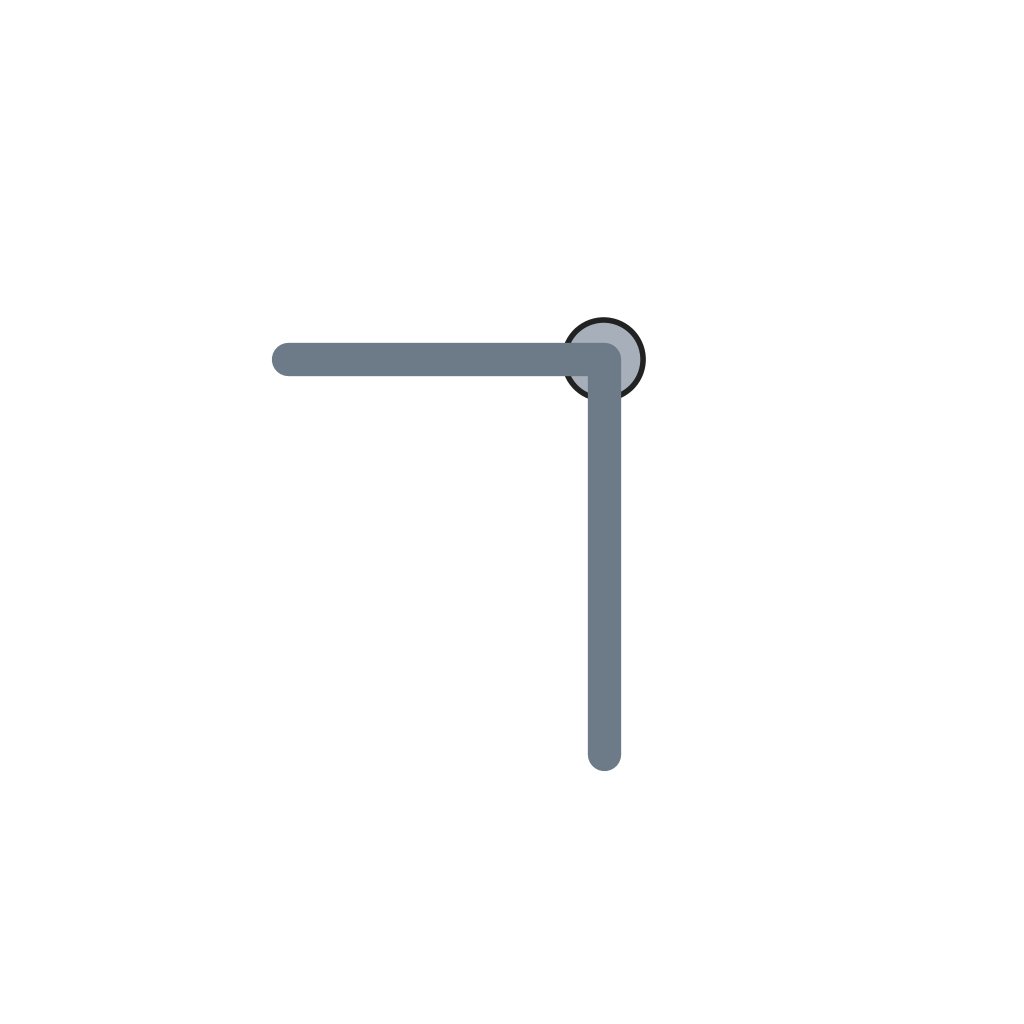
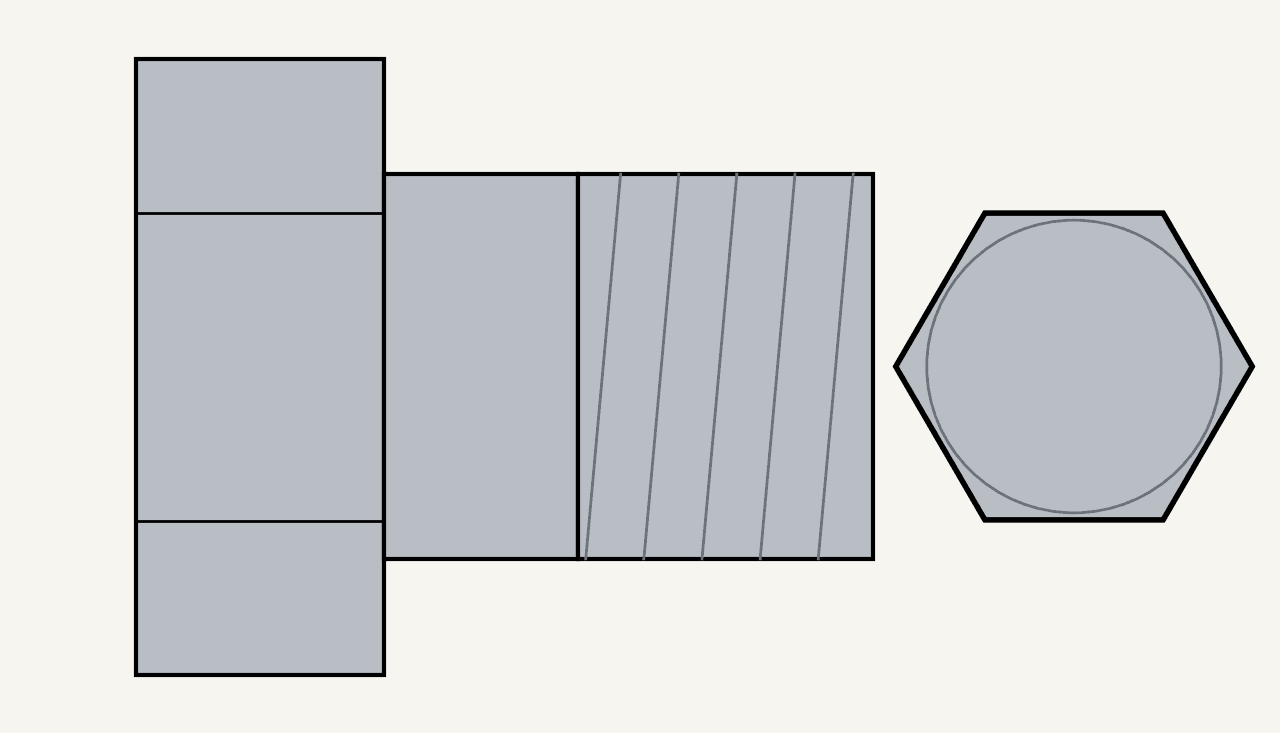
Under the counter, pivot a bell crank lever on a bolt through the lugs of a bracket fixed to the cabinet's rear channel. Screw a coupling onto the rod's threaded end. The coupling's two curved lips rock on the lever's long arm, and its tongue hangs through a slot in the arm, held by a cotter pin. On the short arm, a yoke turns on two bolts set fast in the threaded cross-holes of a round nut. Ours: hex bolts and nuts.
วัสดุสำหรับขั้นตอนนี้:
 คันโยกมุมฉาก1 bell crankโลหะที่ไม่ทราบ1 bracket, coupling, round nut
 ชุดสลักเกลียวหกเหลี่ยมคละขนาด3 ชิ้น
 น็อตหกเหลี่ยม1 ชิ้น
 สลักผ่า1 ชิ้น
เครื่องมือที่ต้องใช้:
ชุดต๊าปและดายทำเกลียวประแจเลื่อน7
7
Fit the crank and set the baffle
Fit the crank and set the baffle
Screw a metal operating rod through the round nut and run it forward to the cabinet front. Screw its front socket onto the shaft of a hand crank and pin it with a cotter pin. Weld an angle iron to the inside of the front panel to stiffen it. Clamp a bushing through the panel with a nut, and set a ball bearing between two rings on the shaft, between the bushing and the crank. Turning the crank tips the bell crank, which raises the rod and baffle or lets them slide down by their own weight: as one gap grows the other shrinks. Air comes in at the front; the upper stream carries light fumes to the top gap, the lower stream heavy fumes to the bottom gap. Open the top fully for light fumes, the bottom fully for heavy ones, or set any point between, without reaching inside. A sliding safety sash may be fitted over the front opening, to watch dangerous reactions safely.
วัสดุสำหรับขั้นตอนนี้:
โลหะที่ไม่ทราบ1 operating rod, crank, bushingสลักผ่า1 ชิ้นน็อตหกเหลี่ยม1 ชิ้นเหล็กฉากเหล็กกล้าละมุน1 stiffener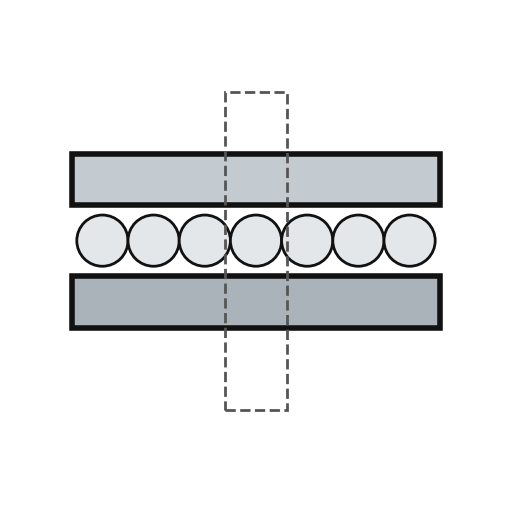 ตลับลูกปืนกันรุน1 ชิ้น
เครื่องมือที่ต้องใช้:
 เครื่องเชื่อมอาร์กชุดต๊าปและดายทำเกลียวประแจเลื่อน
วัสดุ
11- 1 operating rod, crank, bushingตัวยึดตำแหน่ง
- 1 baffleตัวยึดตำแหน่ง
- 1 stiffenerตัวยึดตำแหน่ง
- 1 sides, rear wall, roof, front panelตัวยึดตำแหน่ง
- 1 exhaust pipeตัวยึดตำแหน่ง
- 1 fanตัวยึดตำแหน่ง
- 1 bell crankตัวยึดตำแหน่ง
- ตัวยึดตำแหน่ง
- 2 ชิ้นตัวยึดตำแหน่ง
- 2 ชิ้นตัวยึดตำแหน่ง
- 1 ชิ้นตัวยึดตำแหน่ง
วัสดุจากพิมพ์เขียวที่เชื่อมต่อ

พิมพ์เขียวนี้สร้าง

บลูพริ้นท์ที่เกี่ยวข้อง
บลูพริ้นท์เหล่านี้แบ่งปันความรู้ — เทคนิค วัสดุ หรือหลักการ

CC0 สาธารณสมบัติ
พิมพ์เขียวนี้เผยแพร่ภายใต้ CC0 คุณสามารถคัดลอก แก้ไข แจกจ่าย และใช้งานผลงานนี้เพื่อวัตถุประสงค์ใดก็ได้ โดยไม่ต้องขออนุญาต
สนับสนุนเมกเกอร์โดยซื้อสินค้าผ่านพิมพ์เขียวของพวกเขา ซึ่งพวกเขาจะได้รับ ค่าคอมมิชชันเมกเกอร์ ที่ผู้ขายกำหนด หรือสร้างเวอร์ชันใหม่ของพิมพ์เขียวนี้และรวมเป็นการเชื่อมต่อในพิมพ์เขียวของคุณเพื่อแบ่งรายได้