การทำงานร่วมกัน
ศิลปะ
ความงามและสุขภาพ
งานฝีมือ
วัฒนธรรมและประวัติศาสตร์
ความบันเทิง
สิ่งแวดล้อม
อาหารและเครื่องดื่ม
วิศวกรรมย้อนรอย
วิทยาศาสตร์
กีฬา
เทคโนโลยี
อุปกรณ์สวมใส่
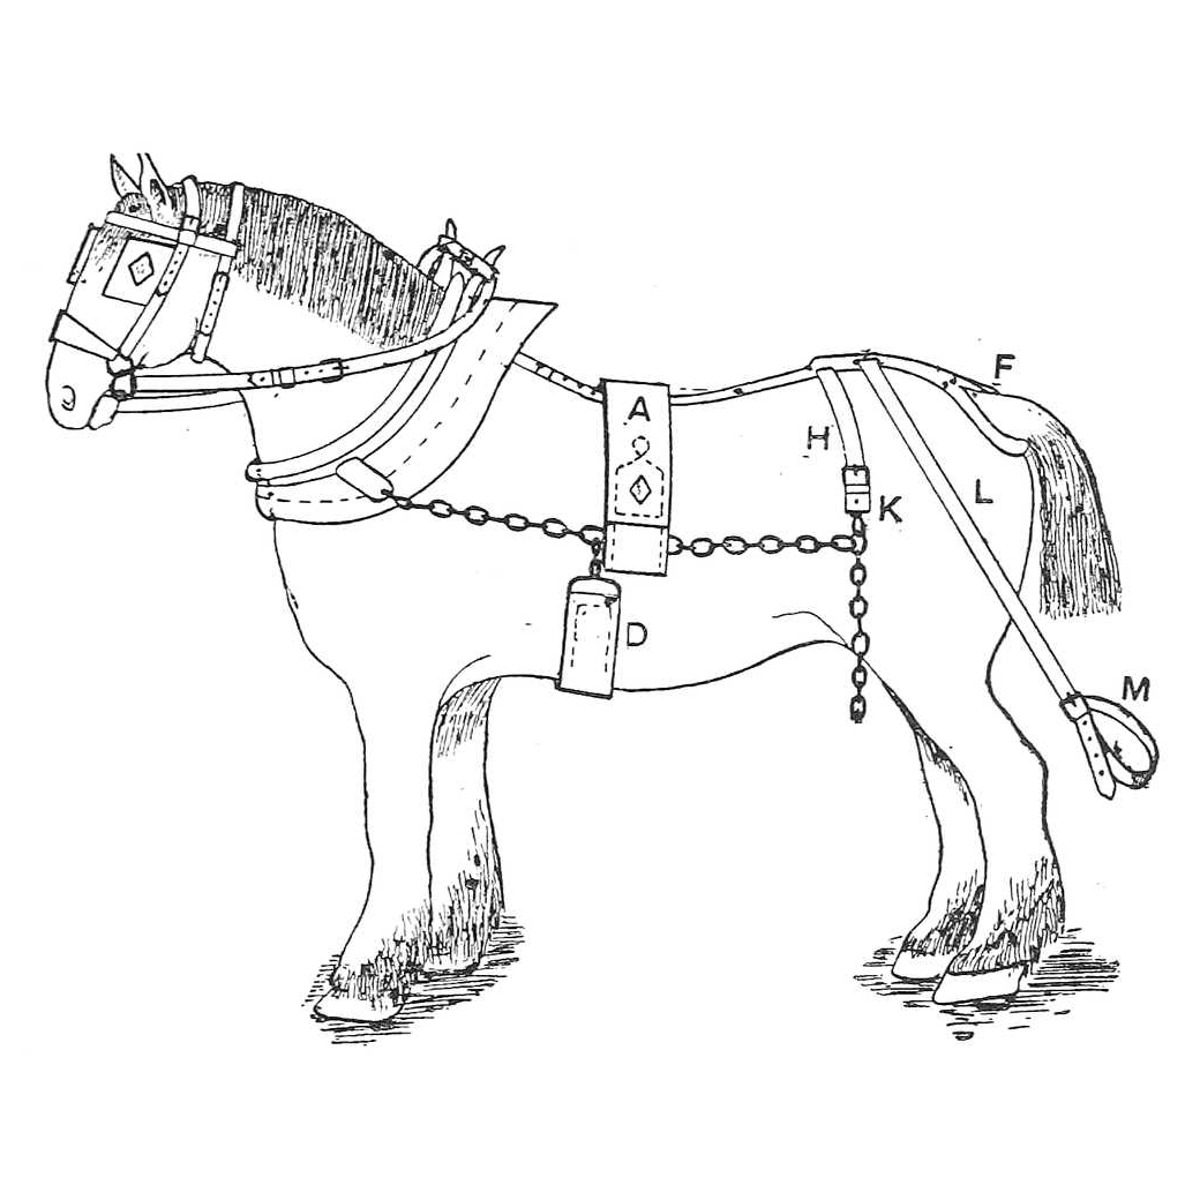


Leader Harness Back-Band and Belly-Band: Eyed Back-Band With Dees, Chain Belly-Band (Hasluck, Harness Making, 1904)
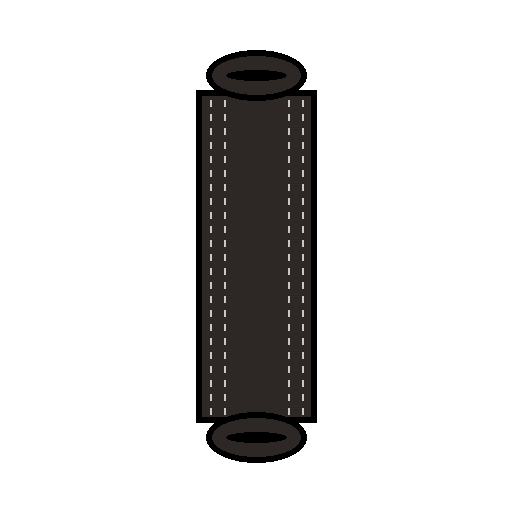
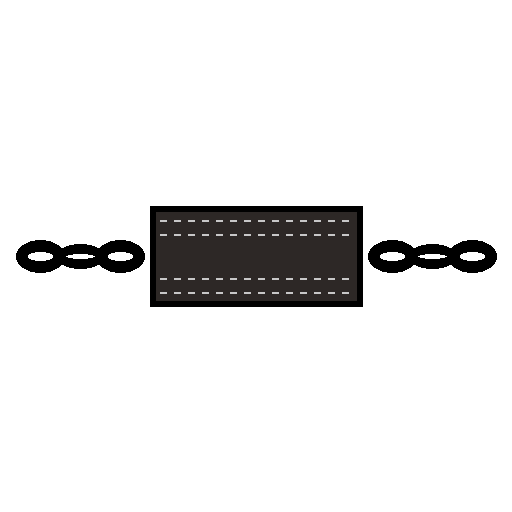
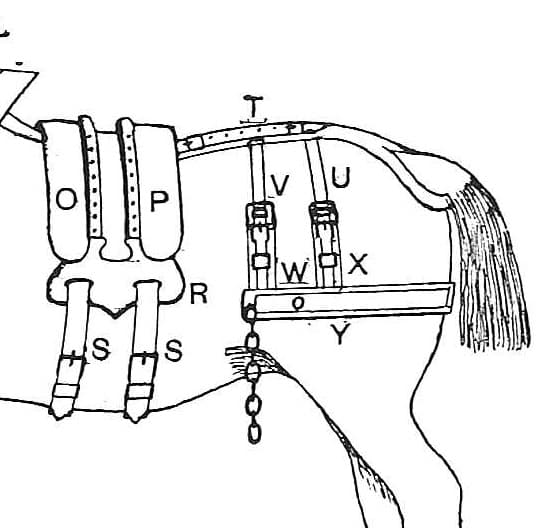
In leader (fore-gear) harness for a horse working in front of the shaft horse, the back-band (A in Fig. 102) carries the chain traces and the belly-band (D) keeps them down. This is the pair from Paul N. Hasluck's Harness Making (1904): a back-band about 4 ft 4 in long with a stitched eye at each end and two dees, and a 3 in belly-band between two chains. Every size is his.
ระดับกลาง
About 1 day
คำแนะนำ
1
1
The back-band marks
The back-band marks
กำลังโหลดสมุด Jupyter…
2
2
Read Harness Making, ch. VIII
Read Harness Making, ch. VIII
"The back-band A, to carry the traces, is the next part of the harness to be made. It must measure about 4 ft. 4 in. from tip to tip, including the terminal chains or the eye, to which the traces are hooked."
3
3
Cut and mark the back-band
Cut and mark the back-band
If pipe, cut the leather 6 ft 4 in by 5 in. Mark a cross-line 1 ft from each end and another 6 in from each of those, leaving 3 ft 4 in between the two middle marks. Cut a lining piece for each end, as wide as the back-band and 1 ft 3 in long. Shave both tips of the linings and the ends of the turn-in of the back-band thin. Crease, black and rub the back-band, creasing from the extreme lines right along.
วัสดุสำหรับขั้นตอนนี้:
 หนังทำเครื่องม้า1 ชิ้น
 สีย้อมหนัง1 ชิ้น
เครื่องมือที่ต้องใช้:
 มีดตัดหนัง
 ดินสอ
 เครื่องมือกรีดพับ
 หัวพ่นไฟโพรเพน
 เครื่องมือขัดขอบหนัง
 ตลับเมตร
4
4
Prick, line and stitch the eye parts
Prick, line and stitch the eye parts
Prick from the outer cross-line at each end as far as the double will run, five rows with two on each side. Put the lining under the space between the two lines so that it is 6 in over one and 3 in over the other. Put a narrow piece, shaved at the inner edge and about 6 in long, on both ends at each side of the 6 in space, to strengthen the eye. Stitch the four rows in the 6 in space with three-cord thread, eight stitches per inch; turn the edges of this part and black and rub them.
วัสดุสำหรับขั้นตอนนี้:
หนังทำเครื่องม้า1 ชิ้น ด้ายหนัง1 ชิ้น
 ขี้ผึ้ง1 ชิ้นสีย้อมหนัง1 ชิ้น
เครื่องมือที่ต้องใช้:
 สิ่วตอกรูหนังมีดตัดหนัง
 เครื่องมือลบมุมขอบ
 เหล็กหมาด (สว่านเจาะรูมือ)
 เข็มเย็บอานม้าสองเล่ม
 ปากคีบไม้สำหรับเย็บหนัง
5
5
Form the eyes and fit the dees
Form the eyes and fit the dees
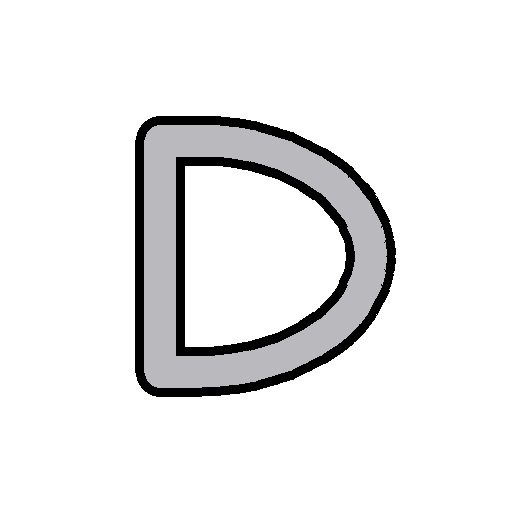
Turn down the ends, bringing the cross-lines that divide the eye exactly opposite each other; flatten the eye so the lined parts come close together, and tack it. Take two 1 in dees, with a piece of leather inside each on the flat side for about half their width. Put one in each end between the double, close to the eye, one on each side of the back-band, low enough to stitch through the leather inside when stitching the outer row. Tack down the dees and the double, stitch right along both sides, the four rows at both ends and sides running to the top of the double from the cross rows. Stitch across the back-band along the cross-lines near the eye (he says stitch or spot with lace), and open out the eye with a thick piece of wood inside.
วัสดุสำหรับขั้นตอนนี้:
 ห่วงตัว D เครื่องเทียมม้า2 ชิ้นหนังทำเครื่องม้า1 ชิ้น
 ตะปูยึดขึ้นหุ่น1 ชิ้นด้ายหนัง1 ชิ้นขี้ผึ้ง1 ชิ้น
เครื่องมือที่ต้องใช้:
 ค้อนเหล็กหมาด (สว่านเจาะรูมือ)เข็มเย็บอานม้าสองเล่มปากคีบไม้สำหรับเย็บหนัง
 แผ่นไม้สน
6
6
Make the two trace straps
Make the two trace straps
Cut two straps 10 in by 3/4 in, put a buckle and loop on one end and punch four or five holes in the other. They pass through the dee at the side of the back-band and through a link in the trace, to hold the back-band in place. Some makers line the inner part of the eye with sole leather and put a safe under it, about 1 in wider at the bottom, narrowing to the back-band's width at the top, with the lower corners rounded, stitched in from the eye upwards.
วัสดุสำหรับขั้นตอนนี้:
หนังทำเครื่องม้า1 ชิ้น หัวเข็มขัดเหล็กมีลิ้น2 ชิ้น
 หนังพื้นรองเท้า1 ชิ้นด้ายหนัง1 ชิ้นขี้ผึ้ง1 ชิ้น
เครื่องมือที่ต้องใช้:
มีดตัดหนัง แท่งขึ้นรูปห่วงสาย
 เครื่องเจาะรูหนังเหล็กหมาด (สว่านเจาะรูมือ)เข็มเย็บอานม้าสองเล่ม
7
7
Make the belly-band
Make the belly-band
Get a pair of 3 in chains and cut the leather 3 ft 4 in by 3 in. Turn in 4 in at the ends, and shave, edge, black and crease them. Put the leather into the openings in the chains, stitch four rows along the double part, and spot or stitch across near the chain.
วัสดุสำหรับขั้นตอนนี้:
 โซ่เหล็ก2 ชิ้นหนังทำเครื่องม้า1 ชิ้นสีย้อมหนัง1 ชิ้นด้ายหนัง1 ชิ้นขี้ผึ้ง1 ชิ้น
เครื่องมือที่ต้องใช้:
มีดตัดหนังเครื่องมือลบมุมขอบเครื่องมือกรีดพับหัวพ่นไฟโพรเพนเหล็กหมาด (สว่านเจาะรูมือ)เข็มเย็บอานม้าสองเล่มปากคีบไม้สำหรับเย็บหนังตลับเมตร8
8
Troubleshooting
Troubleshooting
Back-band troubleshooting.
Flow
Loading...
9
9
History and honest limits
History and honest limits
From **Harness Making**, edited by Paul N. Hasluck, Cassell, 1904 (Project Gutenberg 70169), chapter VIII, "Fore Gear or Leader Harness", pp. 104-106, Fig. 102; every figure was checked on the archive.org scan (harnessmaking00hasl). He does not explain "if pipe" further. The long crupper, hip straps and tugs of the same gear are not made here. Stitching rather than lacing across the eye, the tools and metric figures are ours.
วัสดุ
9- 5 ชิ้นตัวยึดตำแหน่ง
- 3 ชิ้นตัวยึดตำแหน่ง
- 4 ชิ้นตัวยึดตำแหน่ง
- 4 ชิ้นตัวยึดตำแหน่ง
- ตัวยึดตำแหน่ง
- 1 ชิ้นตัวยึดตำแหน่ง
- 2 ชิ้นตัวยึดตำแหน่ง
- 1 ชิ้นตัวยึดตำแหน่ง
- 2 ชิ้นตัวยึดตำแหน่ง
เครื่องมือที่จำเป็น
15- ตัวยึดตำแหน่ง
- 1 vendor sell this, none ship to you yetตัวยึดตำแหน่ง
- ตัวยึดตำแหน่ง
- ตัวยึดตำแหน่ง
- ตัวยึดตำแหน่ง
- 1 vendor sell this, none ship to you yetตัวยึดตำแหน่ง
- ตัวยึดตำแหน่ง
- ตัวยึดตำแหน่ง
- ตัวยึดตำแหน่ง
- ตัวยึดตำแหน่ง
- ตัวยึดตำแหน่ง
- ตัวยึดตำแหน่ง
- ตัวยึดตำแหน่ง
- ตัวยึดตำแหน่ง
- ตัวยึดตำแหน่ง
พิมพ์เขียวนี้สร้าง
บลูพริ้นท์ที่เกี่ยวข้อง
บลูพริ้นท์เหล่านี้แบ่งปันความรู้ — เทคนิค วัสดุ หรือหลักการ
CC0 สาธารณสมบัติ
พิมพ์เขียวนี้เผยแพร่ภายใต้ CC0 คุณสามารถคัดลอก แก้ไข แจกจ่าย และใช้งานผลงานนี้เพื่อวัตถุประสงค์ใดก็ได้ โดยไม่ต้องขออนุญาต
สนับสนุนเมกเกอร์โดยซื้อสินค้าผ่านพิมพ์เขียวของพวกเขา ซึ่งพวกเขาจะได้รับ ค่าคอมมิชชันเมกเกอร์ ที่ผู้ขายกำหนด หรือสร้างเวอร์ชันใหม่ของพิมพ์เขียวนี้และรวมเป็นการเชื่อมต่อในพิมพ์เขียวของคุณเพื่อแบ่งรายได้