การทำงานร่วมกัน
ศิลปะ
ความงามและสุขภาพ
งานฝีมือ
วัฒนธรรมและประวัติศาสตร์
ความบันเทิง
สิ่งแวดล้อม
อาหารและเครื่องดื่ม
วิศวกรรมย้อนรอย
วิทยาศาสตร์
กีฬา
เทคโนโลยี
อุปกรณ์สวมใส่
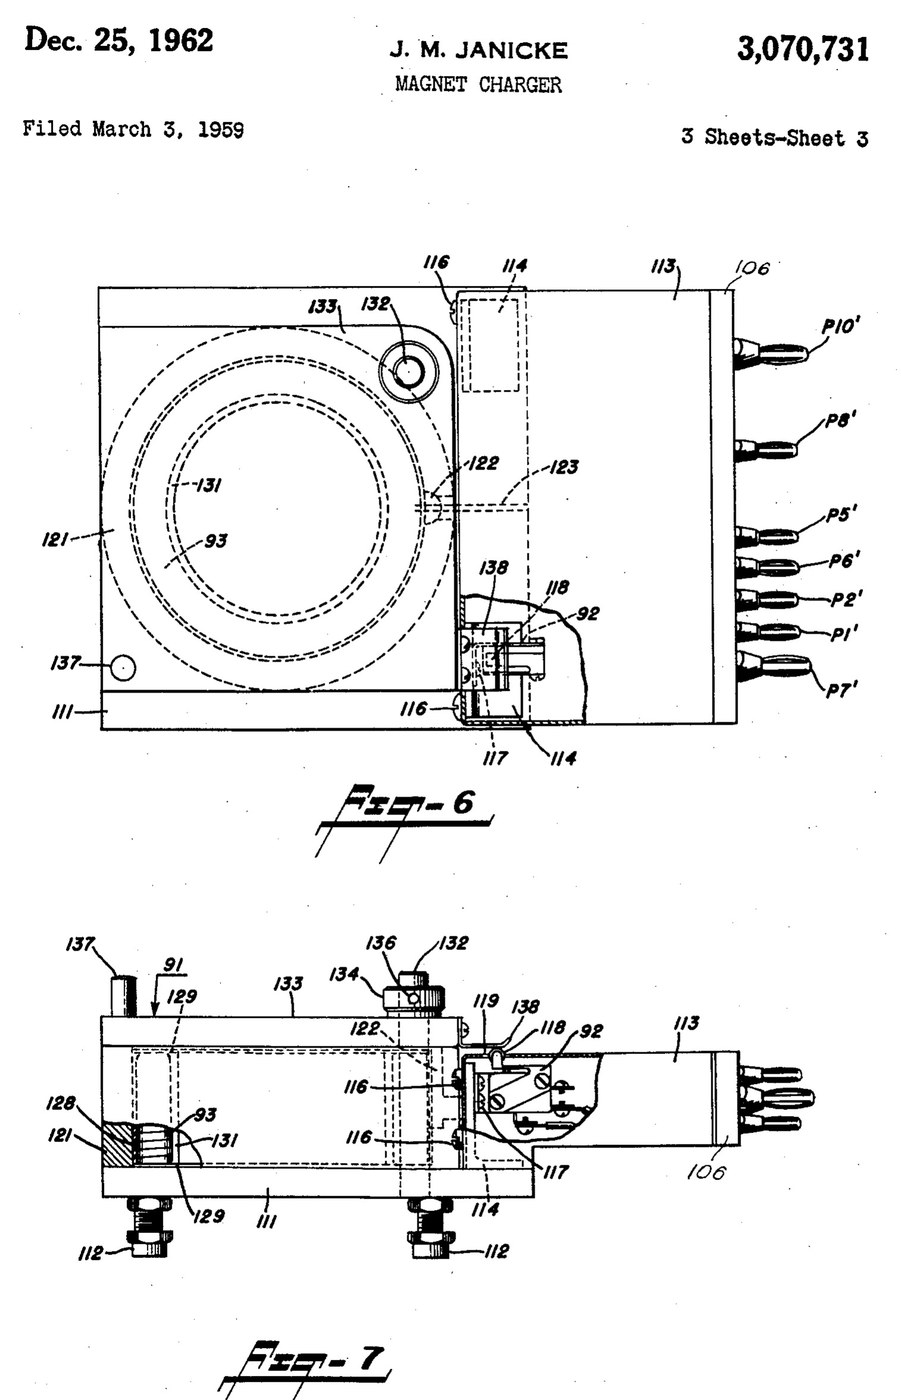


Magnetiser: Capacitor-Discharge Magnet Charger with a Wire-Wound Fixture (Janicke, US 3,070,731, 1962)
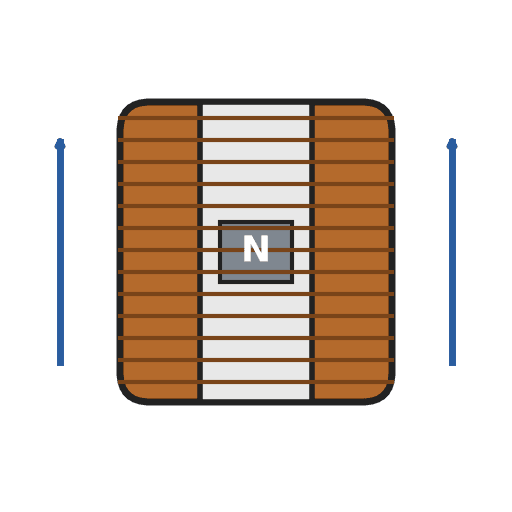
An impulse magnetiser. A capacitor is charged to a high voltage, then an ignitron dumps it all at once through a coil. The magnet sits inside the coil in a closed steel pot, so almost all of the flux goes through it.
Result: a magnet charger that magnetises rods, bars and blocks in one pulse, with an interlocked lid.
Source: J. M. Janicke, US 3,070,731 (1962). Unknown: voltages, capacitance, coil windings, field strength and sizes. Picture: the patent drawing.
ผู้เชี่ยวชาญ
Unknown
คำแนะนำ
1
1
Build the charging supply
Build the charging supply
Feed a line switch from the mains through two fuses, with a pilot lamp. Wire a high-voltage transformer with two primaries, which a high-low switch puts in series or in parallel. Run its centre-tapped secondary to two mercury-vapour rectifier tubes, "or the like", with their own filament transformer, so they charge the energy-storage capacitor. A charging on-off switch with a red lamp switches the high-voltage side. A meter with multiplier resistors across the capacitor shows its voltage. Ours: toggle switches, neon lamps, a moving-coil meter. Not given: any voltage or value.
วัสดุสำหรับขั้นตอนนี้:
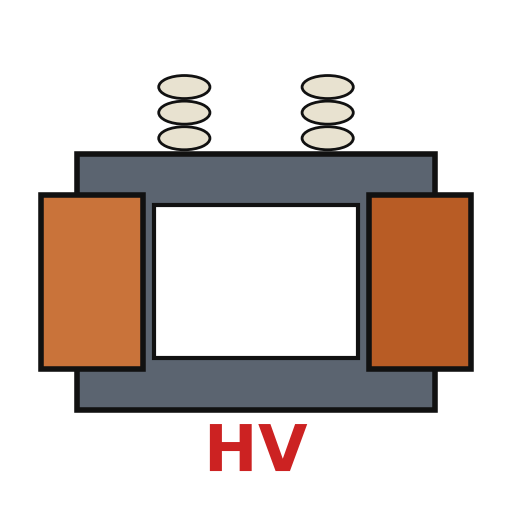 หม้อแปลงแรงดันสูง1 high-voltage transformer
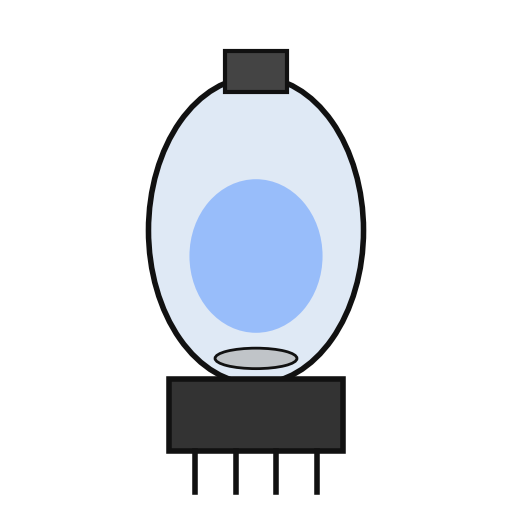 หลอดเรกติไฟเออร์ไอปรอท2 rectifier tubes
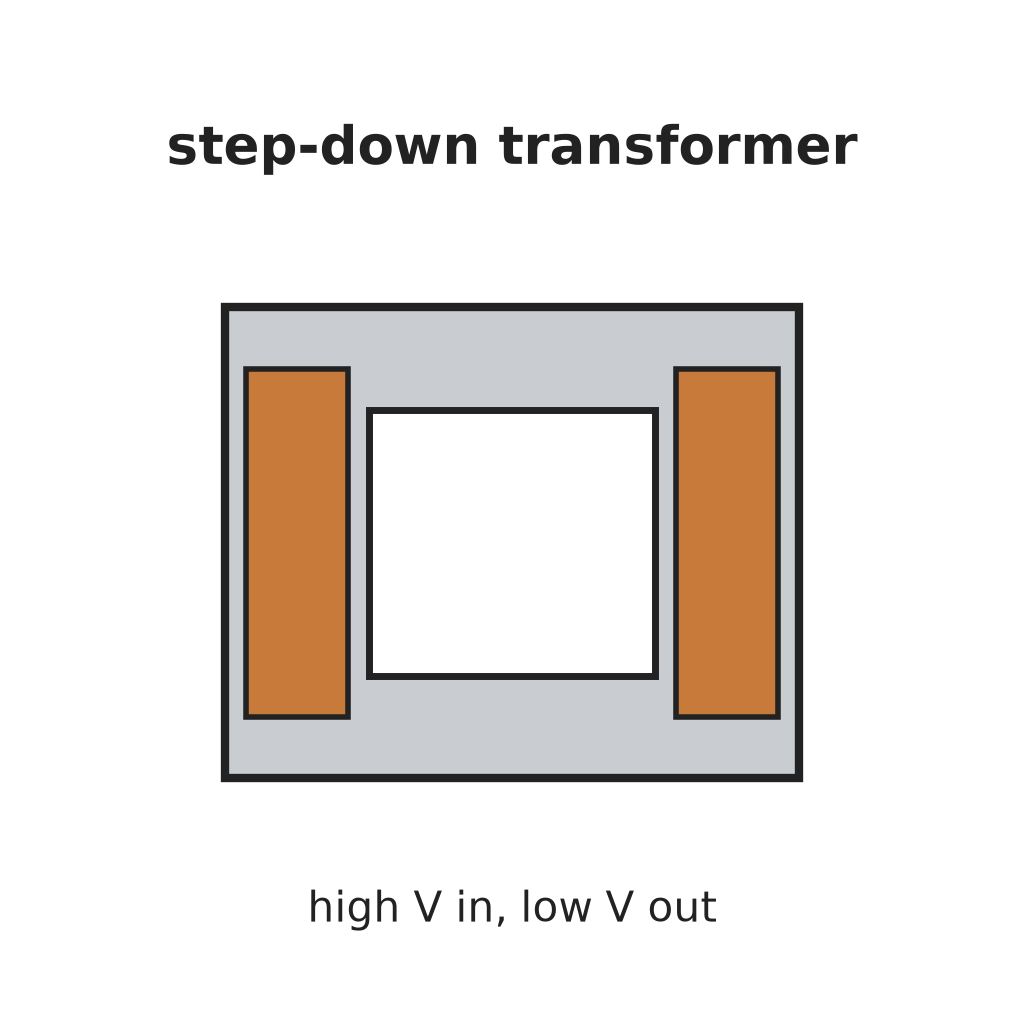 หม้อแปลงลดแรงดัน1 filament transformer
 ตัวเก็บประจุสะสมพลังงาน1 storage capacitor
 มิเตอร์แผงแบบขดลวดเคลื่อนที่1 voltage meter
 ตัวต้านทานที่ไม่ทราบ2 meter multipliers
 สวิตช์โยก3 line, charging and high-low switches
 ฟิวส์2 fuses
 หลอดไฟแสดงสถานะนีออน2 pilot and red lamps
เครื่องมือที่ต้องใช้:
 หัวแร้งบัดกรี
 คีมปอกสายไฟ
2
2
Add the delay and the bleeder
Add the delay and the bleeder
Put a thermal time-delay relay before the charging switch: about thirty seconds after switch-on it energises a control relay, which feeds the charging switch and holds itself on. A third contact of the control relay lifts a bleeder resistor off the capacitor while the charger runs. When the charger is shut down the relay drops out and the bleeder drains the dangerous high-voltage charge from the capacitor.
วัสดุสำหรับขั้นตอนนี้:
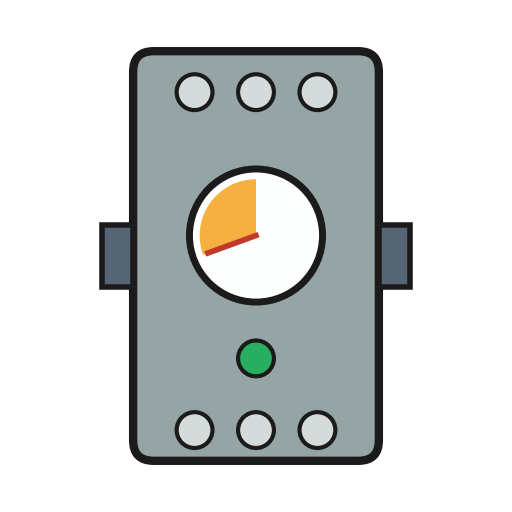 รีเลย์หน่วงเวลา1 thermal delay relay
 รีเลย์1 control relay, three contact setsตัวต้านทานที่ไม่ทราบ1 bleeder resistor
เครื่องมือที่ต้องใช้:
หัวแร้งบัดกรีคีมปอกสายไฟ3
3
Fit the ignitron firing circuit
Fit the ignitron firing circuit
Put an ignitron in the discharge path of the storage capacitor, as its switch. The meter's multiplier resistors also form a divider that charges a small firing capacitor. Pressing the push button discharges the firing capacitor through a small limiting resistor into the ignitron's igniter, and the ignitron conducts. Not given: the firing capacitor's type and value.
วัสดุสำหรับขั้นตอนนี้:
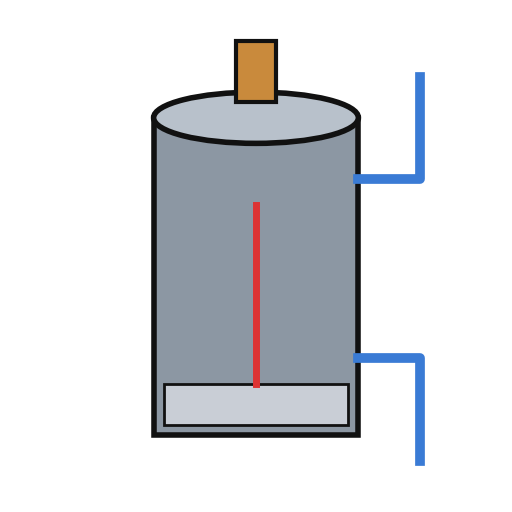 อิกไนตรอน1 discharge switch
 วัสดุที่ไม่ทราบ1 firing capacitorตัวต้านทานที่ไม่ทราบ1 limiting resistor
 ปุ่มกด1 charge button
เครื่องมือที่ต้องใช้:
หัวแร้งบัดกรีคีมปอกสายไฟ4
4
Build the wire-wound fixture
Build the wire-wound fixture
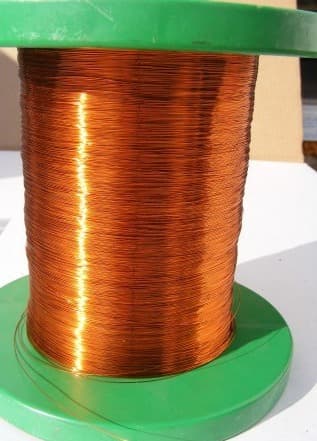
Weld a hollow cylindrical shell onto a base plate on levelling legs, both of magnetic material, to make a pot. Cut slots through the shell and the base plate so they cannot act as a shorted single-turn winding. Set the coil inside the shell in potting compound, with ring-shaped end pieces and a hollow cylindrical core in it. Hinge a square magnetic cover on a post beside the shell, held by a collar and set screw, with a handle. An L-shaped plate on the cover closes a switch in the igniter circuit only when the cover is shut. Wire the coil between the storage capacitor and the ignitron anode. Ours: mild steel, enamelled copper wire, casting epoxy. Not given: sizes, turns.
วัสดุสำหรับขั้นตอนนี้:
 แผ่นเหล็กกล้าละมุน1 base plate and cover
 ท่อกลมเหล็กกล้าละมุน1 shell
 ลวดทองแดงอาบน้ำยา1 coil
 อีพ็อกซีหล่อสีดำ1 potting compound
 โลหะที่ไม่ทราบ1 end pieces, core, post, legs
 ไมโครสวิตช์ (ก้านกด)1 lid interlock switch
เครื่องมือที่ต้องใช้:
 เครื่องเชื่อมอาร์ก
 สว่านแท่น
 ชุดไขควง
 ขนาดที่ไม่ทราบ
5
5
Charge a magnet
Charge a magnet
Put the magnet inside the core. Fill most of the air gap between it and the base plate and cover with soft iron, but leave a small gap near the cover, or the cover will be hard to swing open afterwards. Lay insulating material about 1/16 inch thick on top of the magnet. Close the cover, which arms the igniter switch, charge the capacitor, and press the button: one pulse magnetises it. Ours: wrought iron for the soft iron.
เครื่องมือที่ต้องใช้:
 แท่งเหล็กดัด
 วัสดุฉนวนที่ไม่ทราบ
วัสดุ
20- 1 high-voltage transformerตัวยึดตำแหน่ง
- 2 rectifier tubesตัวยึดตำแหน่ง
- 1 filament transformerตัวยึดตำแหน่ง
- 1 storage capacitorตัวยึดตำแหน่ง
- 1 voltage meterตัวยึดตำแหน่ง
- 1 limiting resistorตัวยึดตำแหน่ง
- ตัวยึดตำแหน่ง
- 2 fusesตัวยึดตำแหน่ง
- 2 pilot and red lampsตัวยึดตำแหน่ง
- 1 thermal delay relayตัวยึดตำแหน่ง
- 1 control relay, three contact setsตัวยึดตำแหน่ง
- 1 discharge switchตัวยึดตำแหน่ง
- 1 firing capacitorตัวยึดตำแหน่ง
- ตัวยึดตำแหน่ง
- 1 base plate and coverตัวยึดตำแหน่ง
- 1 shellตัวยึดตำแหน่ง
- 1 coilตัวยึดตำแหน่ง
- 1 potting compoundตัวยึดตำแหน่ง
- 1 end pieces, core, post, legsตัวยึดตำแหน่ง
- 1 lid interlock switchตัวยึดตำแหน่ง
วัสดุจากพิมพ์เขียวที่เชื่อมต่อ


พิมพ์เขียวนี้สร้าง
CC0 สาธารณสมบัติ
พิมพ์เขียวนี้เผยแพร่ภายใต้ CC0 คุณสามารถคัดลอก แก้ไข แจกจ่าย และใช้งานผลงานนี้เพื่อวัตถุประสงค์ใดก็ได้ โดยไม่ต้องขออนุญาต
สนับสนุนเมกเกอร์โดยซื้อสินค้าผ่านพิมพ์เขียวของพวกเขา ซึ่งพวกเขาจะได้รับ ค่าคอมมิชชันเมกเกอร์ ที่ผู้ขายกำหนด หรือสร้างเวอร์ชันใหม่ของพิมพ์เขียวนี้และรวมเป็นการเชื่อมต่อในพิมพ์เขียวของคุณเพื่อแบ่งรายได้