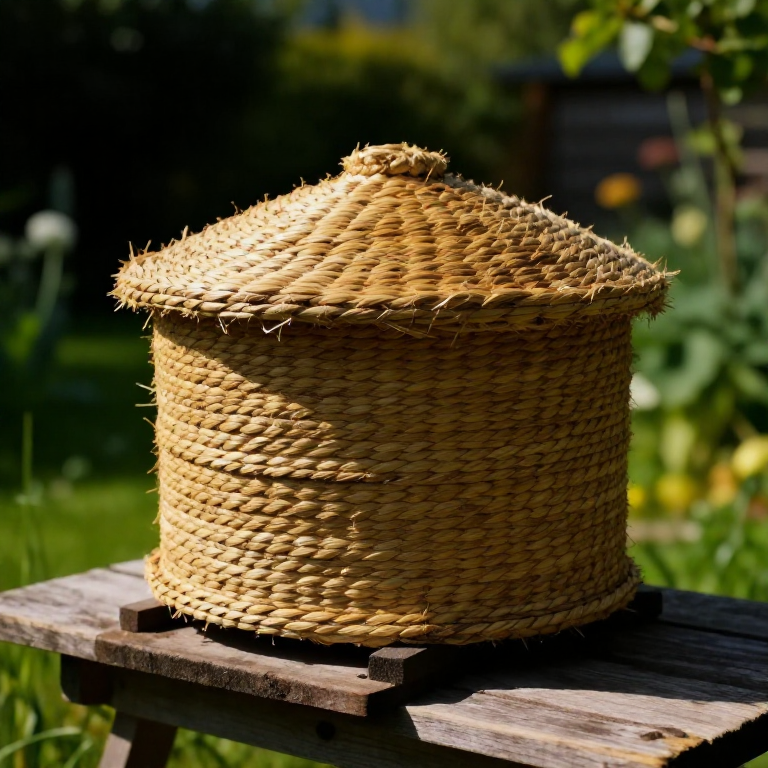
Making a Coiled-Straw Bee Skep — The Traditional Beehive Before Wooden Boxes
คำแนะนำ
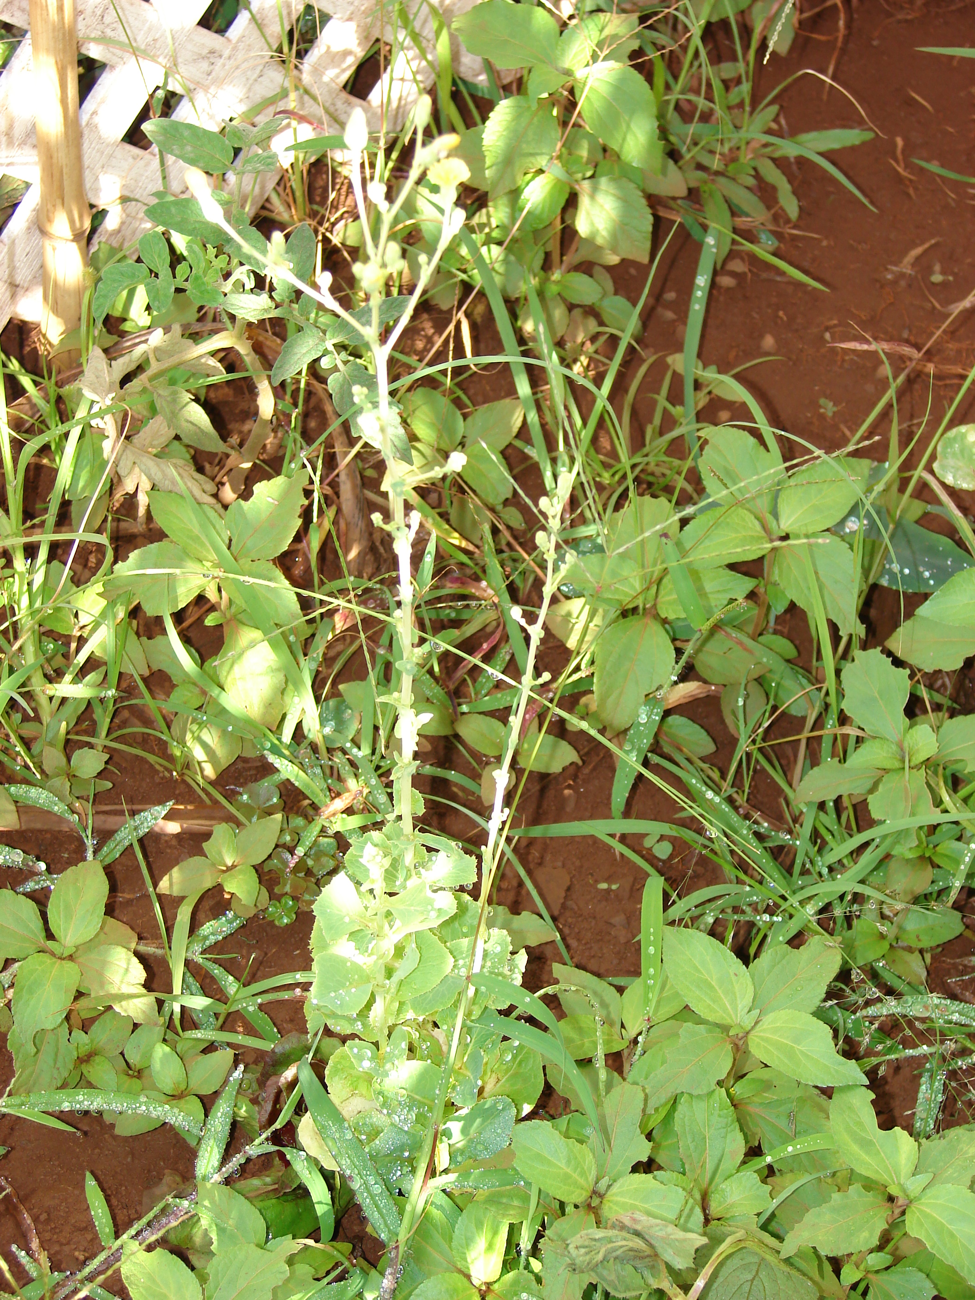
Harvest and clean long rye straw
Harvest and clean long rye straw
วัสดุสำหรับขั้นตอนนี้:
 Rye Straw1 มัด
เครื่องมือที่ต้องใช้:
 Knife
KnifeSplit and soak the binding cane
Split and soak the binding cane
วัสดุสำหรับขั้นตอนนี้:
 Split Cane1 มัด
 Water3 ลิตร
เครื่องมือที่ต้องใช้:
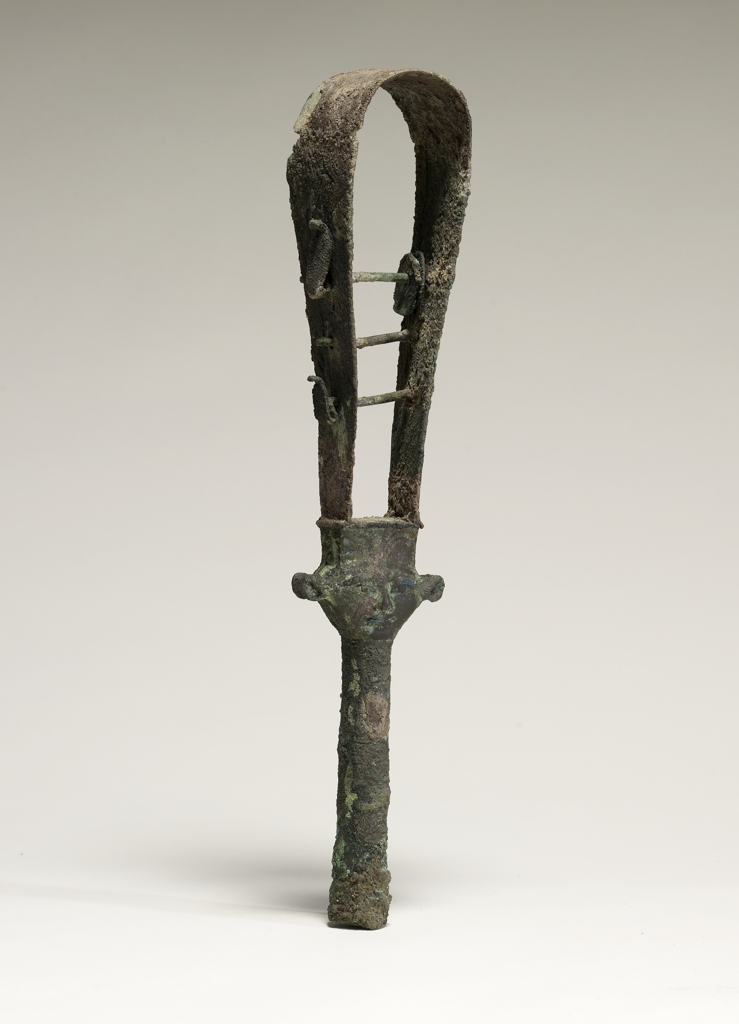
KnifeMake the girth gauge
Make the girth gauge
เครื่องมือที่ต้องใช้:
 Skep Girth Gauge
Bind the crown
Bind the crown
วัสดุสำหรับขั้นตอนนี้:
Rye Straw1 มัดSplit Cane1 เมตรเครื่องมือที่ต้องใช้:
 Awl
AwlFeed straw into an even rope
Feed straw into an even rope
วัสดุสำหรับขั้นตอนนี้:
Rye Straw1 มัดเครื่องมือที่ต้องใช้:
Skep Girth GaugeSew the first coils to the crown
Sew the first coils to the crown
วัสดุสำหรับขั้นตอนนี้:
Split Cane1 เมตรเครื่องมือที่ต้องใช้:
AwlSpiral outward to start the dome
Spiral outward to start the dome
วัสดุสำหรับขั้นตอนนี้:
Rye Straw1 มัดSplit Cane1 เมตรเครื่องมือที่ต้องใช้:
AwlBuild the domed wall downward
Build the domed wall downward
วัสดุสำหรับขั้นตอนนี้:
Rye Straw1 มัดSplit Cane1 เมตรเครื่องมือที่ต้องใช้:
AwlSkep Girth GaugeKeep the courses even
Keep the courses even
วัสดุสำหรับขั้นตอนนี้:
Rye Straw1 มัดเครื่องมือที่ต้องใช้:
AwlWiden to the finished base
Widen to the finished base
วัสดุสำหรับขั้นตอนนี้:
Rye Straw1 มัดSplit Cane1 เมตรเครื่องมือที่ต้องใช้:
AwlCut the flight entrance
Cut the flight entrance
เครื่องมือที่ต้องใช้:
KnifeFinish and lock the base coil
Finish and lock the base coil
วัสดุสำหรับขั้นตอนนี้:
Split Cane1 เมตรเครื่องมือที่ต้องใช้:
AwlTrim the skep clean
Trim the skep clean
เครื่องมือที่ต้องใช้:
KnifeClom the outside for weatherproofing
Clom the outside for weatherproofing
วัสดุสำหรับขั้นตอนนี้:
 Cow Dung2 กก.
 Ball Clay1 กก.
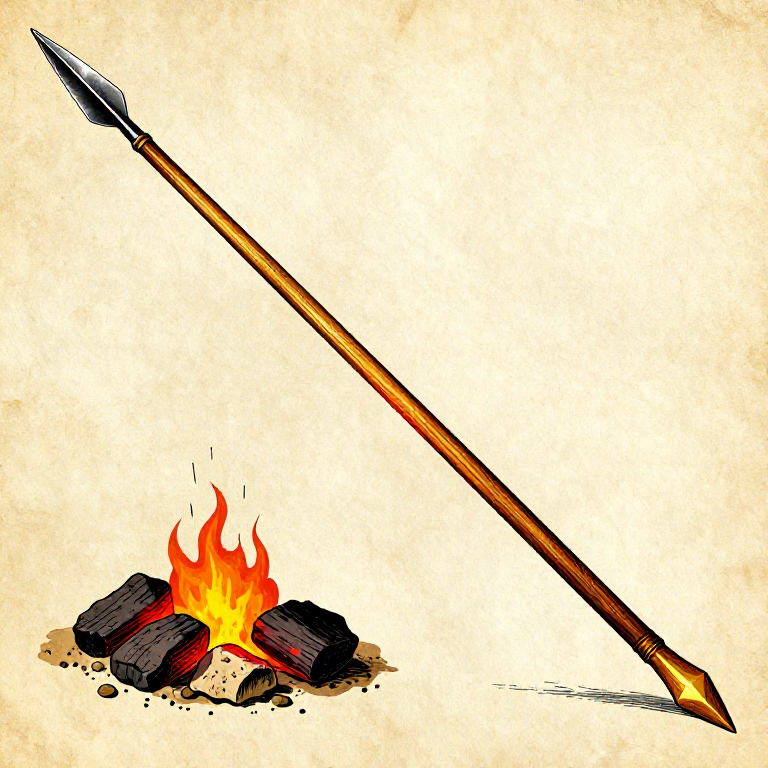
Cure the finished skep
Cure the finished skep
วัสดุ
6- 1 มัดตัวยึดตำแหน่ง
- 6 เมตรตัวยึดตำแหน่ง
วัสดุจากพิมพ์เขียวที่เชื่อมต่อ
บลูพริ้นท์ที่เกี่ยวข้อง
บลูพริ้นท์เหล่านี้แบ่งปันความรู้ — เทคนิค วัสดุ หรือหลักการ
Related blueprints
Other builds that share materials, tools, or techniques with this one.


CC0 สาธารณสมบัติ
พิมพ์เขียวนี้เผยแพร่ภายใต้ CC0 คุณสามารถคัดลอก แก้ไข แจกจ่าย และใช้งานผลงานนี้เพื่อวัตถุประสงค์ใดก็ได้ โดยไม่ต้องขออนุญาต
สนับสนุนเมกเกอร์โดยซื้อสินค้าผ่านพิมพ์เขียวของพวกเขา ซึ่งพวกเขาจะได้รับ ค่าคอมมิชชันเมกเกอร์ ที่ผู้ขายกำหนด หรือสร้างเวอร์ชันใหม่ของพิมพ์เขียวนี้และรวมเป็นการเชื่อมต่อในพิมพ์เขียวของคุณเพื่อแบ่งรายได้