Cutting a Mortise-and-Tenon Timber Joint — Medieval Joinery
คำแนะนำ
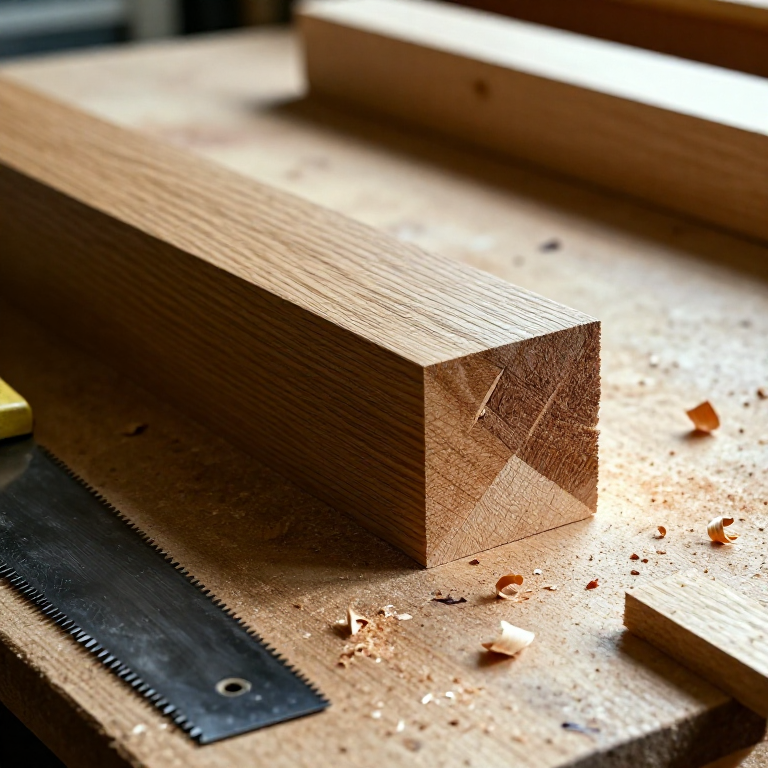
Mark Out the Mortise and Tenon
Mark Out the Mortise and Tenon
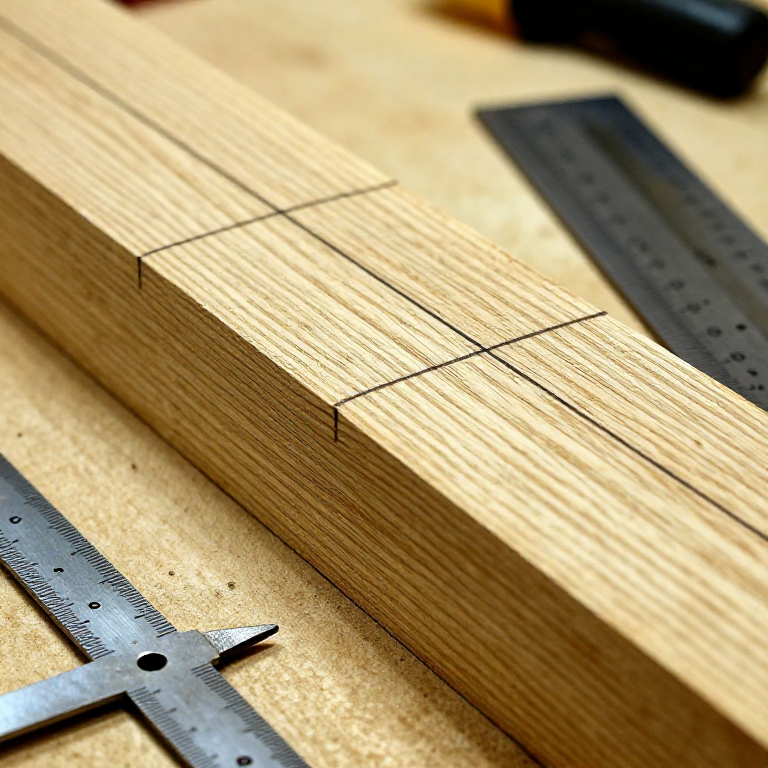
The mortise and tenon must be marked to matching dimensions. The tenon width should be approximately one-third the thickness of the timber it is cut from — this is the traditional proportion that provides the best balance of joint strength and wood remaining around the mortise. Set a marking gauge to the tenon width and scribe parallel lines on both the mortise timber (marking the slot position) and the tenon timber (marking the shoulder lines and tenon width) on all relevant faces. Use a try square to mark the shoulder lines on the tenon piece — these must be perfectly square to ensure the joint seats flush. Mark the mortise length on its timber — it should match the tenon width exactly. Medieval carpenters marked their joints with Roman numeral assembly marks (marriage marks) so each joint pair could be identified during the raising of the frame.
วัสดุสำหรับขั้นตอนนี้:
 Oak Hardwood Plywoodas needed for project ชิ้น
 Hardwood Dowel Rods 1/4"1-2 per joint ชิ้น
เครื่องมือที่ต้องใช้:
 Iron Chisel
 Tenon saw (backsaw)
 Marking Gauge
 Try Square
Chop the Mortise
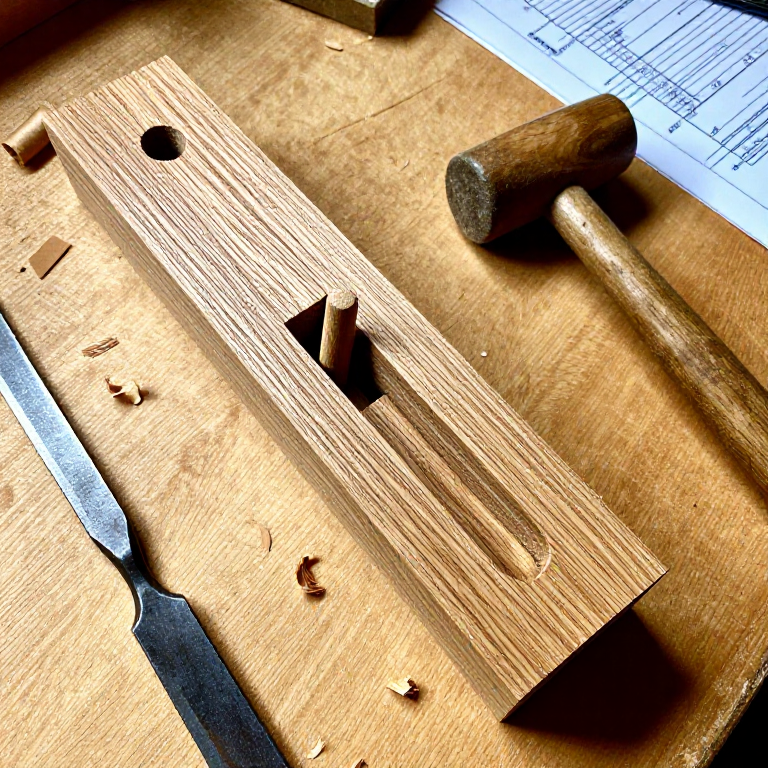
Chop the Mortise
Clamp the mortise timber securely. Begin chopping the mortise from the centre of the marked area, working outward toward each end. Drive the mortise chisel vertically with the mallet, levering out the waste chips between strokes. Work from both faces of the timber if cutting a through-mortise (one that passes completely through the timber), meeting in the middle to prevent blowout on the exit face. Keep the chisel perpendicular to the timber face and the mortise walls straight and clean. Do not chop right to the marked end lines initially — leave 2 to 3 mm and pare to the final dimension with careful, controlled chisel cuts. The mortise walls must be flat and parallel for the tenon to seat properly. A well-cut mortise should have clean, square corners and flat walls with no ragged chisel marks.
Cut the Tenon
Cut the Tenon
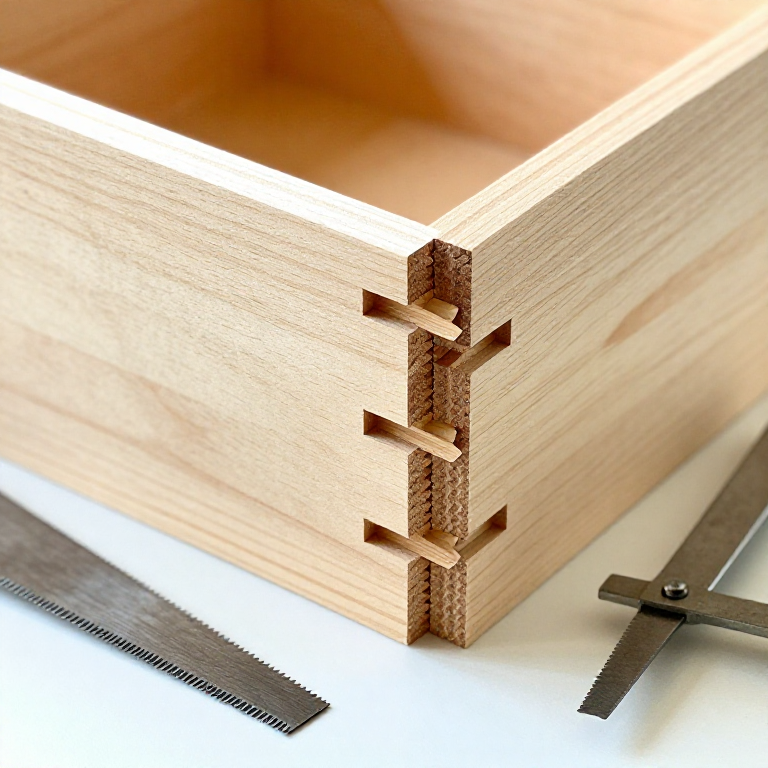
Clamp the tenon timber vertically in a vice or against a bench stop. Using a tenon saw, cut along the shoulder lines down to the depth lines, removing the waste on both sides of the tenon (the cheek cuts). Then cut along the depth lines (the shoulder cuts) from each face to meet the cheek cuts, removing the waste and leaving the projecting tenon. Test-fit the tenon in the mortise — it should slide in with moderate hand pressure. If too tight, pare the tenon cheeks with a sharp chisel, removing thin shavings until the fit is snug. If too loose, the joint will be weak. A well-fitted mortise-and-tenon should require a few taps with a mallet to seat fully but should not need heavy driving that could split the mortise timber.
Drill and Drawbore the Peg Holes
Drill and Drawbore the Peg Holes
With the joint assembled dry (without glue), drill a hole through the mortise timber and through the tenon using a brace and bit. The hole should pass through the centre of the tenon's width. For maximum strength, medieval carpenters used a technique called drawboring: after drilling through the assembled joint, they disassembled it and re-drilled the tenon's hole offset by 2 to 3 mm closer to the tenon shoulder. When the tapered peg is driven through the aligned mortise holes and the offset tenon hole, it pulls the tenon tight into the mortise, creating a permanently tightened joint with no play. The hole diameter should match the peg diameter (typically 12 to 20 mm for structural timbers). Using green (unseasoned) wood for the peg in a dry timber adds additional tightening as the peg dries and shrinks radially while expanding slightly in length.
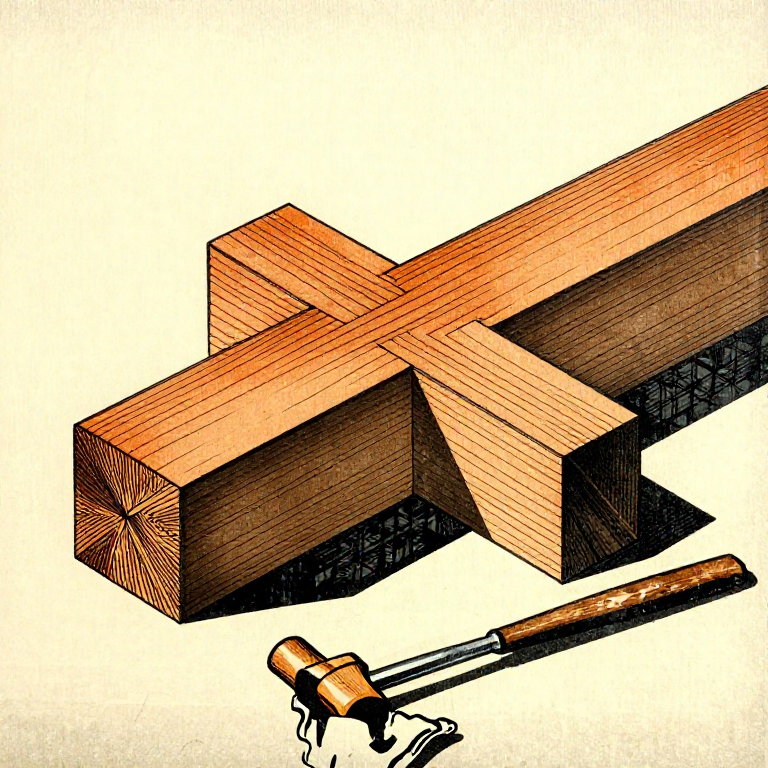
Drive the Peg and Finish
Drive the Peg and Finish
Reassemble the joint fully, ensuring the shoulders seat flush. Taper one end of the hardwood peg slightly to ease entry. Drive the peg through the holes with a mallet. If the holes were drawbored, the peg will pull the tenon progressively tighter as it passes through the offset tenon hole. The peg should protrude slightly on the exit side — trim it flush with a saw and chisel. The completed joint should be tight with no visible gaps at the shoulders. A properly cut and pegged mortise-and-tenon joint will last for centuries — medieval timber-frame buildings across Europe have survived 500 to 800 years with their original joints intact, demonstrating the extraordinary structural integrity of this simple but effective connection.
วัสดุ
2- as needed for project ชิ้นตัวยึดตำแหน่ง
- 1-2 per joint ชิ้นตัวยึดตำแหน่ง
เครื่องมือที่จำเป็น
6- ตัวยึดตำแหน่ง
- ตัวยึดตำแหน่ง
- ตัวยึดตำแหน่ง
- ตัวยึดตำแหน่ง
Related blueprints
Other builds that share materials, tools, or techniques with this one.

CC0 สาธารณสมบัติ
พิมพ์เขียวนี้เผยแพร่ภายใต้ CC0 คุณสามารถคัดลอก แก้ไข แจกจ่าย และใช้งานผลงานนี้เพื่อวัตถุประสงค์ใดก็ได้ โดยไม่ต้องขออนุญาต
สนับสนุนเมกเกอร์โดยซื้อสินค้าผ่านพิมพ์เขียวของพวกเขา ซึ่งพวกเขาจะได้รับ ค่าคอมมิชชันเมกเกอร์ ที่ผู้ขายกำหนด หรือสร้างเวอร์ชันใหม่ของพิมพ์เขียวนี้และรวมเป็นการเชื่อมต่อในพิมพ์เขียวของคุณเพื่อแบ่งรายได้