การทำงานร่วมกัน
ศิลปะ
ความงามและสุขภาพ
งานฝีมือ
วัฒนธรรมและประวัติศาสตร์
ความบันเทิง
สิ่งแวดล้อม
อาหารและเครื่องดื่ม
วิศวกรรมย้อนรอย
วิทยาศาสตร์
กีฬา
เทคโนโลยี
อุปกรณ์สวมใส่


Chinese Dragon Kite: Bamboo-Ring Head With Revolving Eyes and 20 Sections on a Seine-Twine Harness (Boy Mechanic, 1919)
C. M. Miller's dragon kite from The Boy Mechanic, Book 3 (1919): a 12 in bamboo-ring head with horns and two paper eyes that spin in the wind, followed by up to 20 round section kites, each with a 36 in balancer stick, tied 30 in apart on three cords of seine twine. Twenty sections make a kite about 50 ft long.
ขั้นสูง
Several days
คำแนะนำ
1
1
Strip lengths and kite length
Strip lengths and kite length
กำลังโหลดสมุด Jupyter…
2
2
Read The Boy Mechanic, Book 3
Read The Boy Mechanic, Book 3
"Dragon kites are made as hideous as the maker can possibly conceive, and while the one to be considered is no beauty, it is more droll than fierce-looking."
3
3
Split and pare the bamboo
Split and pare the bamboo
Split bamboo into strips about 3/16 in wide and pare them to less than 1/16 in thick for the head's inner ring A. To bend a strip to a sharp angle, heat it over a candle flame until it gives under pressure, bend it, and it keeps its shape when cold.
วัสดุสำหรับขั้นตอนนี้:
 ลำไผ่ยาว1 ชิ้น
เครื่องมือที่ต้องใช้:
 มีดพับเหล็ก
 เทียน
4
4
Frame the head
Frame the head
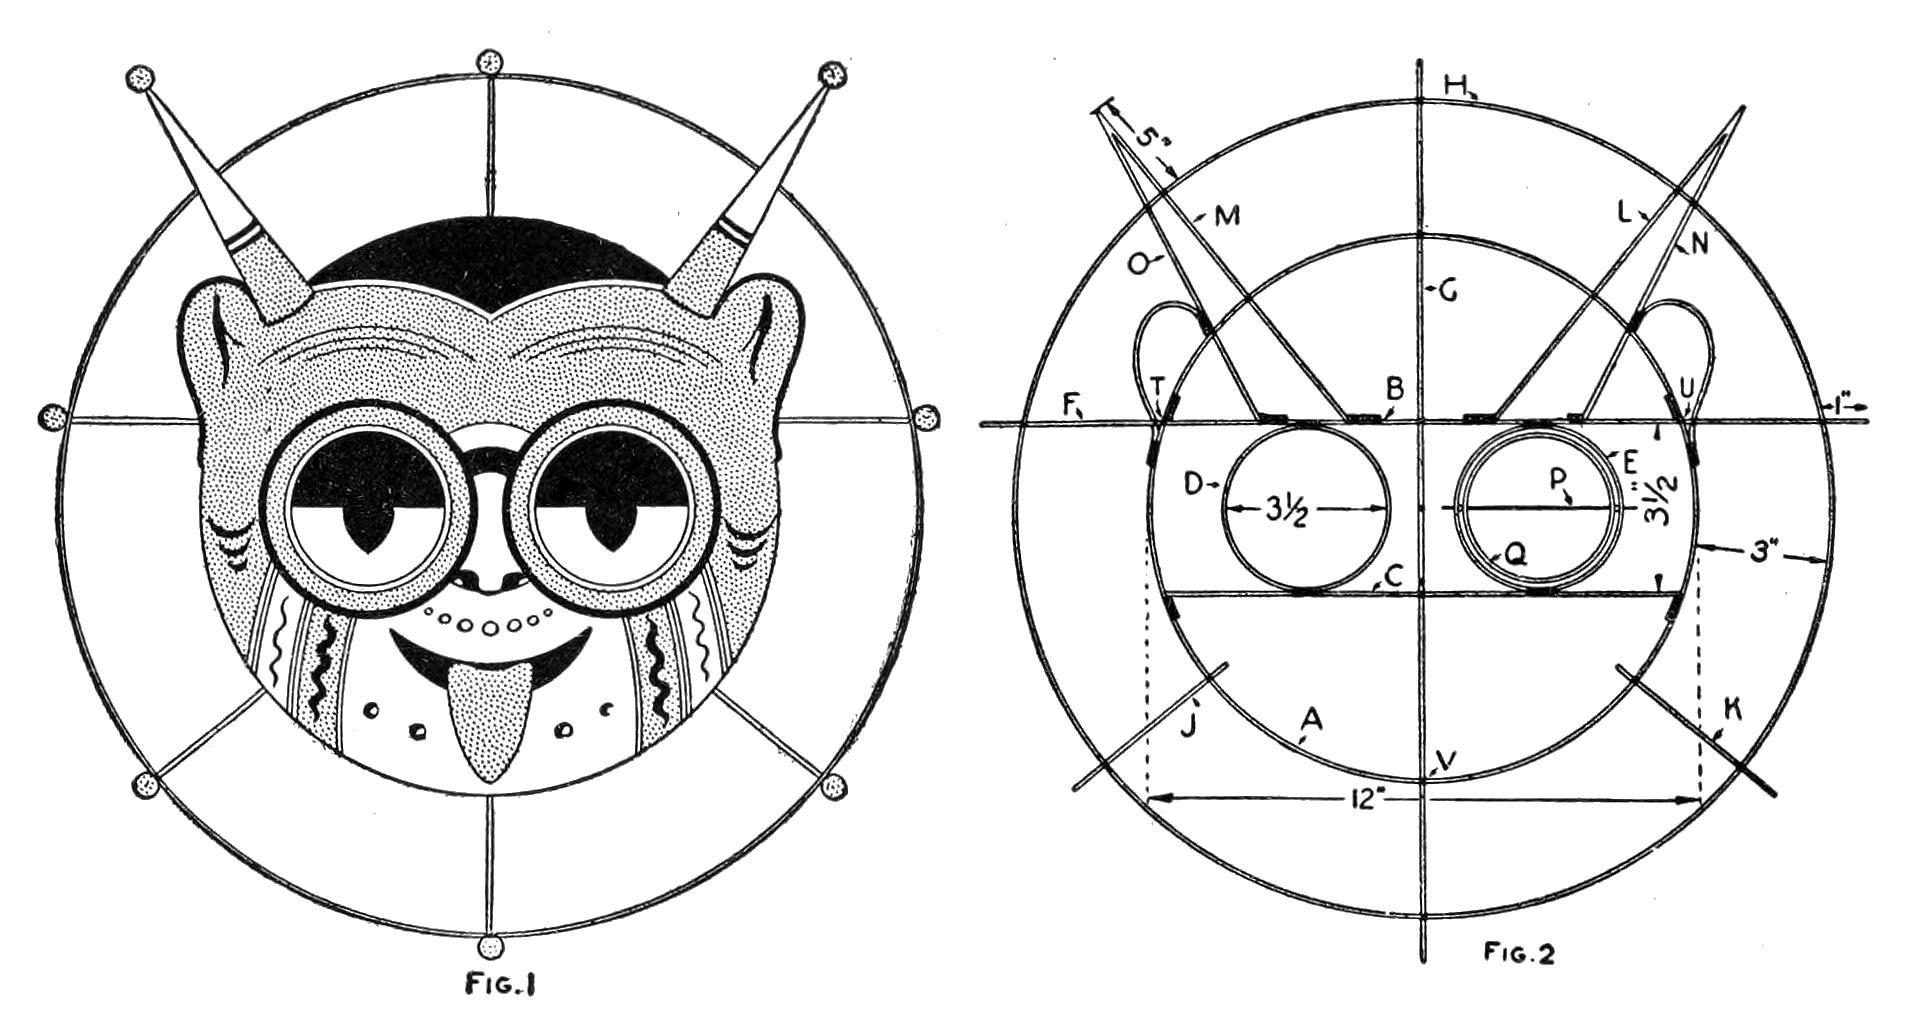
Make ring A 12 in across from a strip about 38 in long, lapping the ends and winding them with linen thread (or with wet pasted strips of rice paper about 1/2 in wide, which bind as they dry). Lash two crosspieces B and C of the same stock 3-1/2 in apart, parallel and equally spaced from the centre, their ends bent sharply and lashed inside the ring. Lash two eye rings D and E, 3-1/2 in across, between them, shaped round a 3-1/2 in cylinder so they are true. Lash stiffeners F and G, 1/16 by 1/8 by 20 in, across the back. Add outer ring H, 3 in outside A (18 in across), of 1/8 in strip under 1/16 in thick, in two pieces if needed, and the short pieces J and K between the rings. Lash the horn supports, 1/8 in wide, to the upper crosspiece and both rings, with L and M halfway between the ends of F and G and radiating from the centre of A, and N and O pointing at the eye-ring centres (Fig. 2).
วัสดุสำหรับขั้นตอนนี้:
ลำไผ่ยาว1 ชิ้น ด้ายลินิน1 ชิ้น
เครื่องมือที่ต้องใช้:
มีดพับเหล็กเทียน ตลับเมตร
 กรรไกร
5
5
Cover and paint the head
Cover and paint the head
Cover only the inside of ring A, the horns and the ears with Chinese rice paper, stretched tight with no bagging, leaving the eye rings open. Put the rings on the horns and stick ends, 1/2 to 2 in across, cut from stiff paper (larger ones of bamboo). Shade with a brush and water colours, leaving the face white or tinting it; leave the horns white and colour the tongue red (Fig. 1).
วัสดุสำหรับขั้นตอนนี้:
 กระดาษสา (ไรซ์เปเปอร์)1 ชิ้น
 กาวแป้งสาลี1 ชิ้น
 กระดาษการ์ด1 ชิ้น
 สีน้ำ1 ชิ้น
เครื่องมือที่ต้องใช้:
 แปรงทากาว
 ชุดพู่กันศิลปินกรรไกร
6
6
Make the revolving eyes
Make the revolving eyes
Pare bamboo to 1/32 in and form each eye into a true ring 3-1/4 in across. Pass a wire axle exactly on a diameter through the eye ring and through its socket ring D or E, with a glass bead on the wire each side between the two rings; fix the wire to the eye ring with a strip of paper wrapped tight and pasted. Cover each side halfway with rice paper, the front upper half and the back lower half, so the wind turns the eye. Blacken the front upper half and paste a round pupil between the halves so it shows on both sides (Figs. 3, 4).
วัสดุสำหรับขั้นตอนนี้:
ลำไผ่ยาว1 ชิ้น ลวดเหล็กดัด1 ชิ้น
 ลูกปัดแก้ว4 ชิ้นกระดาษสา (ไรซ์เปเปอร์)1 ชิ้นกาวแป้งสาลี1 ชิ้นสีน้ำ1 ชิ้น
เครื่องมือที่ต้องใช้:
มีดพับเหล็ก คีมปากแบนกรรไกรชุดพู่กันศิลปิน
7
7
Make the section kites
Make the section kites
For each section make a 12 in ring of bamboo 1/8 in wide and 1/16 in thick and cover it tight like the head. Lash on a balancer stick 36 in long, small, light and well balanced, at about the place of cross-stick F, with tufts of tissue paper or feathers at its tips. Colour the discs as you like; give the last section's balancer streamers of light cloth (Figs. 5, 6). Sections may instead be 9 in with 30 in balancers, but uniform sections are better and easier.
วัสดุสำหรับขั้นตอนนี้:
ลำไผ่ยาว1 ชิ้นด้ายลินิน1 ชิ้นกระดาษสา (ไรซ์เปเปอร์)1 ชิ้นกาวแป้งสาลี1 ชิ้น กระดาษแก้วสี (กระดาษทิชชูสี)1 ชิ้น
 ขนนก1 ชิ้น
 ผ้าฝ้าย1 ชิ้นสีน้ำ1 ชิ้น
เครื่องมือที่ต้องใช้:
มีดพับเหล็กเทียนกรรไกรชุดพู่กันศิลปิน8
8
Tie the harness and bridle
Tie the harness and bridle
Cut three cords of six-ply hard-twisted seine twine as long as the kite plus the knots. Fasten the head to a wall, tie the three cords to it at T, U and V (Fig. 2), and tie each section at the matching points exactly 30 in from the last (Fig. 7). Tie a three-string bridle to the head at T, U and V, the lower string longer than the two upper ones so the head, and with it every section, leans to the wind. A ball balancer of bamboo strips may hang from the head (Fig. 8).
วัสดุสำหรับขั้นตอนนี้:
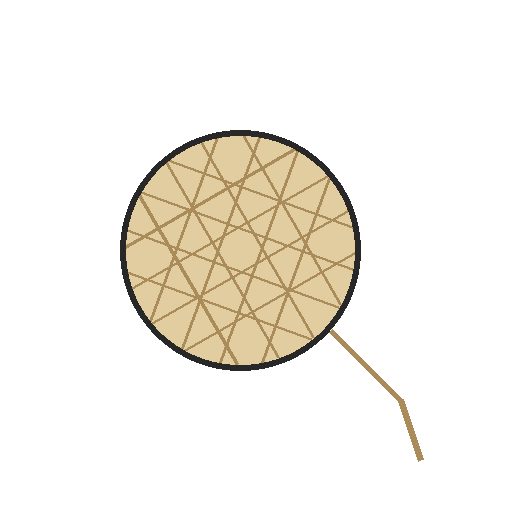 ด้ายถักแห1 ชิ้น
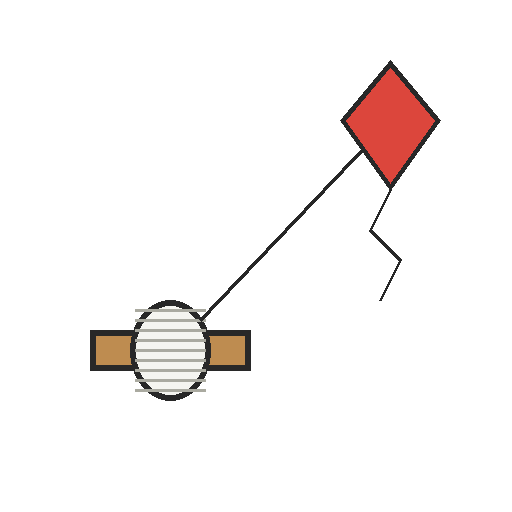 ด้ายว่าว1 ชิ้นลำไผ่ยาว1 ชิ้น
เครื่องมือที่ต้องใช้:
ตลับเมตรกรรไกร9
9
Flying and troubleshooting
Flying and troubleshooting
Dragon kite flying.
Flow
Loading...
10
10
History and honest limits
History and honest limits
From "How to Make Combined Kites, Part I: A Dragon Kite" by C. M. Miller, in **The Boy Mechanic, Book 3**, Popular Mechanics, 1919 (Project Gutenberg 71856; checked on the archive.org scan boymechanic0003unse, pp. 145-148). He gives no bridle lengths and no line size beyond "a strong cord". Fig. 2 also marks 5 in at the horn tip and 1 in where F passes ring H. The tools and metric figures are ours.
วัสดุ
13- 1 ชิ้นตัวยึดตำแหน่ง
- 2 ชิ้นตัวยึดตำแหน่ง
- 1 ชิ้นตัวยึดตำแหน่ง
- 1 ชิ้นตัวยึดตำแหน่ง
- 1 ชิ้นตัวยึดตำแหน่ง
- 3 ชิ้นตัวยึดตำแหน่ง
- 1 ชิ้นตัวยึดตำแหน่ง
- 4 ชิ้นตัวยึดตำแหน่ง
- ตัวยึดตำแหน่ง
- 1 ชิ้นตัวยึดตำแหน่ง
- 1 ชิ้นตัวยึดตำแหน่ง
- 1 ชิ้นตัวยึดตำแหน่ง
- 1 ชิ้นตัวยึดตำแหน่ง
พิมพ์เขียวนี้สร้าง
บลูพริ้นท์ที่เกี่ยวข้อง
บลูพริ้นท์เหล่านี้แบ่งปันความรู้ — เทคนิค วัสดุ หรือหลักการ
CC0 สาธารณสมบัติ
พิมพ์เขียวนี้เผยแพร่ภายใต้ CC0 คุณสามารถคัดลอก แก้ไข แจกจ่าย และใช้งานผลงานนี้เพื่อวัตถุประสงค์ใดก็ได้ โดยไม่ต้องขออนุญาต
สนับสนุนเมกเกอร์โดยซื้อสินค้าผ่านพิมพ์เขียวของพวกเขา ซึ่งพวกเขาจะได้รับ ค่าคอมมิชชันเมกเกอร์ ที่ผู้ขายกำหนด หรือสร้างเวอร์ชันใหม่ของพิมพ์เขียวนี้และรวมเป็นการเชื่อมต่อในพิมพ์เขียวของคุณเพื่อแบ่งรายได้