ศิลปะ
ความงามและสุขภาพ
งานฝีมือ
วัฒนธรรมและประวัติศาสตร์
ความบันเทิง
สิ่งแวดล้อม
อาหารและเครื่องดื่ม
อนาคตสีเขียว
วิศวกรรมย้อนรอย
วิทยาศาสตร์
กีฬา
เทคโนโลยี
อุปกรณ์สวมใส่
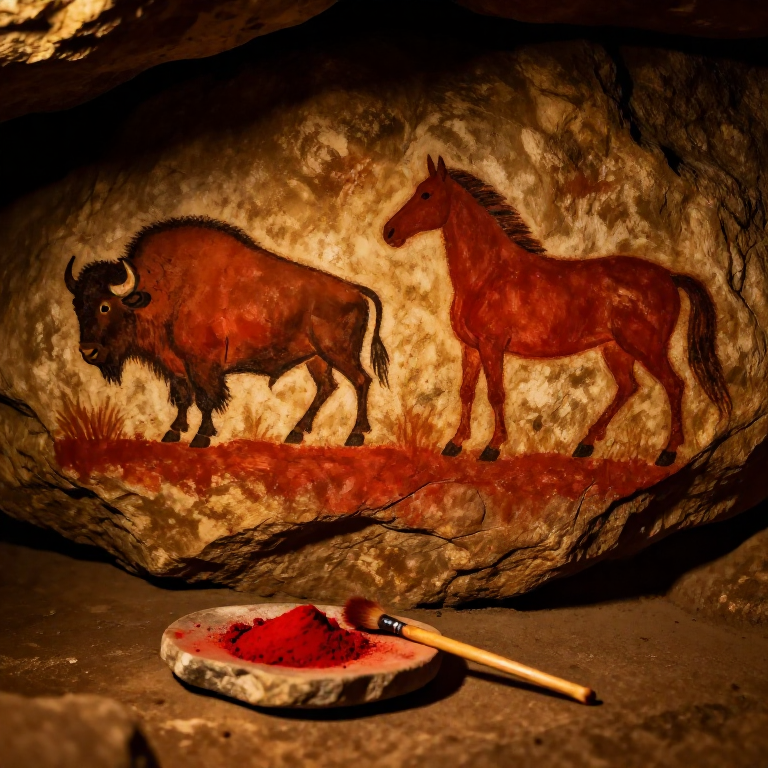
Making Cave Paintings with Mineral Pigments — Prehistoric Rock Art Techniques
Cave painting is humanity's oldest known art form, with the earliest confirmed examples dating to at least 45,500 years ago (a life-sized depiction of a Sulawesi warty pig in Leang Tedongnge cave, Indonesia). European examples include Chauvet cave in France (36,000 years old), Lascaux (17,000 years), and Altamira in Spain (14,000 years). Prehistoric artists used mineral pigments ground into fine powder and mixed with binders to create remarkably durable paints — the chemistry of these paints is so stable that they remain vivid after tens of thousands of years on cave walls. The pigment palette was drawn entirely from earth minerals: red and yellow from iron oxides (ochre contains goethite for yellow and hematite for red), black from manganese dioxide or charcoal (amorphous carbon), and white from kaolin clay or calcium carbonate (chalk). Binders included animal fat, blood serum, egg white, plant sap, urine, and water — each producing different paint textures and adhesion properties. Application methods were varied and sophisticated: direct finger painting, chewed stick brushes (frayed twig ends create a soft bristle), blowing dry pigment through hollow bird bones to create stencils (negative hand prints at sites like Cueva de las Manos), and daubing with pads of moss, fur, or crumpled hide. The stone surface itself was often prepared by scraping smooth or dampening before application. This blueprint teaches the complete process of sourcing, grinding, and mixing mineral pigments, preparing binders, and applying paint to stone surfaces using authentic prehistoric methods.
ระดับกลาง
2-3 hours
คำแนะนำ
1
1
Source Red and Yellow Ochre Pigments
Source Red and Yellow Ochre Pigments
Collect ochre from natural deposits — ochre is a naturally occurring earth pigment found in clay beds, riverbanks, exposed rock faces, and near iron-bearing geological formations. Red ochre (containing hematite, Fe2O3) ranges from brick red to deep crimson. Yellow ochre (containing goethite, FeOOH) ranges from golden yellow to dark amber. Ochre deposits are often visible as coloured streaks in cliff faces or as brightly coloured clay layers exposed by erosion. Collect pieces that are deeply and uniformly coloured — pale or streaky pieces contain less pigment and more inert clay. A fist-sized lump of good-quality ochre yields enough pigment for multiple paintings.
วัสดุสำหรับขั้นตอนนี้:
 Ochre Lumps (Red and Yellow)3 ชิ้น
2
2
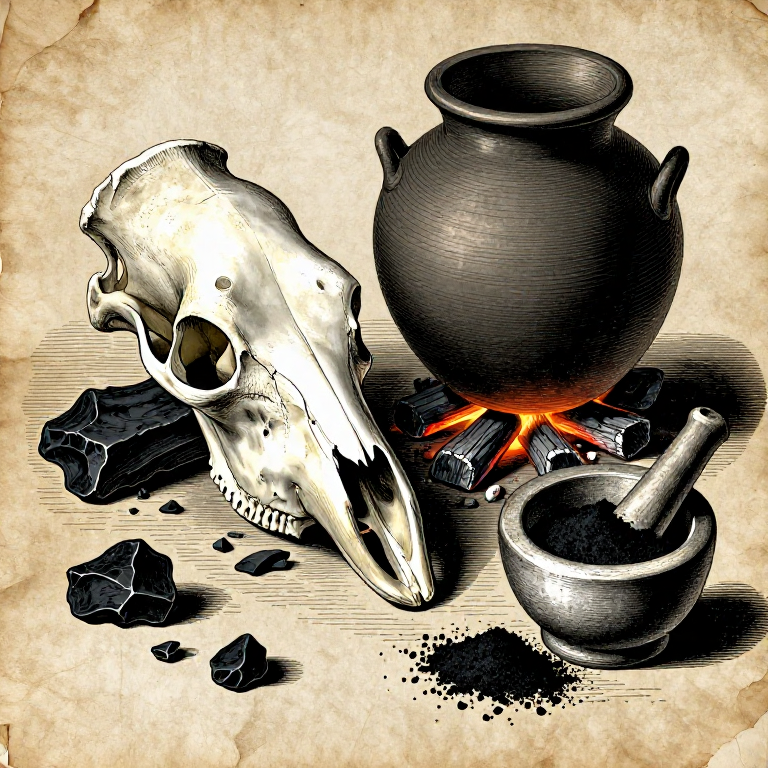
Source Black Pigment from Charcoal or Manganese
Source Black Pigment from Charcoal or Manganese
For black, use hardwood charcoal — the same material produced by charcoal making. Charcoal black (amorphous carbon) produces a soft, matte black. For a denser, more intense black with a slightly bluish tone, seek manganese dioxide (pyrolusite), a black mineral found in some rock formations and occasionally as a black coating on river stones. Manganese dioxide produces the deepest blacks seen in cave paintings and is more permanent than charcoal black. Both pigments must be ground to a fine powder before mixing with binder.
วัสดุสำหรับขั้นตอนนี้:
 Charcoal50 ก.
3
3
Source White Pigment (Optional)
Source White Pigment (Optional)
White pigment can be obtained from kaolin clay (a pure white clay found in deposits near weathered granite), chalk (calcium carbonate, found in chalk cliffs and limestone regions), or diatomaceous earth. White is the rarest colour in cave paintings — most prehistoric artists used the natural light colour of the cave wall as their white. If a white pigment is needed for highlights or mixing lighter shades, select the purest, whitest material available and keep it separate from coloured pigments to avoid contamination.
วัสดุสำหรับขั้นตอนนี้:
 Kaolin Clay1 ชิ้น
4
4
Crush Pigment Lumps with a Hammerstone
Crush Pigment Lumps with a Hammerstone
Place each pigment lump on a flat stone slab (the grinding surface) and strike it with a hammerstone to break it into coarse fragments, roughly pea-sized. Work each colour separately to avoid contamination — clean the grinding surface between colours or use different stones. Ochre is relatively soft (Mohs hardness 1 to 3) and breaks easily. Manganese dioxide is harder (5 to 6 on Mohs scale) and requires more force. Charcoal is the softest and crushes with finger pressure alone.
วัสดุสำหรับขั้นตอนนี้:
 Flat Stone Slab1 ชิ้น
เครื่องมือที่ต้องใช้:
 Hammerstone
5
5
Grind Pigments to a Fine Powder
Grind Pigments to a Fine Powder
Using a smooth, rounded river stone as a grinding pestle (also called a muller), grind the crushed pigment fragments against the flat stone slab in a circular motion. Apply steady, even pressure. The goal is to reduce the pigment to the finest possible powder — coarse particles produce gritty paint that does not adhere well to stone surfaces. Good-quality pigment powder should feel silky between your fingers with no gritty texture. Ochre powder should pass the thumbnail test: rub a pinch between your thumbnail and finger — it should leave a smooth, continuous colour streak with no visible grains. Grinding each colour takes 10 to 20 minutes of steady work.
6
6
Prepare the Binder
Prepare the Binder
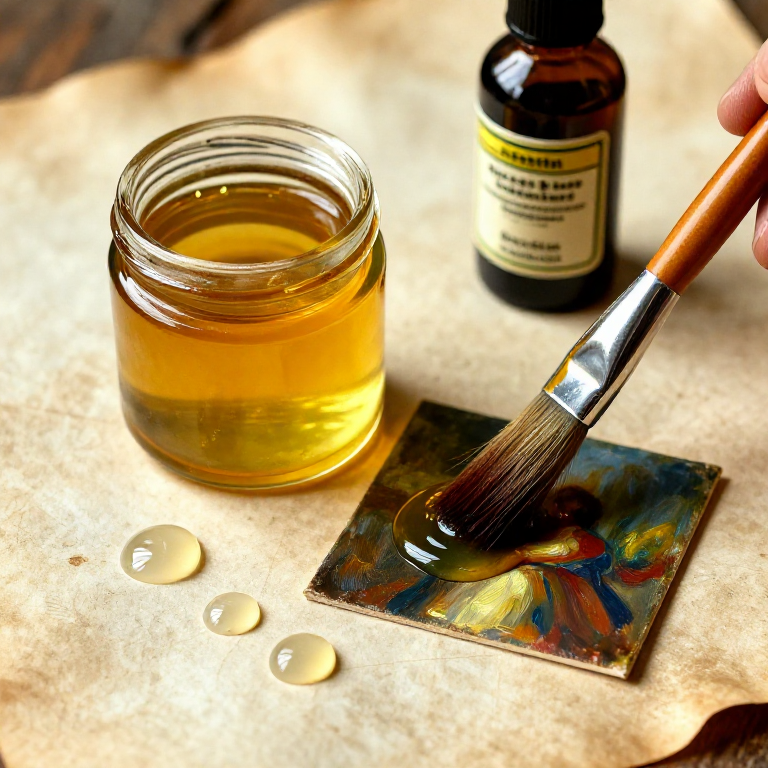
The binder is the liquid that suspends the pigment particles and makes them adhere to the stone surface. Animal fat (rendered tallow or marrow grease) is the most common and effective prehistoric binder: it produces a smooth, buttery paint with excellent adhesion and slight water resistance when dry. Warm a small amount of animal fat near the fire until it liquefies — approximately 2 tablespoons (30 ml) per colour. Other binders used by prehistoric artists include: blood serum (the clear liquid that separates from clotted blood — surprisingly effective as a paint binder), egg white, plant sap (especially from pine or birch), urine (which contains urea, an effective dispersant), and plain water (the simplest binder, but produces the least durable paint).
วัสดุสำหรับขั้นตอนนี้:
 Animal Fat100 ก.
7
7
Mix Pigment and Binder into Paint
Mix Pigment and Binder into Paint
Place a mound of ground pigment on the flat stone slab. Create a shallow well in the centre and pour in a small amount of warm liquid binder. Using a finger, smooth stick, or bone tool, gradually work the binder into the pigment from the edges inward, mixing thoroughly. Add binder in small increments — it is easier to thin a thick paste than to thicken a runny one. The target consistency depends on application method: thick paste (like soft butter) for finger painting, thinner liquid (like cream) for brush painting, and dry powder for blow-pipe stenciling. Mix each colour separately. The mixed paint can be stored in small bark cups, shell vessels, or hollows scooped in a flat stone.
8
8
Prepare Application Tools
Prepare Application Tools
Make a set of application tools for different painting techniques. Chewed stick brush: take a twig of willow, lime, or other fibrous wood about 15 cm long and 1 cm diameter, and chew one end until the fibres separate into a soft brush. Different woods produce different brush textures — willow makes a soft, fine brush; oak makes a stiffer one. Moss dauber: wrap a walnut-sized ball of sphagnum moss or fur around the end of a stick and tie with sinew, creating a sponge-like applicator for broad areas of colour. Blow pipe: select a hollow bird bone or reed tube 15 to 20 cm long for blowing dry pigment to create stencils.
9
9
Prepare the Stone Surface
Prepare the Stone Surface
The stone surface to be painted should be clean, dry, and relatively smooth. Brush away loose dust, cobwebs, and mineral deposits with a dry bundle of grass. If the surface is rough or uneven, smooth high spots by scraping with a flat stone scraper. Some prehistoric artists lightly dampened the stone surface immediately before painting — a damp surface absorbs pigment slightly, anchoring the first paint layer. Do not paint on wet or dripping surfaces, as running water will dissolve the paint before it sets. If painting in a cave or overhang, the location naturally protects the work from rain and direct sunlight, which is why cave paintings survive for millennia while exposed rock art fades.
10
10
Apply Base Colours and Outlines
Apply Base Colours and Outlines
Begin by painting outlines of the intended image. Prehistoric artists typically started with a charcoal or manganese black outline, establishing the shape of the animal, hand, or geometric figure before filling with colour. Use a chewed stick brush or a fingertip dipped in black paint to draw the outline. Keep the brush loaded with paint but not dripping. For fine lines, use the tip of the chewed brush or a sharpened twig. For bold outlines, use a finger. The outline does not need to be a single continuous stroke — short, overlapping strokes produce a more controlled line on rough stone.
11
11
Fill Areas with Colour
Fill Areas with Colour
Use a moss dauber, fur pad, or broad brush strokes to fill the outlined areas with colour. Red ochre was the dominant fill colour in most cave painting traditions, with yellow ochre used for highlights and details. Apply paint in thin, even layers rather than one thick coat — thin layers adhere better and dry more uniformly. For large areas (the body of a bison or horse), load the dauber generously and work in overlapping strokes. Prehistoric artists at Lascaux achieved subtle shading by varying the density of pigment — thicker layers for shadows, thinner layers for highlights — using the natural contours of the rock surface to create a three-dimensional effect.
12
12
Create Hand Stencils by Blowing Pigment
Create Hand Stencils by Blowing Pigment
Hand stencils — one of the most widespread forms of cave art, found on every inhabited continent — are made by placing a hand flat against the stone wall and blowing dry pigment powder over it through a hollow tube. Place your hand firmly against the dry stone surface with fingers spread. Load the blowing tube by dipping one end into dry pigment powder. Hold the loaded end 10 to 15 cm from the hand and blow a steady, controlled stream of pigment around all edges of the hand. Multiple passes build up an even coating. When the hand is removed, a negative image remains — the outline of the hand surrounded by a halo of pigment. This technique works best with finely ground dry ochre or charcoal and requires practice to control the pigment stream evenly.
13
13
Add Details and Final Touches
Add Details and Final Touches
Use a fine chewed stick brush or a sharpened bone point to add details: eyes, hooves, horns, fur texture, and movement lines. At Chauvet cave, artists used finger smudging to blend colours and create soft gradients on animal bodies. At Lascaux, artists scraped through wet paint with a stone edge to reveal lighter stone beneath, creating sharp highlight lines on animal flanks. Experiment with these techniques: smudging with a fingertip softens edges and creates depth, while scraping through paint to the stone adds crisp details. Allow each paint layer to dry partially before adding the next layer on top — painting wet-on-wet causes colours to bleed together.
14
14
Allow the Painting to Dry and Cure
Allow the Painting to Dry and Cure
Allow the finished painting to dry undisturbed for at least 24 hours. Fat-based binders oxidize slowly as the fat cures, gradually increasing the paint's adhesion and water resistance over days to weeks. Water-based paints dry faster but are less durable. In the sheltered environment of a cave or rock overhang, with stable temperature and humidity and no direct sunlight or rain, mineral pigment paintings are extraordinarily permanent — the pigment particles become physically embedded in the microscopic pores of the stone surface. This is why cave paintings at Chauvet, Lascaux, and Altamira have survived for tens of thousands of years with their colours still vivid. The durability comes from the inherent chemical stability of iron oxides, manganese dioxide, and carbon — these minerals do not fade, oxidize, or decompose under normal conditions.
วัสดุ
5- ตัวยึดตำแหน่ง
- 1 ชิ้นตัวยึดตำแหน่ง
- 1 ชิ้นตัวยึดตำแหน่ง
- 100 ก.ตัวยึดตำแหน่ง
เครื่องมือที่จำเป็น
1- ตัวยึดตำแหน่ง
วัสดุจากพิมพ์เขียวที่เชื่อมต่อ
บลูพริ้นท์ที่เกี่ยวข้อง
บลูพริ้นท์เหล่านี้แบ่งปันความรู้ — เทคนิค วัสดุ หรือหลักการ
Making a Hammerstone — The First Tool in Human Historyโดย Mary
Shaping a Saddle Quern Grinding Stone — Grain Processing Toolโดย Mary
Making a Bone Awl — Piercing Tool for Sewing and Basketryโดย Mary
Making Charcoal in an Earth Mound — Pyrolysis in a Covered Burnโดย Charlie
Rendering Tallow for a Stone Lamp — Portable Fat-Fuelled Lightโดย Charlie
Related blueprints
Other builds that share materials, tools, or techniques with this one.
Making Dammar Varnish — The Clear Picture Varnish for Oil Paintingschemistry
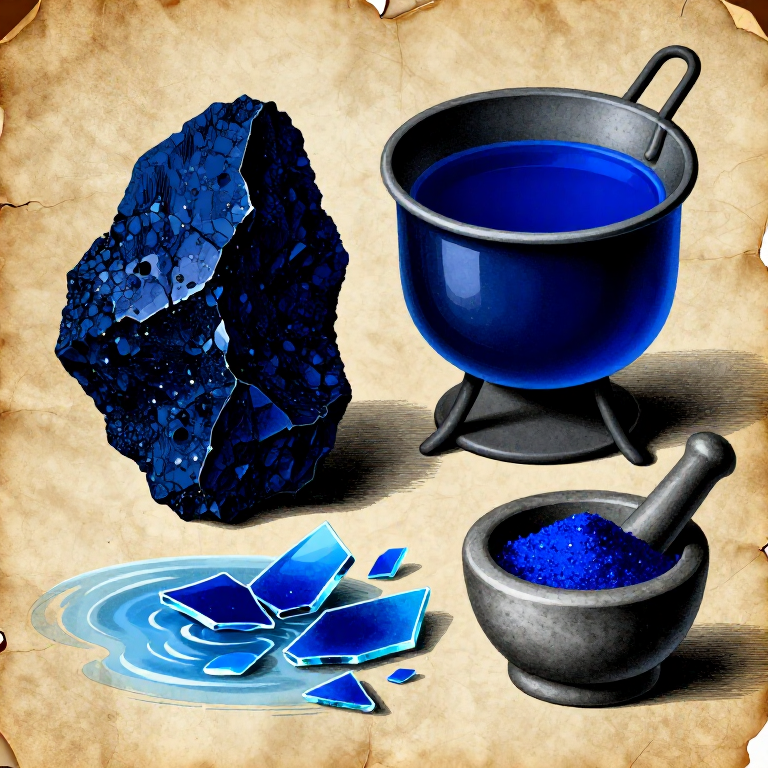
Making Smalt — Grinding Cobalt Blue Glass into the Renaissance Painter's Blue Pigmentchemistry

Making Egyptian Kohl Eye Cosmetic — Ancient Chemistry That Fought Infectionchemistry
Making Bone Black Pigment — Calcining Animal Bones into the Warm Black of Old Master Painterschemistry
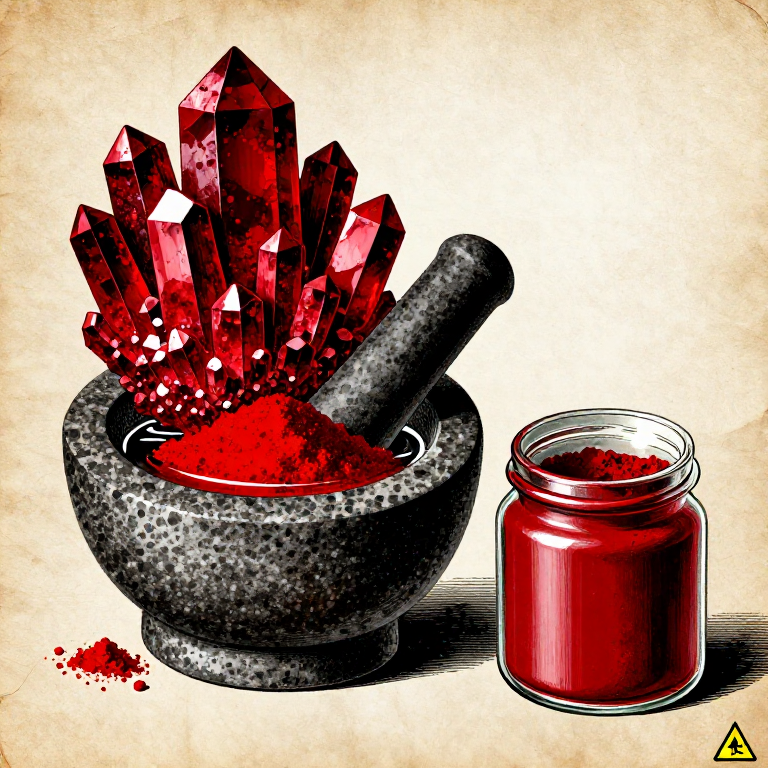
Making Cinnabar Red Pigment — Grinding Mercury Sulfide into the Most Vivid Red of the Ancient Worldchemistry
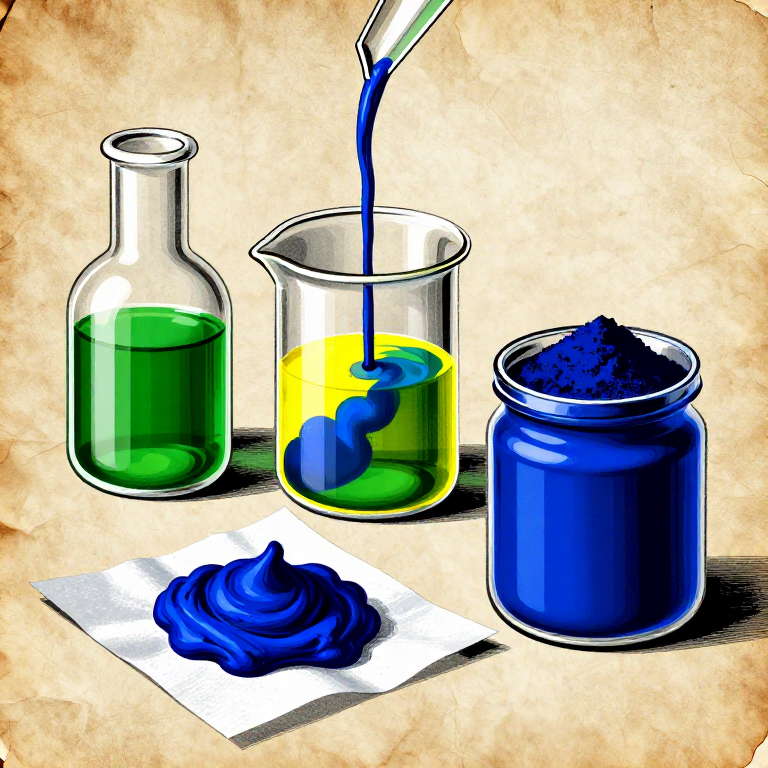
Making Prussian Blue — The First Modern Synthetic Pigment (Berlin, 1704)chemistry
CC0 สาธารณสมบัติ
พิมพ์เขียวนี้เผยแพร่ภายใต้ CC0 คุณสามารถคัดลอก แก้ไข แจกจ่าย และใช้งานผลงานนี้เพื่อวัตถุประสงค์ใดก็ได้ โดยไม่ต้องขออนุญาต
สนับสนุนเมกเกอร์โดยซื้อสินค้าผ่านพิมพ์เขียวของพวกเขา ซึ่งพวกเขาจะได้รับ ค่าคอมมิชชันเมกเกอร์ ที่ผู้ขายกำหนด หรือสร้างเวอร์ชันใหม่ของพิมพ์เขียวนี้และรวมเป็นการเชื่อมต่อในพิมพ์เขียวของคุณเพื่อแบ่งรายได้