ศิลปะ
ความงามและสุขภาพ
งานฝีมือ
วัฒนธรรมและประวัติศาสตร์
ความบันเทิง
สิ่งแวดล้อม
อาหารและเครื่องดื่ม
วิศวกรรมย้อนรอย
วิทยาศาสตร์
กีฬา
เทคโนโลยี
อุปกรณ์สวมใส่
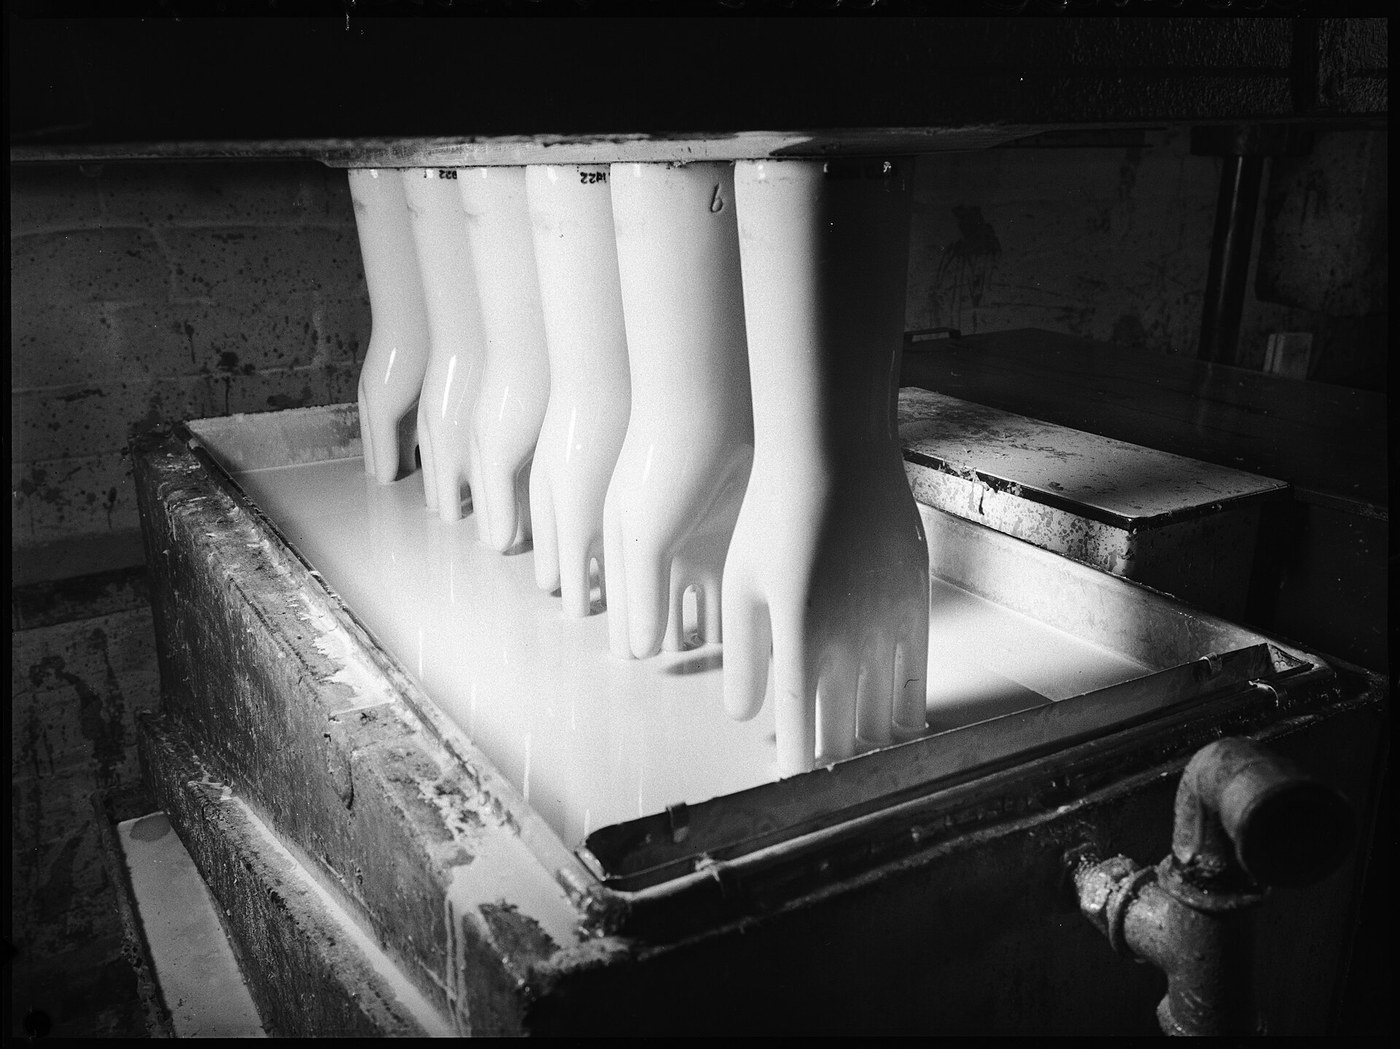


Rubber Gloves: Dipped on a Form, Lined and Turned Inside Out (Miller, 1915)
Seamless rubber gloves are made by dipping a hand-shaped form into a rubber solution, coat after coat. Thomas Miller of the Faultless Rubber Company added a cloth lining. After the glove is cured on the form, fabric is fixed to its outside. Peeling the glove off turns it inside out, so the lining ends up inside and the wrist trim outside.
Result: seamless rubber gloves lined with soft knitted fabric, whole or in parts, with a neat finishing strip at the wrist.
Source: T. W. Miller (Faultless Rubber Co.), US Patent 1,146,638 (1915). Unknown: the rubber solution and its solvent, how many dips, the drying and curing conditions, and sizes. Ours: the curing oven and the knife. Picture: Wikimedia Commons (glove forms, 1938).
ระดับกลาง
2 days
คำแนะนำ
1
1
Put the finishing strip on the form
Put the finishing strip on the form
Around the wrist of a glove form, put the finishing strip that will show on the outside of the finished glove. It can be a strip of rubber, a band of india ink stamped on, or a transfer, in a contrasting colour. A rubber strip also reinforces the wrist.
วัสดุสำหรับขั้นตอนนี้:
 ยางคอมปาวด์1 finishing strip
เครื่องมือที่ต้องใช้:
 แม่พิมพ์มือถุงมือ
2
2
Dip, dry and trim
Dip, dry and trim
Dip the form into the rubber solution, coat after coat, until the glove is as thick as you want, letting it dry in the usual way. Take each dip a little above the finishing strip. Then cut away the surplus beyond the strip, so the strip ends the glove at the wrist. Not given: the solution recipe and solvent, the number of dips and the drying time.
วัสดุสำหรับขั้นตอนนี้:
ยางคอมปาวด์1 dipping solution วัสดุที่ไม่ทราบ1 solvent
เครื่องมือที่ต้องใช้:
แม่พิมพ์มือถุงมือ มีดคัตเตอร์งานประดิษฐ์
 ขนาดที่ไม่ทราบ
3
3
Vulcanize on the form
Vulcanize on the form
Vulcanize the glove while it is still on the form. Not given: the temperature and time. Ours: a curing oven.
เครื่องมือที่ต้องใช้:
แม่พิมพ์มือถุงมือ เตาอบบ่มแข็ง
4
4
Fix the lining
Fix the lining
Cover the outside of the glove with a somewhat elastic fabric such as stockinet. Fix it with rubber cement, or by frictioning one face of the fabric so it grips the rubber. You can line the whole glove or only parts: the wrist, the finger crotches or the finger tips. Fabric put on before vulcanizing holds most firmly; put on after, it can be given a short extra cure.
วัสดุสำหรับขั้นตอนนี้:
 ผ้าที่ไม่ทราบ1 stockinetยางคอมปาวด์1 as cement
เครื่องมือที่ต้องใช้:
แม่พิมพ์มือถุงมือ5
5
Strip and turn
Strip and turn
Peel the glove off the form. Stripping turns it inside out, so the fabric is now the lining and the finishing strip is on the outside of the wrist.
เครื่องมือที่ต้องใช้:
แม่พิมพ์มือถุงมือวัสดุ
3- 1 as cementตัวยึดตำแหน่ง
- 1 solventตัวยึดตำแหน่ง
- 1 stockinetตัวยึดตำแหน่ง
เครื่องมือที่จำเป็น
4- ตัวยึดตำแหน่ง
- ตัวยึดตำแหน่ง
- ตัวยึดตำแหน่ง
- ตัวยึดตำแหน่ง
วัสดุจากพิมพ์เขียวที่เชื่อมต่อ
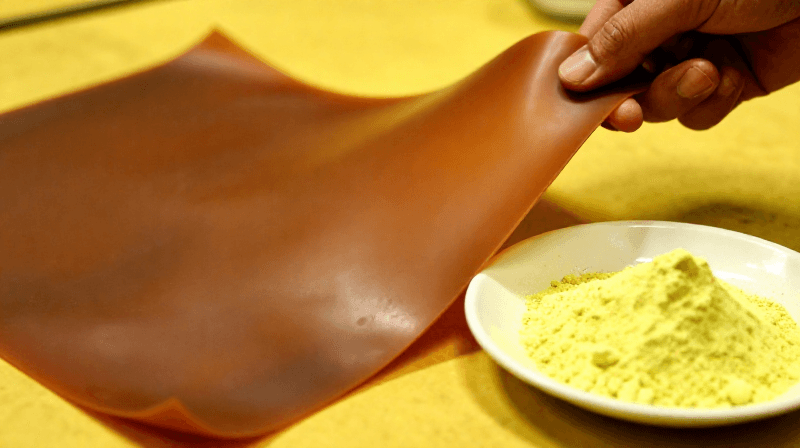
พิมพ์เขียวนี้สร้าง

CC0 สาธารณสมบัติ
พิมพ์เขียวนี้เผยแพร่ภายใต้ CC0 คุณสามารถคัดลอก แก้ไข แจกจ่าย และใช้งานผลงานนี้เพื่อวัตถุประสงค์ใดก็ได้ โดยไม่ต้องขออนุญาต
สนับสนุนเมกเกอร์โดยซื้อสินค้าผ่านพิมพ์เขียวของพวกเขา ซึ่งพวกเขาจะได้รับ ค่าคอมมิชชันเมกเกอร์ ที่ผู้ขายกำหนด หรือสร้างเวอร์ชันใหม่ของพิมพ์เขียวนี้และรวมเป็นการเชื่อมต่อในพิมพ์เขียวของคุณเพื่อแบ่งรายได้