ศิลปะ
ความงามและสุขภาพ
งานฝีมือ
วัฒนธรรมและประวัติศาสตร์
ความบันเทิง
สิ่งแวดล้อม
อาหารและเครื่องดื่ม
วิศวกรรมย้อนรอย
วิทยาศาสตร์
กีฬา
เทคโนโลยี
อุปกรณ์สวมใส่
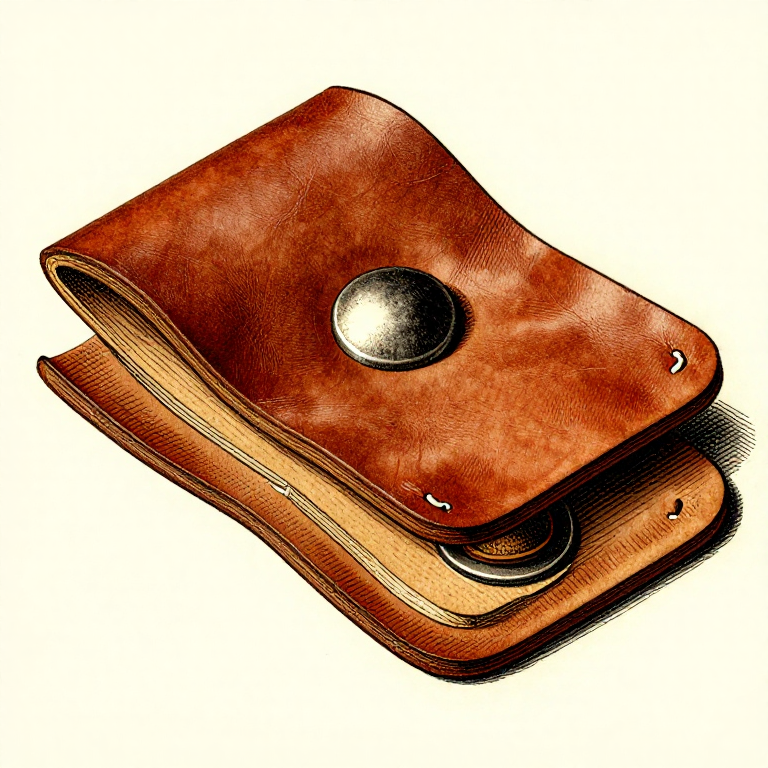


Setting Hardware: The Leather Fails Before the Rivet Does
Rivets, buckles, snaps and buckle slots are where finished leatherwork actually breaks, and almost never because the hardware was too weak.
A hole punched across a strap removes leather from exactly the place carrying the load, and a buckle slot removes a great deal of it. The metal is rarely the limit; the leather around it is.
This rung is how each piece of hardware is set properly, and the arithmetic of what each one costs the strap it is set into — because that comparison decides where hardware goes as much as how it is fitted.
ระดับกลาง
3 hours
คำแนะนำ
1
1
Rivets: sized to the stack, set square
Rivets: sized to the stack, set square
**Choose the length by the stack.** The post should stand about 1 to 2 mm proud of the leather before the cap goes on. Too short and the cap will not seat; too long and the post bends over sideways instead of swelling into the cap.
**Punch the hole a touch undersized**, so the rivet is a firm push fit. A rivet in a loose hole works back and forth and eventually tears its way out.
**Set on a steel block, with a setter.** A rivet setter is a domed punch that matches the cap; hitting a cap with a bare hammer flattens and marks it.
**One or two firm blows, square.** An angled blow sets the rivet crooked and it will never be right.
**Copper rivets and burrs** are the traditional heavy fastening: a solid copper post, a washer driven down over it with a setting tool, the post cut off short and peened over the burr with a ball hammer. Stronger than any two-part rivet and repairable — but it takes practice, because the peening has to spread the post without bending it.
**Two rivets in line with the pull are far stronger than one**, and two side by side across the strap are weaker than one, because they remove twice the width. The notebook puts numbers on that.
วัสดุสำหรับขั้นตอนนี้:
 หมุดย้ำทองแดง1 ชิ้น
 หมุดย้ำเหล็ก1 ชิ้น
 แถบหนังฟอกด้วยพืช1 ชิ้น
เครื่องมือที่ต้องใช้:
 ชุดเจาะรูหนัง
 ค้อนไม้
 เครื่องเจาะรูหนัง
2
2
What each fastening costs the leather
What each fastening costs the leather
กำลังโหลดสมุด Jupyter…
เครื่องมือที่ต้องใช้:
 คอมพิวเตอร์ตั้งโต๊ะ
3
3
Buckles, slots and the fold
Buckles, slots and the fold
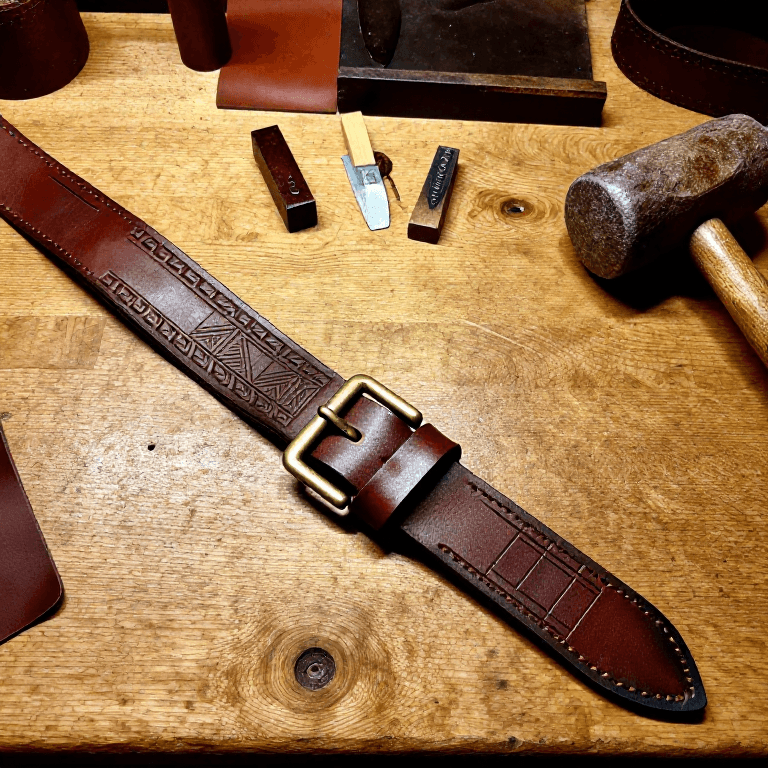
**The slot.** Punch a round hole at each end and cut between them, as the cutting rung describes. Round ends do not tear; square corners do. The slot is as wide as the buckle's tongue and no wider.
**The fold.** The strap doubles back through the buckle, so that end of the belt is two layers thick. Skive the returning end on the flesh side so the doubled part is not much thicker than the rest — this is the lap joint from the skiving rung, in its commonest application.
**The keeper.** The loop that holds the free end. A short strip, skived at both ends, wrapped round and glued or riveted inside the fold. It is fitted before the fold is closed, and forgetting it means taking the whole thing apart.
**Fix the fold.** Rivets, stitching, or both. Two rivets in line, or a stitched rectangle, or the traditional combination of both — rivets carry the shear and the stitching stops the layers peeling.
**Belt holes.** Five, spaced 25 mm apart, with the middle one at the wearer's measured length. Punch them round, and put the hole line in the centre of the strap width — an off-centre hole tears out through the near edge.
The tip shape is cosmetic. The fold and the slot are structural.
วัสดุสำหรับขั้นตอนนี้:
 หัวเข็มขัดทองเหลืองมีลิ้น1 ชิ้นแถบหนังฟอกด้วยพืช1 ชิ้นหมุดย้ำทองแดง1 ชิ้น
เครื่องมือที่ต้องใช้:
ชุดเจาะรูหนัง มีดตัดหนังค้อนไม้
 ไม้บรรทัด
4
4
Snaps, and why they are the thing that fails
Snaps, and why they are the thing that fails
A snap fastener is four separate parts in two pairs, and more home leatherwork fails at a snap than anywhere else.
**Get the parts the right way round.** The socket and its cap go on the outside of the flap; the stud and its post go on the piece beneath. Fitting them reversed produces a snap that works and looks wrong, and it cannot be undone without destroying the leather.
**Match the post length to the leather.** Snap posts come in lengths and the fit is much less forgiving than a rivet — about 1 mm proud is right.
**Use the setting tools that match the snap**, on a concave block for the cap. Every make is slightly different and tools are not interchangeable.
**Set it square and firm.** A snap set at an angle pulls out the first time it is opened, and one set too lightly comes apart in the hand.
**Reinforce thin leather.** A snap in anything under about 2 mm needs a backing patch glued behind it, or it will simply pull through. That is the actual failure in most cases — not the snap, the leather around it.
**Test on a scrap of the same thickness** before setting one in a finished piece. A snap cannot be removed cleanly.
วัสดุสำหรับขั้นตอนนี้:
 ชุดกระดุมแป๊ก (งานหนัก)1 ชิ้น
 หนังฟอกฝาด1 ชิ้น
เครื่องมือที่ต้องใช้:
ชุดเจาะรูหนังค้อนไม้ ค้อนยาง
วัสดุ
6- 1 ชิ้นตัวยึดตำแหน่ง
- 1 ชิ้นตัวยึดตำแหน่ง
- 1 ชิ้นตัวยึดตำแหน่ง
- ตัวยึดตำแหน่ง
- 1 ชิ้นตัวยึดตำแหน่ง
- 1 ชิ้นตัวยึดตำแหน่ง
บลูพริ้นท์ที่เกี่ยวข้อง
บลูพริ้นท์เหล่านี้แบ่งปันความรู้ — เทคนิค วัสดุ หรือหลักการ
CC0 สาธารณสมบัติ
พิมพ์เขียวนี้เผยแพร่ภายใต้ CC0 คุณสามารถคัดลอก แก้ไข แจกจ่าย และใช้งานผลงานนี้เพื่อวัตถุประสงค์ใดก็ได้ โดยไม่ต้องขออนุญาต
สนับสนุนเมกเกอร์โดยซื้อสินค้าผ่านพิมพ์เขียวของพวกเขา ซึ่งพวกเขาจะได้รับ ค่าคอมมิชชันเมกเกอร์ ที่ผู้ขายกำหนด หรือสร้างเวอร์ชันใหม่ของพิมพ์เขียวนี้และรวมเป็นการเชื่อมต่อในพิมพ์เขียวของคุณเพื่อแบ่งรายได้