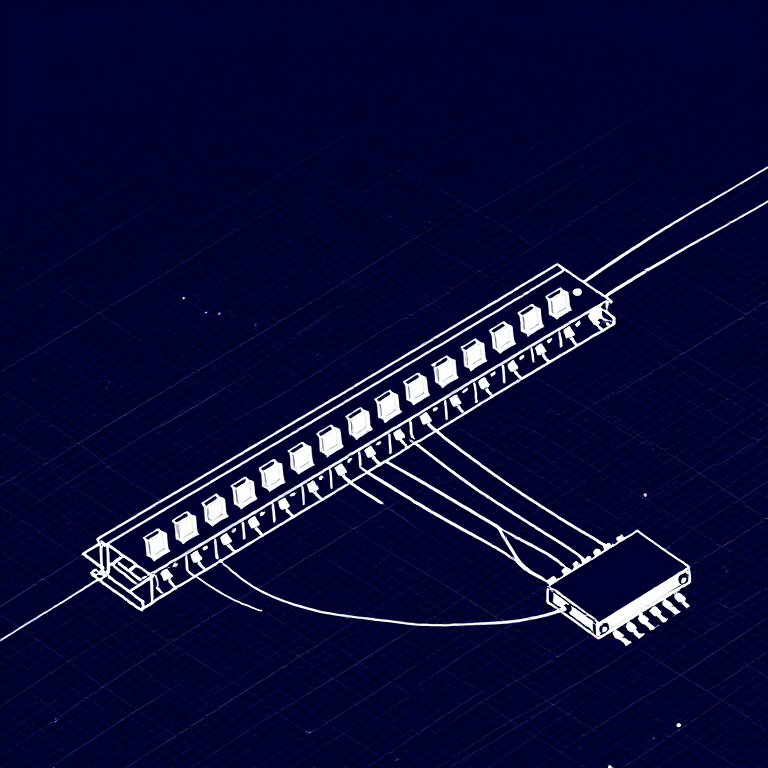


Using a Shift Register — SIK Circuit 14
คำแนะนำ
Parts & Introduction
Parts & Introduction
What if you need more outputs than the Arduino has pins? A shift register (74HC595) converts serial data into 8 parallel outputs — you send data on 3 pins and control 8 LEDs. You can chain multiple shift registers for even more outputs! This introduces SPI-style communication and bit manipulation.
Parts Needed
- 1x Arduino Uno + USB cable
- 1x Breadboard
- 1x 74HC595 Shift Register IC
- 8x LEDs (any color)
- 8x 330Ω Resistors
- 19x Jumper Wires
วัสดุสำหรับขั้นตอนนี้:
 SparkFun Inventor's Kit - V3.21 ชุด
เครื่องมือที่ต้องใช้:
 คอมพิวเตอร์ที่ติดตั้ง Arduino IDE
Hardware Hookup
Hardware Hookup
Wiring Instructions
Place the 74HC595 chip so it bridges the center canyon. The notch indicates pin 1.
74HC595 Pin Connections
| Pin | Name | Connection |
|---|---|---|
| 1 (QB) | Output B | LED 2 positive |
| 2 (QC) | Output C | LED 3 positive |
| 3 (QD) | Output D | LED 4 positive |
| 4 (QE) | Output E | LED 5 positive |
| 5 (QF) | Output F | LED 6 positive |
| 6 (QG) | Output G | LED 7 positive |
| 7 (QH) | Output H | LED 8 positive |
| 8 (GND) | Ground | GND |
| 10 (SRCLR*) | Clear | 5V (active low, keep high) |
| 11 (SRCLK) | Clock | Arduino Pin 3 |
| 12 (RCLK) | Latch | Arduino Pin 4 |
| 13 (OE*) | Output Enable | GND (active low) |
| 14 (SER) | Data | Arduino Pin 2 |
| 15 (QA) | Output A | LED 1 positive |
| 16 (VCC) | Power | 5V |
Connect each LED's negative leg through a 330Ω resistor to GND.
วัสดุสำหรับขั้นตอนนี้:
 เบรดบอร์ด1 ชิ้น
 สายจัมเปอร์10 ชิ้น
Arduino Code
Arduino Code
Open the Arduino IDE and upload the following sketch to your Arduino board.
วัสดุสำหรับขั้นตอนนี้:
 Arduino Uno R31 ชิ้น
เครื่องมือที่ต้องใช้:
คอมพิวเตอร์ที่ติดตั้ง Arduino IDETest & Experiment
Test & Experiment
What You Should See
The same LED patterns as Circuit 4 (chase, ping-pong, etc.) but using only 3 Arduino pins instead of 8! The shift register does the heavy lifting.
Troubleshooting
- Arduino power LED goes out: The chip is inserted backwards. Fix it quickly — no permanent damage if caught fast.
- Not working: With 19 wires, a crossed connection is likely. Double-check systematically.
Experiments to Try
- Uncomment
binaryCount()to see binary counting from 0-255 displayed on the LEDs. - Chain two 74HC595s together for 16 outputs from just 3 pins.
- Combine with a potentiometer to control the animation speed.
วัสดุ
7- SparkFun Inventor's Kit - V3.2ค่าคอมมิชชัน 10%1 ชุด$104.50
- ตัวยึดตำแหน่ง
- ตัวยึดตำแหน่ง
- ตัวยึดตำแหน่ง
- 1 ชิ้นตัวยึดตำแหน่ง
- ตัวยึดตำแหน่ง
- 8 ชิ้นตัวยึดตำแหน่ง
เครื่องมือที่จำเป็น
1- ตัวยึดตำแหน่ง
CC0 สาธารณสมบัติ
พิมพ์เขียวนี้เผยแพร่ภายใต้ CC0 คุณสามารถคัดลอก แก้ไข แจกจ่าย และใช้งานผลงานนี้เพื่อวัตถุประสงค์ใดก็ได้ โดยไม่ต้องขออนุญาต
สนับสนุนเมกเกอร์โดยซื้อสินค้าผ่านพิมพ์เขียวของพวกเขา ซึ่งพวกเขาจะได้รับ ค่าคอมมิชชันเมกเกอร์ ที่ผู้ขายกำหนด หรือสร้างเวอร์ชันใหม่ของพิมพ์เขียวนี้และรวมเป็นการเชื่อมต่อในพิมพ์เขียวของคุณเพื่อแบ่งรายได้