การทำงานร่วมกัน
ศิลปะ
ความงามและสุขภาพ
งานฝีมือ
วัฒนธรรมและประวัติศาสตร์
ความบันเทิง
สิ่งแวดล้อม
อาหารและเครื่องดื่ม
วิศวกรรมย้อนรอย
วิทยาศาสตร์
กีฬา
เทคโนโลยี
อุปกรณ์สวมใส่
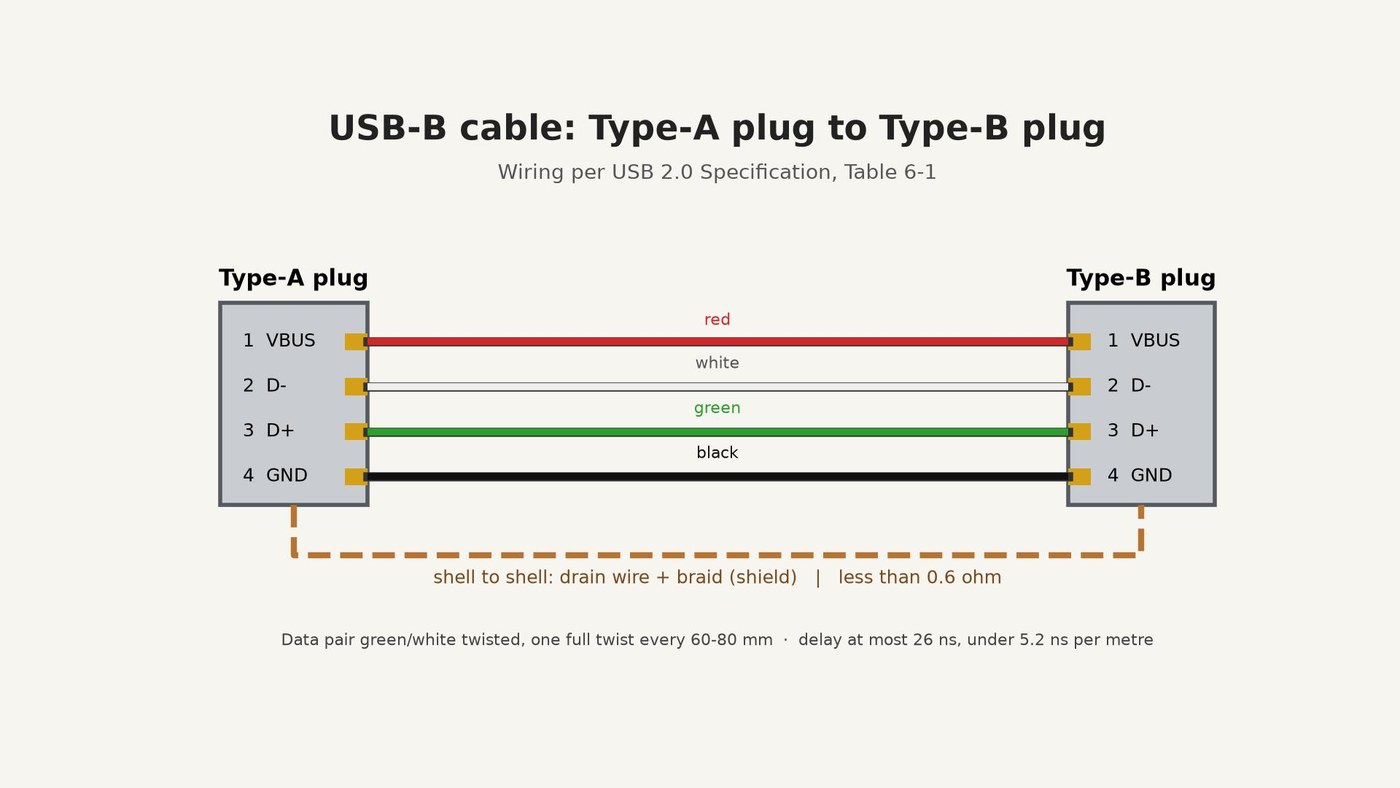


USB-B Cable: Type-A Plug to Type-B Plug, Wired to the USB 2.0 Specification
A USB-B cable joins a computer (Type-A plug) to a device such as an Arduino board or a printer (Type-B plug).
The USB 2.0 Specification (USB Implementers Forum, 2000) fixes the wiring: contact 1 VBUS on the red wire, 2 D- white, 3 D+ green, 4 GND black, and the plug shells joined through the cable's shield. It also sets the cable's build and its limits: a twisted green-white data pair, a red-black power pair, foil and braid shields, no more than 26 ns of delay, and less than 0.6 ohm from shell to shell.
This rung works out how long the cable may be, then cuts a 1.5 m shielded cable, solders a Type-A plug to one end and a Type-B plug to the other, and checks every wire with a multimeter.
Source: Universal Serial Bus Specification Rev. 2.0, sections 6.4.1, 6.5.2, 6.6, 7.1.16, 7.2.2. Picture: our own drawing.
ระดับกลาง
About 1 hour
คำแนะนำ
1
1
How long may it be?
How long may it be?
The delay and voltage-drop limits from the specification, and what they allow for each wire size.
2
2
Cut and strip the cable
Cut and strip the cable
Cut 1.5 m of shielded USB cable with a 24 AWG power pair. At each end, slit and remove 20 mm of the PVC jacket with the knife. Comb the braid back over the jacket, trim the foil off and keep the bare drain wire. Strip 3 mm of insulation from the red, black, green and white wires.
วัสดุสำหรับขั้นตอนนี้:
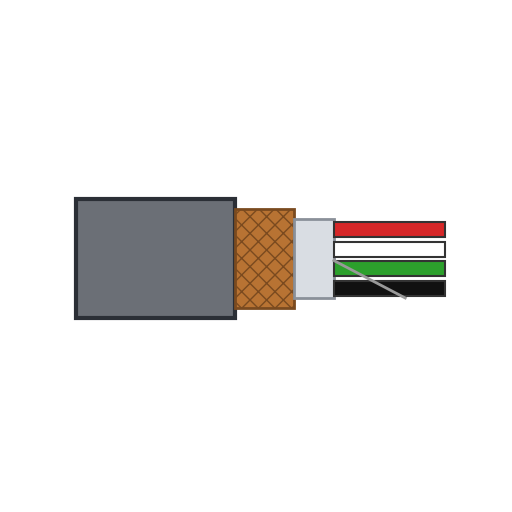 สาย USB แบบมีชีลด์1.5 m
เครื่องมือที่ต้องใช้:
 ตลับเมตร
 มีดคัตเตอร์อเนกประสงค์
 คีมตัดชิดผิว
 คีมปอกสายไฟ
 แว่นนิรภัย
3
3
Solder the Type-A plug
Solder the Type-A plug
Slide the plug's hood and a 40 mm piece of heat-shrink tubing onto the cable. Tin the wires and solder them to the plug's contacts: 1 red (VBUS), 2 white (D-), 3 green (D+), 4 black (GND). Twist the drain wire into the braid and solder both to the plug's metal shell.
วัสดุสำหรับขั้นตอนนี้:
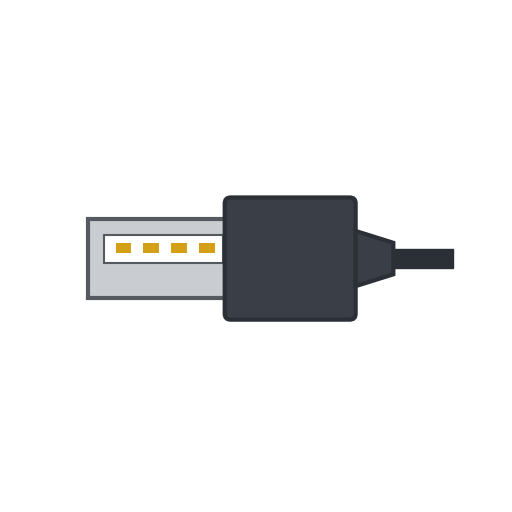 ปลั๊ก USB ชนิด A1 ชิ้น
 ท่อหดความร้อน40 mm
 ลวดตะกั่วบัดกรี1 as required
เครื่องมือที่ต้องใช้:
 หัวแร้งบัดกรี
 มือช่วยจับ
4
4
Solder the Type-B plug
Solder the Type-B plug
Do the same at the other end with the Type-B plug: 1 red (VBUS), 2 white (D-), 3 green (D+), 4 black (GND), drain wire and braid to the shell. Pin 1 must reach pin 1 at both ends.
วัสดุสำหรับขั้นตอนนี้:
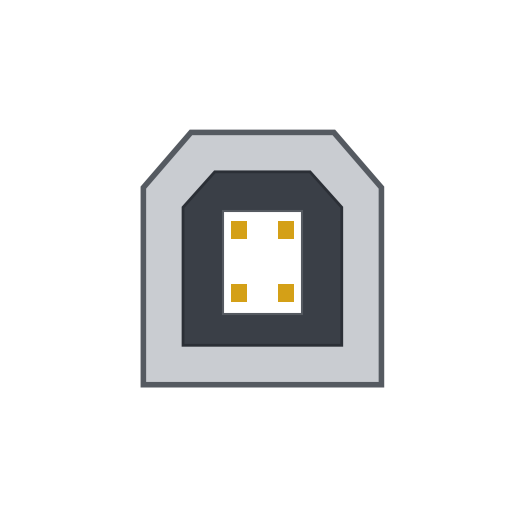 ปลั๊ก USB ชนิด B1 ชิ้นท่อหดความร้อน40 mmลวดตะกั่วบัดกรี1 as required
เครื่องมือที่ต้องใช้:
หัวแร้งบัดกรีมือช่วยจับ5
5
Check every wire
Check every wire
With the multimeter, check that each contact connects to the same contact at the other end and to no other, and that no contact touches a shell. Measure from shell to shell: the specification asks for less than 0.6 ohm.
เครื่องมือที่ต้องใช้:
 มัลติมิเตอร์
6
6
Close the plugs
Close the plugs
Clip the hoods over the plugs, slide the heat-shrink tubing over each joint between hood and cable, and shrink it with the heat gun as a strain relief.
เครื่องมือที่ต้องใช้:
 ปืนเป่าลมร้อน
7
7
History and honest limits
History and honest limits
The specification's revision history dates USB 1.0 to 15 January 1996, 1.1 to 23 September 1998 and 2.0, which added high speed, to 27 April 2000.
The specification requires a standard detachable cable to end in OVERMOLDED plugs; ours has hand-soldered plugs in hoods, so it is not a compliant cable. We do not measure its 90 ohm impedance or its delay. The 1.5 m length, the 24 AWG power pair and the strip lengths are ours. How the plugs and the cable are made is not covered (unknown heads).
วัสดุ
5- 1.5 mตัวยึดตำแหน่ง
- 1 ชิ้นตัวยึดตำแหน่ง
- 80 mmตัวยึดตำแหน่ง
- 2 as requiredตัวยึดตำแหน่ง
- 1 ชิ้นตัวยึดตำแหน่ง
เครื่องมือที่จำเป็น
9- 1 vendor sell this, none ship to you yetตัวยึดตำแหน่ง
- ตัวยึดตำแหน่ง
- ตัวยึดตำแหน่ง
- ตัวยึดตำแหน่ง
- ตัวยึดตำแหน่ง
- 2 vendors sell this, none ship to you yetตัวยึดตำแหน่ง
- ตัวยึดตำแหน่ง
- ตัวยึดตำแหน่ง
- 1 vendor sell this, none ship to you yetตัวยึดตำแหน่ง
พิมพ์เขียวนี้สร้าง

CC0 สาธารณสมบัติ
พิมพ์เขียวนี้เผยแพร่ภายใต้ CC0 คุณสามารถคัดลอก แก้ไข แจกจ่าย และใช้งานผลงานนี้เพื่อวัตถุประสงค์ใดก็ได้ โดยไม่ต้องขออนุญาต
สนับสนุนเมกเกอร์โดยซื้อสินค้าผ่านพิมพ์เขียวของพวกเขา ซึ่งพวกเขาจะได้รับ ค่าคอมมิชชันเมกเกอร์ ที่ผู้ขายกำหนด หรือสร้างเวอร์ชันใหม่ของพิมพ์เขียวนี้และรวมเป็นการเชื่อมต่อในพิมพ์เขียวของคุณเพื่อแบ่งรายได้