ศิลปะ
ความงามและสุขภาพ
งานฝีมือ
วัฒนธรรมและประวัติศาสตร์
ความบันเทิง
สิ่งแวดล้อม
อาหารและเครื่องดื่ม
วิศวกรรมย้อนรอย
วิทยาศาสตร์
กีฬา
เทคโนโลยี
อุปกรณ์สวมใส่
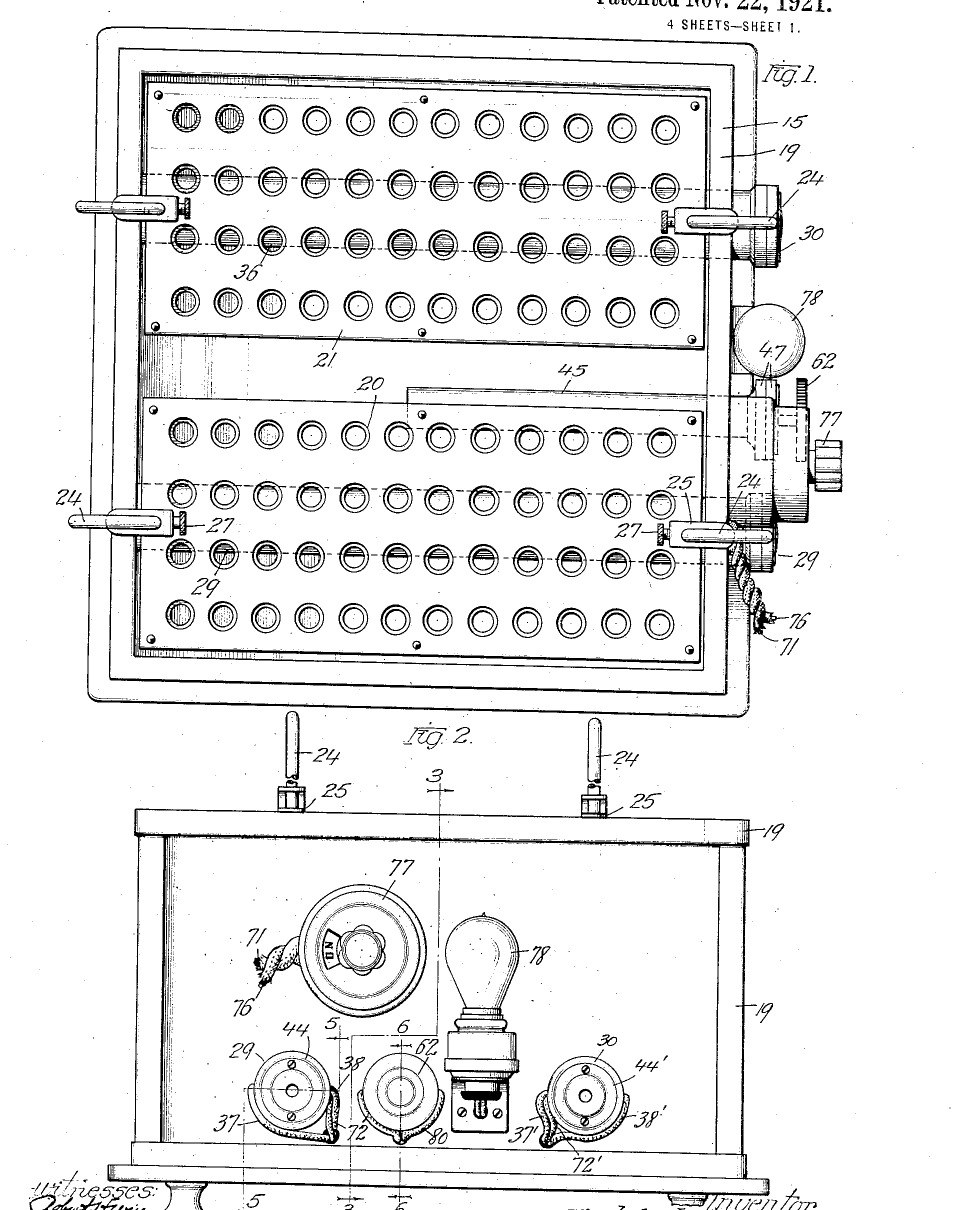


Water Bath: Copper Tank with Plug-In Heaters and an Air-Tube Thermostat (Lidberg, US 1,397,766, 1921)
An electric constant-temperature water bath for laboratory and bacteriological work. A copper tank sits in an insulated fibre-board box; two heater tubes and a thermostat tube are soldered through its wall so the heating coils and the switch plug in from outside. A switch adds extra coils to heat the water up quickly; then the thermostat alone holds the set temperature. Perforated trays on adjustable rods hold the tubes or flasks at the depth you choose.
Result: a thermostatic water bath that holds its water at a set temperature.
Source: T. Lidberg (Chicago Surgical & Electrical Co.), US 1,397,766 (1921). Unknown: sizes, the temperature range, the heater wire. Picture: the patent drawing.
ระดับกลาง
Unknown
คำแนะนำ
1
1
Build the insulated tank
Build the insulated tank
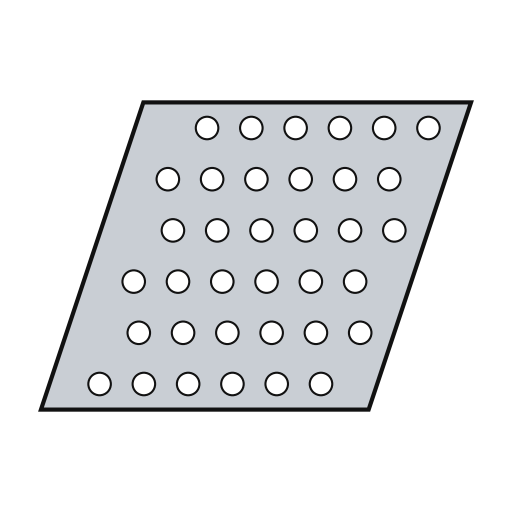
Make a rectangular box of fibrous board on four short legs and line it with hair felt or cloth. Set a sheet copper tank inside, its walls a little taller than the box and turned over the top edge as a bead. Make perforated trays of several shelves, each with an upright rod hooked at the top for lifting, and on each rod a sliding clip with a set screw whose end rests on the tank edge, to set how deep the tray hangs. Not given: sizes.
วัสดุสำหรับขั้นตอนนี้:
 วัสดุที่ไม่ทราบ1 fibrous board box, legs
 ผ้าที่ไม่ทราบ1 hair felt or cloth lining
 แผ่นทองแดง1 tank
 แผ่นตะแกรงเจาะรู1 trays
 โลหะที่ไม่ทราบ1 rods, clips
 สกรูเกลียวมิล1 ชิ้น
เครื่องมือที่ต้องใช้:
 กรรไกรตัดแผ่นโลหะ
 หัวแร้งบัดกรี
 ขนาดที่ไม่ทราบ
2
2
Fit the heater tubes
Fit the heater tubes
Solder two watertight tubes across the tank, each closed at its inner end and open outside the wall, and a third for the thermostat. For each heater, wind two coils on a rod held in the tube by an insulating disk and an end head; join one end of each coil to the rod and the others to plates on the head, and cover the terminals with a cap plate. Slide each heater into its tube. Ours: nichrome wire. Not given: the coil ratings.
วัสดุสำหรับขั้นตอนนี้:
 ท่อทองแดง3 heater and thermostat tubes
 ตะกั่วบัดกรีดีบุก-ตะกั่ว1 as needed
 ลวดนิโครม1 four coilsโลหะที่ไม่ทราบ2 rods, plates, caps
 วัสดุฉนวนที่ไม่ทราบ1 disks, heads
เครื่องมือที่ต้องใช้:
หัวแร้งบัดกรี เลื่อยตัดเหล็ก
3
3
Make the air-tube thermostat
Make the air-tube thermostat
In the closed thermostat tube, mount on an insulating disk a strip carrying a thermostatic bar with a contact at its free end. Facing it, pivot an adjustable bar with its own contact on a bracket in the tube's insulating head, held by a spring against an adjusting screw with a knob outside: turning it sets the temperature at which the contacts open. Bridge the contacts with a condenser to stop sparking. The air in the tube takes the bath's temperature and bends the bar. Ours: a bimetallic strip.
วัสดุสำหรับขั้นตอนนี้:
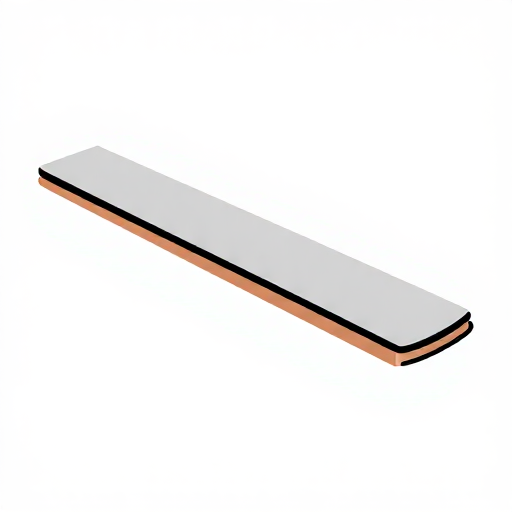 แผ่นโลหะคู่1 thermostatic barโลหะที่ไม่ทราบ1 strip, bar, bracket, contacts, screwวัสดุฉนวนที่ไม่ทราบ1 disk, head
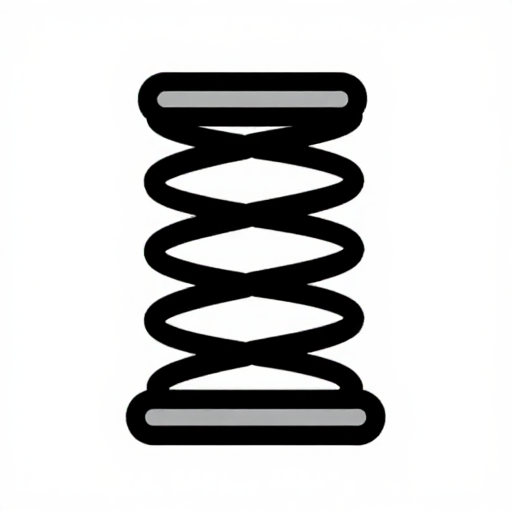 ชุดสปริงกด1 ชิ้น
 ชุดตัวเก็บประจุ1 spark condenser
เครื่องมือที่ต้องใช้:
 ชุดไขควง
4
4
Wire and use it
Wire and use it
Wire one coil of each heater through the thermostat, and the other coil of each through a hand switch, with a lamp across the supply to show when current flows. To start, close the switch so all four coils heat the water up. Once it is at temperature, open the switch: the thermostat then switches its two coils on and off to hold the bath steady. Lower the trays of tubes or flasks to the depth wanted.
วัสดุสำหรับขั้นตอนนี้:
 สวิตช์โยก1 ชิ้น
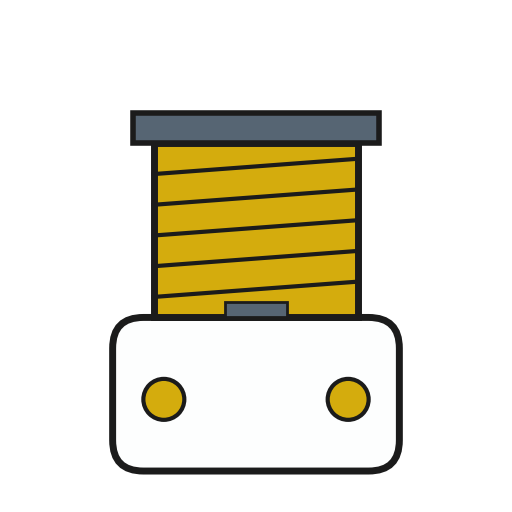 ขั้วหลอดไฟ1 ชิ้น
 หลอดไฟ1 ชิ้น
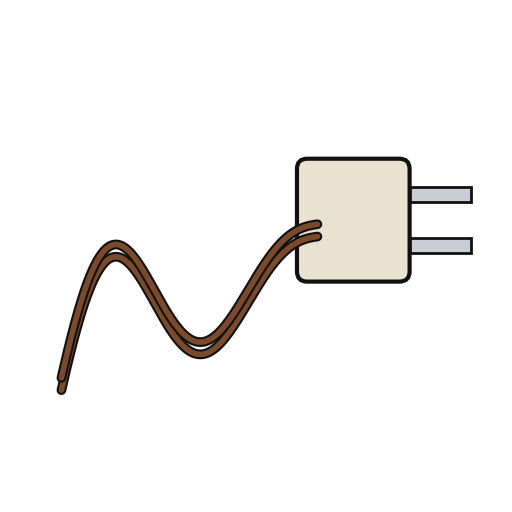 สายไฟอ่อนพร้อมปลั๊ก1 ชิ้น
เครื่องมือที่ต้องใช้:
ชุดไขควงวัสดุ
17- 1 fibrous board box, legsตัวยึดตำแหน่ง
- 1 hair felt or cloth liningตัวยึดตำแหน่ง
- 1 tankตัวยึดตำแหน่ง
- 1 traysตัวยึดตำแหน่ง
- 1 strip, bar, bracket, contacts, screwตัวยึดตำแหน่ง
- 1 ชิ้นตัวยึดตำแหน่ง
- 3 heater and thermostat tubesตัวยึดตำแหน่ง
- 1 as neededตัวยึดตำแหน่ง
- 1 four coilsตัวยึดตำแหน่ง
- 1 disk, headตัวยึดตำแหน่ง
- 1 thermostatic barตัวยึดตำแหน่ง
- 1 ชิ้นตัวยึดตำแหน่ง
- 1 spark condenserตัวยึดตำแหน่ง
- ตัวยึดตำแหน่ง
- 1 ชิ้นตัวยึดตำแหน่ง
- 1 ชิ้นตัวยึดตำแหน่ง
- 1 ชิ้นตัวยึดตำแหน่ง
เครื่องมือที่จำเป็น
5- ตัวยึดตำแหน่ง
- 2 vendors sell this, none ship to you yetตัวยึดตำแหน่ง
- ตัวยึดตำแหน่ง
- ตัวยึดตำแหน่ง
- ตัวยึดตำแหน่ง
วัสดุจากพิมพ์เขียวที่เชื่อมต่อ

พิมพ์เขียวนี้สร้าง
CC0 สาธารณสมบัติ
พิมพ์เขียวนี้เผยแพร่ภายใต้ CC0 คุณสามารถคัดลอก แก้ไข แจกจ่าย และใช้งานผลงานนี้เพื่อวัตถุประสงค์ใดก็ได้ โดยไม่ต้องขออนุญาต
สนับสนุนเมกเกอร์โดยซื้อสินค้าผ่านพิมพ์เขียวของพวกเขา ซึ่งพวกเขาจะได้รับ ค่าคอมมิชชันเมกเกอร์ ที่ผู้ขายกำหนด หรือสร้างเวอร์ชันใหม่ของพิมพ์เขียวนี้และรวมเป็นการเชื่อมต่อในพิมพ์เขียวของคุณเพื่อแบ่งรายได้