การทำงานร่วมกัน
ศิลปะ
ความงามและสุขภาพ
งานฝีมือ
วัฒนธรรมและประวัติศาสตร์
ความบันเทิง
สิ่งแวดล้อม
อาหารและเครื่องดื่ม
วิศวกรรมย้อนรอย
วิทยาศาสตร์
กีฬา
เทคโนโลยี
อุปกรณ์สวมใส่
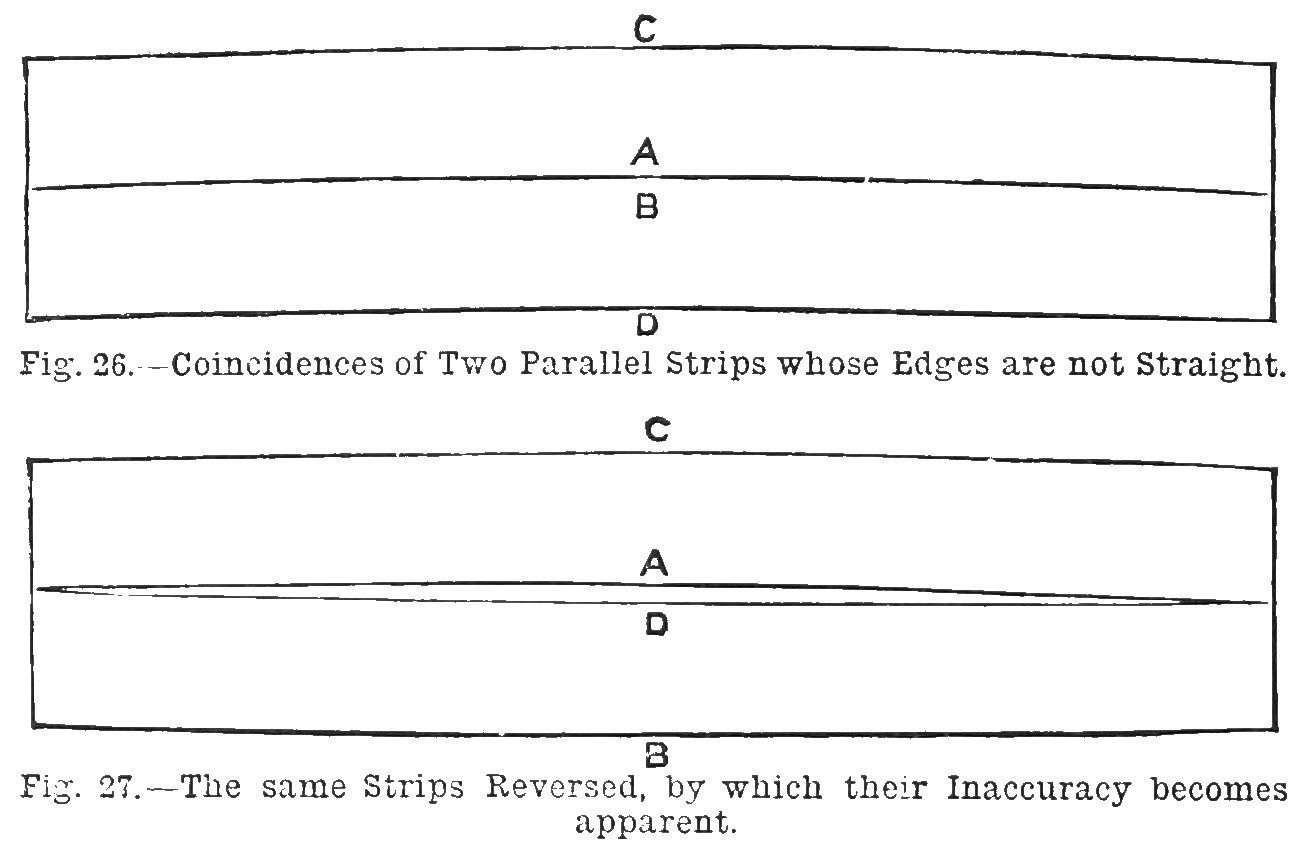


Winding Sticks: a Pair of Parallel Mahogany Strips Planed Together (Work, 1889)
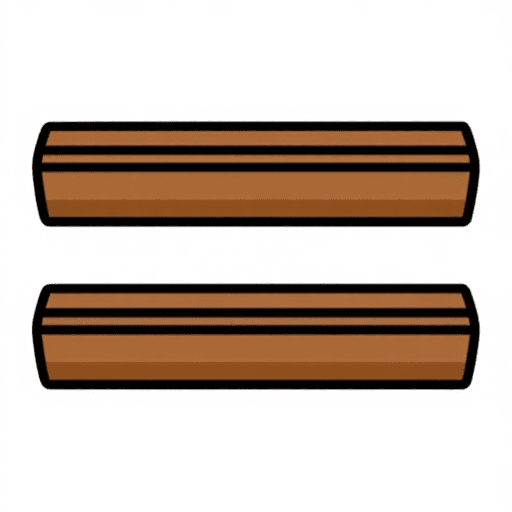
Two parallel wooden strips laid across a board to show twist (winding). Carpenters and joiners made their straightedges in pairs as winding strips: if two parallel strips still meet edge to edge when their edges and ends are swapped, three edges have been checked against each other and the strips are true.
Straight-grained mahogany is used for strips under three feet. The two are planed together, then tried against each other and reversed until no difference shows.
Source: J. H., 'Home-Made Tools', Work, 26 October 1889, pp. 499-500. Picture: Figs. 26-27.
ระดับกลาง
Unknown (the stuff is left to stand for days or weeks first)
คำแนะนำ
1
1
Read the source
Read the source
"Carpenters, joiners, pattern makers, and cabinet makers usually make their straightedges in pairs as 'winding strips;' and it is clear that if two winding strips are in the first place parallel, and then coincident when the positions of edges and ends are changed, there is obtained really the contact of three edges." (Work, 26 October 1889.)
2
2
Rough out and let stand
Rough out and let stand
Rough out two strips of well-seasoned, straight-grained mahogany (for strips under three feet; long ones are made of yellow pine). Jack them over and let them stand for a few days or even weeks, because fresh-cut strips curve and warp. Length, width and thickness are not given (unknown).
วัสดุสำหรับขั้นตอนนี้:
 แถบไม้เนื้อแข็ง2 mahogany strips
เครื่องมือที่ต้องใช้:
 กบไสไม้
 ขนาดที่ไม่ทราบ
3
3
Plane them together
Plane them together
Plane both to gauged thickness and width and square the ends. Screw the two side by side, then finish the edges together with a trying plane sharpened keenly and set very fine. Gauge to width with a fine-toothed gauge, check them parallel with calipers, and keep the edges square to the faces with a try square.
เครื่องมือที่ต้องใช้:
 สกรูไม้กบไสไม้
 เกจขีดแนว
 เวอร์เนียคาลิปเปอร์
 ฉากตาย
4
4
Test the edges
Test the edges
To test an edge without a straightedge, lay the strip on a board, scribe a fine line along the edge, turn the strip over and bring the opposite edge to the line: any error shows at twice its size. Plane off the high parts, still checking with calipers and square.
เครื่องมือที่ต้องใช้:
 แผ่นไม้เนื้อแข็ง
 มีดขีดแนวกบไสไม้เวอร์เนียคาลิปเปอร์ฉากตาย
5
5
Unfasten and try them against each other
Unfasten and try them against each other
Take the screws out. Lay the strips edge to edge by opposite edges in turn, then change ends and try the opposite edges again, correcting with the trying plane until no difference shows (woodworkers test by chalking the edges and laying them together). Most of the work should already have been done while they were joined.
เครื่องมือที่ต้องใช้:
 ชอล์กทำเครื่องหมายกบไสไม้เวอร์เนียคาลิปเปอร์ฉากตาย
6
6
Varnish the faces
Varnish the faces
Protect the broad faces and the ends with shellac varnish, but not the edges, which are chalked in use. Chalking wears the edges hollow and wood always warps a little, so re-correct winding strips every few months, and keep them for testing winding only.
วัสดุสำหรับขั้นตอนนี้:
 น้ำมันเคลือบเชลแล็ก1 faces and ends
วัสดุ
2- 2 mahogany stripsตัวยึดตำแหน่ง
- 1 faces and endsตัวยึดตำแหน่ง
เครื่องมือที่จำเป็น
9- ตัวยึดตำแหน่ง
- ตัวยึดตำแหน่ง
- ตัวยึดตำแหน่ง
- ตัวยึดตำแหน่ง
- 1 vendor sell this, none ship to you yetตัวยึดตำแหน่ง
- ตัวยึดตำแหน่ง
- ตัวยึดตำแหน่ง
- ตัวยึดตำแหน่ง
- ตัวยึดตำแหน่ง
พิมพ์เขียวนี้สร้าง
CC0 สาธารณสมบัติ
พิมพ์เขียวนี้เผยแพร่ภายใต้ CC0 คุณสามารถคัดลอก แก้ไข แจกจ่าย และใช้งานผลงานนี้เพื่อวัตถุประสงค์ใดก็ได้ โดยไม่ต้องขออนุญาต
สนับสนุนเมกเกอร์โดยซื้อสินค้าผ่านพิมพ์เขียวของพวกเขา ซึ่งพวกเขาจะได้รับ ค่าคอมมิชชันเมกเกอร์ ที่ผู้ขายกำหนด หรือสร้างเวอร์ชันใหม่ของพิมพ์เขียวนี้และรวมเป็นการเชื่อมต่อในพิมพ์เขียวของคุณเพื่อแบ่งรายได้