SANAT
GÜZELLİK & SAĞLIK
ZANAAT
KÜLTÜR & TARİH
EĞLENCE
ÇEVRE
YİYECEK & İÇECEK
TERS MÜHENDİSLİK
BİLİMLER
SPOR
TEKNOLOJİ
GİYİLEBİLİR ÜRÜNLER
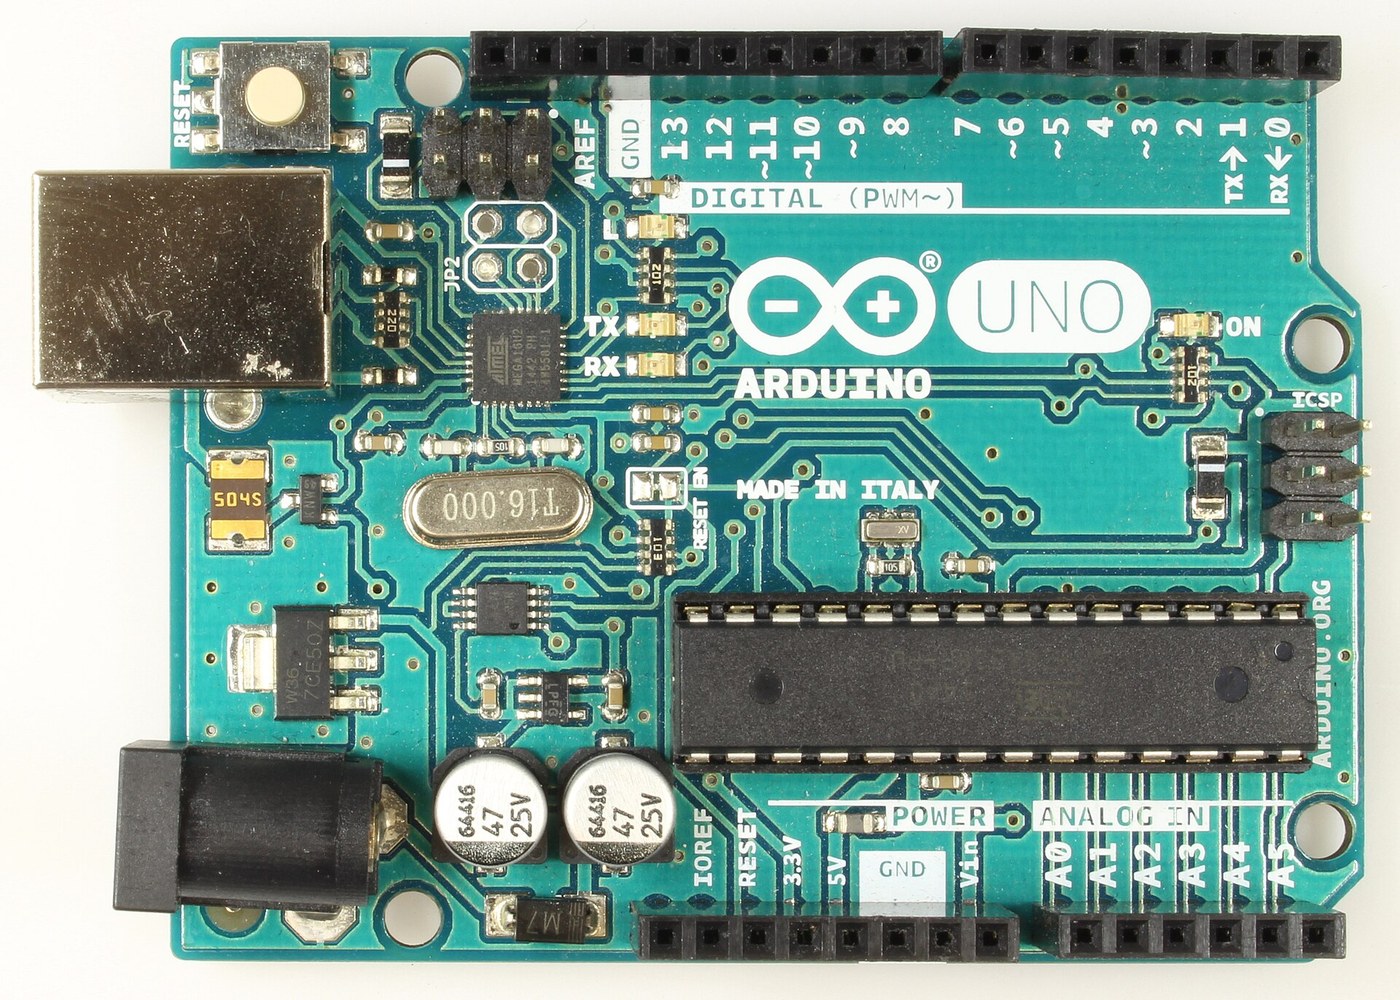


Arduino Uno R3: Assembled from Arduino's Open UNO-TH Rev3e Design Files and Flashed over ICSP
The Arduino Uno R3 is open hardware: Arduino publishes its schematic and board layout. This blueprint builds one from those files, part by part, then loads the firmware into its two processors.
Result: an Arduino Uno R3. An ATmega328P (16 MHz, 32 kB flash, 2 kB SRAM, 1 kB EEPROM) runs your programs; an ATmega16U2 turns USB into its serial link. It runs from USB (5.5 V at most) or 6-20 V at the DC jack.
Source: Arduino UNO-TH_Rev3e design files and the A000066 schematic and datasheet (Arduino, CC BY-SA). Unknown: how every bought part is made; no public source in hand says. The soldering method is ours. Picture: Wikimedia Commons.
İleri
1 day
Talimatlar
1
1
Get the bare board
Get the bare board
Have the two-layer board made to Arduino's UNO-TH_Rev3e board layout (the .brd file of the design files). Check it against the schematic before fitting anything.
Bu adım için malzemeler:
 Baskı devre kartı1 UNO-TH Rev3e layout
Gerekli aletler:
 Büyüteç Lupu
2
2
Fit the small surface-mount parts
Fit the small surface-mount parts
Solder the chip parts to their marked places: resistor arrays RN1 (10K), RN2 and RN4 (1K), RN3 (22R); R1, R2 (1M); capacitors C1, C2, C4-C7, C10 (100n), C3, C8 (1u), C9, C11 (22p); varistors Z1, Z2; ferrite bead L1; inductor L2 (10 uH); diodes D2, D3; LEDs ON (green), L, RX, TX (yellow). Ours: flux, tweezers and hot air or a fine iron, checked under a loupe.
Bu adım için malzemeler:
 Çip direnç dizisi4 RN1-RN4
 Çip direnç2 1M
 Seramik çip kondansatör11 7x100n, 2x1u, 2x22p
 Çip varistör2 Z1, Z2
 Ferrit boncuk1 L1
 Yüzey montaj indüktör1 L2
 Yüzey montaj diyot2 D2, D3
 Çip LED4 1 green, 3 yellow
 Lehim Teli1 a little
Gerekli aletler:
 Dekapan
 İnce uçlu cımbız
 Sıcak hava ile onarım istasyonu
 HavyaBüyüteç Lupu
3
3
Fit the power and chip parts
Fit the power and chip parts
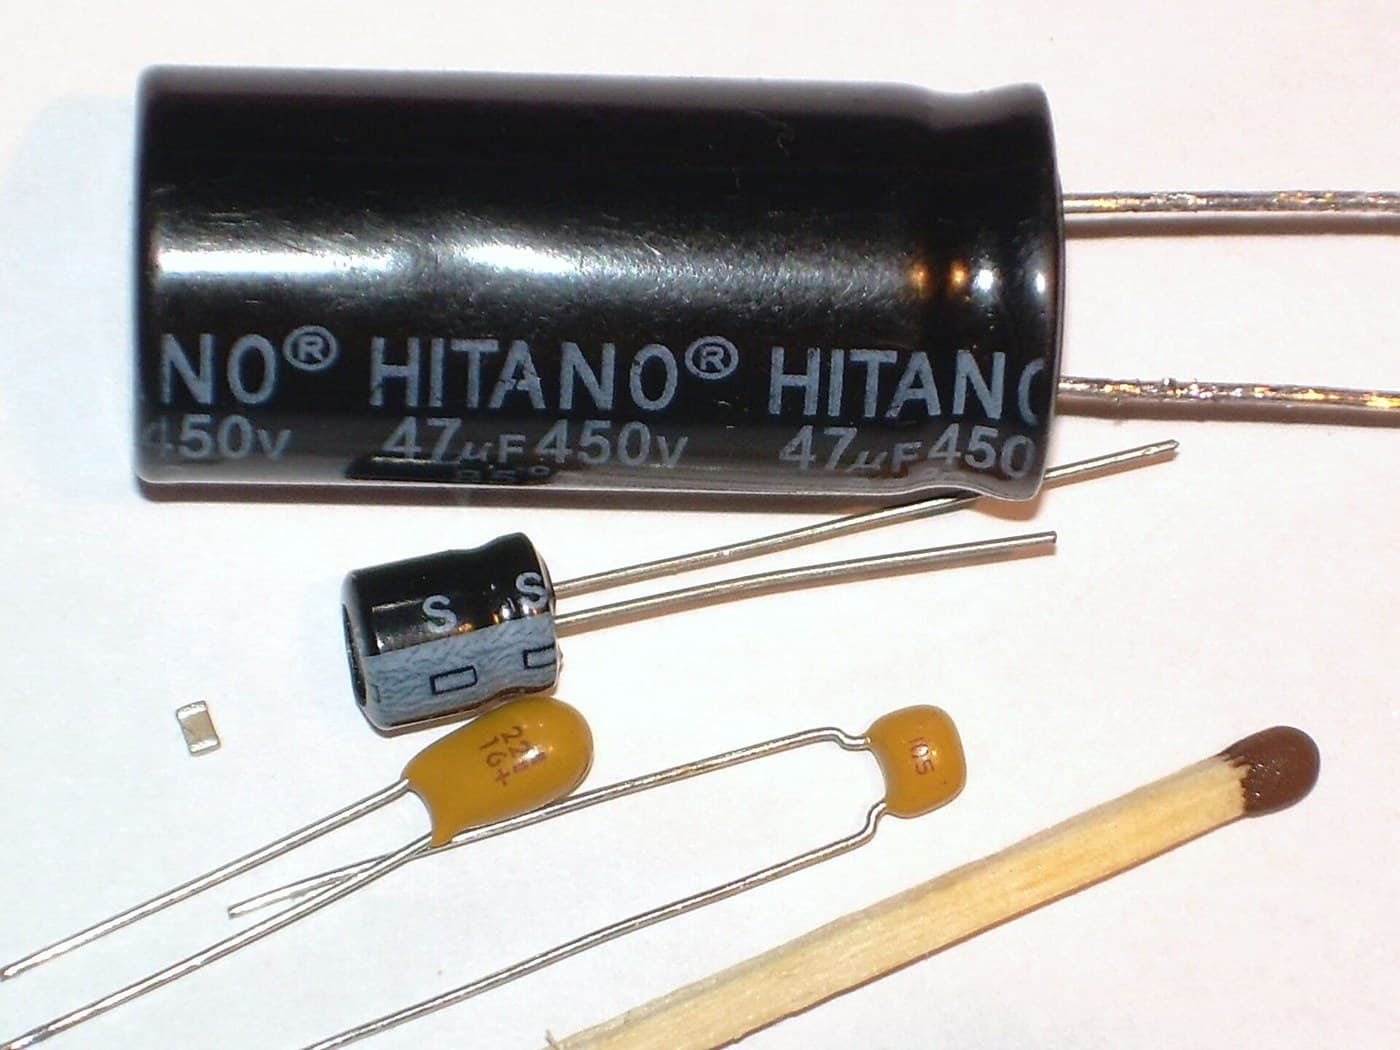
Solder the ATmega16U2 (U3), the 16 MHz resonator Y2 and crystal Y1, the 5 V regulator NCP1117 (U1) and 3.3 V regulator LP2985 (U2), the LMV358 op-amp (U5), the FDN340P transistor (T1), the M7 diode (D1), the 500 mA resettable fuse (F1) and the 47 uF capacitors PC1, PC2 with their polarity as marked.
Bu adım için malzemeler:
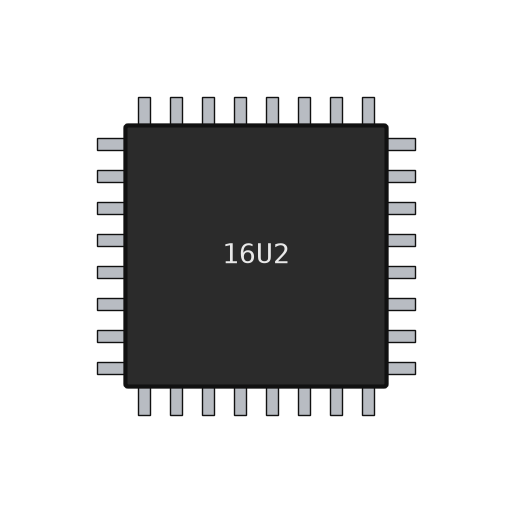 ATmega16U2 mikrodenetleyici1 U3
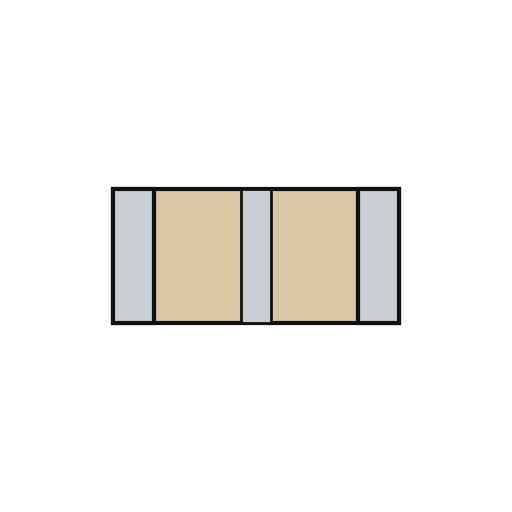 Piezoelektrik seramik rezonatör1 Y2
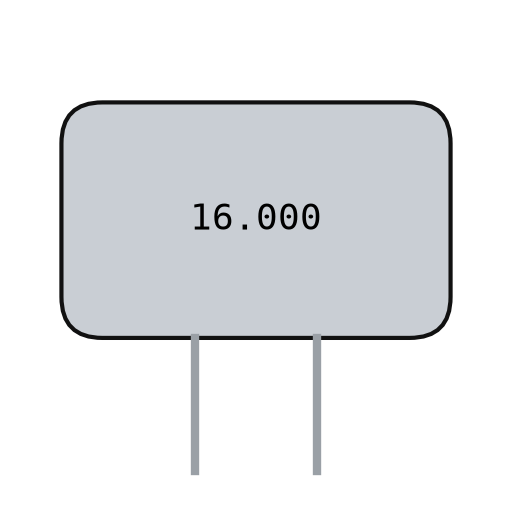 Kuvars kristal1 Y1
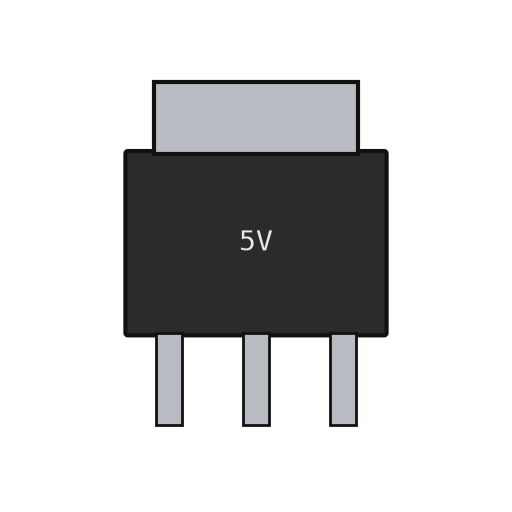 Doğrusal voltaj regülatörü2 U1 5 V, U2 3.3 V
 İşlemsel yükselteç entegresi1 U5 LMV358
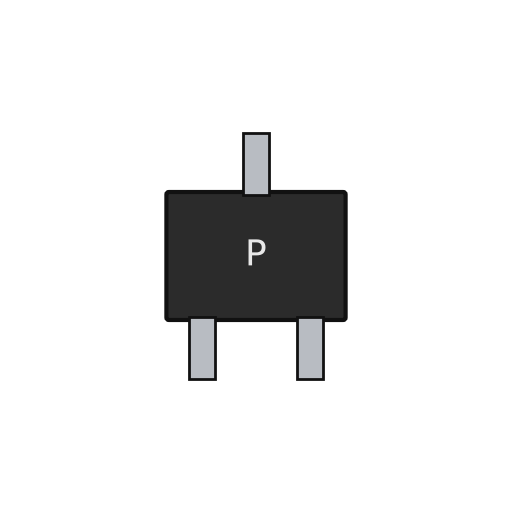 P kanallı MOSFET1 T1Yüzey montaj diyot1 D1 M7
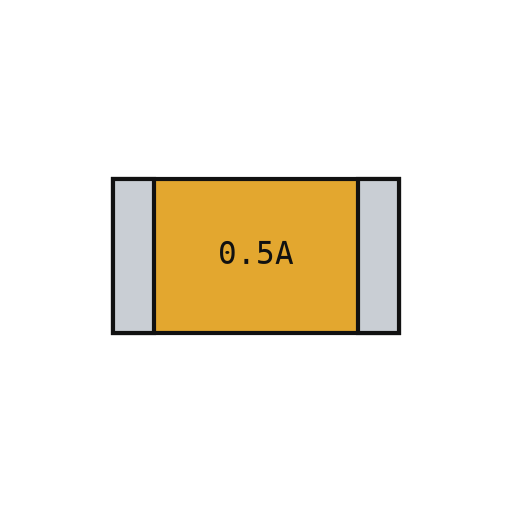 Kendini sıfırlayan sigorta1 F1
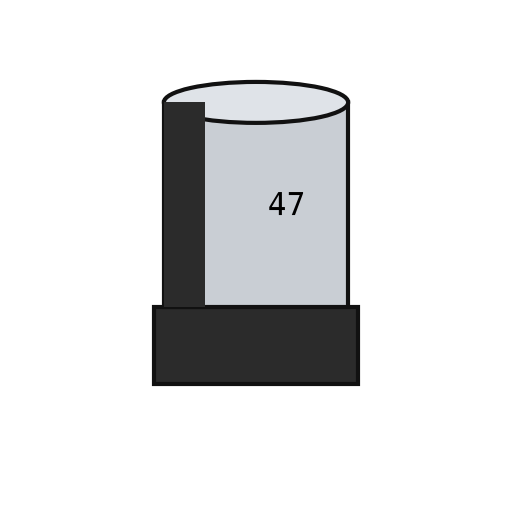 Kutuplu çip kondansatör2 PC1, PC2Lehim Teli1 a little
Gerekli aletler:
Dekapanİnce uçlu cımbızSıcak hava ile onarım istasyonuHavyaBüyüteç Lupu4
4
Fit the through-hole parts
Fit the through-hole parts
Solder the USB-B socket (X2), the DC jack (X1), the reset switch, the female headers (one 10-way, two 8-way, one 6-way) and the two 2x3 ICSP headers. Seat the ATmega328P in its place (ZU4).
Bu adım için malzemeler:
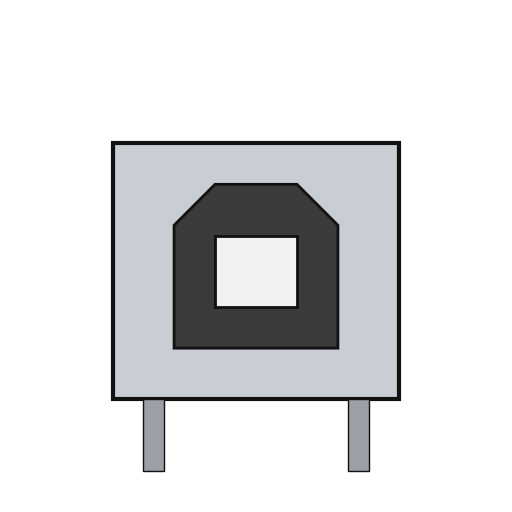 USB-B soketi1 X2
 Namlu güç jakı1 X1
 Buton1 RESET
 Pin başlığı6 10x1, 2x 8x1, 6x1 female; 2x 3x2 ICSP
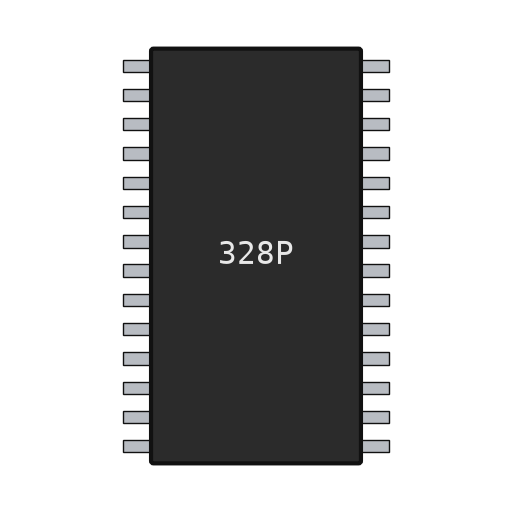 ATmega328P mikrodenetleyici1 ZU4Lehim Teli1 as needed
Gerekli aletler:
Havya5
5
Flash and check
Flash and check
Check with a meter that 5 V and GND are not shorted. Through the ICSP headers, load the USB-to-serial firmware into the ATmega16U2 and the bootloader into the ATmega328P. Plug in USB: the green ON LED lights, and the blink test in the next step flashes the L LED. Ours: an AVR ISP programmer and a multimeter.
Bu adım için malzemeler:
 Arduino Uno donanım yazılımı1 download
Gerekli aletler:
 Multimetre
 AVR ISP programlayıcı
 USB-B kablosu
6
6
The blink test
The blink test
blink_test.ino: the same check as Arduino's Blink example. Upload it over USB from the Arduino IDE with the board set to Arduino Uno; the L LED on pin 13 turns on for one second and off for one second, over and over. If it does, both processors, the USB link and the bootloader work.
blink_test.inocpp
Gerekli aletler:
USB-B kablosuMalzemeler
24- 1 UNO-TH Rev3e layoutYer Tutucu
- 4 RN1-RN4Yer Tutucu
- 2 1MYer Tutucu
- 11 7x100n, 2x1u, 2x22pYer Tutucu
- 2 Z1, Z2Yer Tutucu
- 1 L1Yer Tutucu
- Yer Tutucu
- 1 D1 M7Yer Tutucu
- 4 1 green, 3 yellowYer Tutucu
- 1 as neededYer Tutucu
- Yer Tutucu
- Yer Tutucu
- 1 Y1Yer Tutucu
- 2 U1 5 V, U2 3.3 VYer Tutucu
- 1 U5 LMV358Yer Tutucu
- 1 T1Yer Tutucu
- Yer Tutucu
- 2 PC1, PC2Yer Tutucu
- 1 X2Yer Tutucu
- Yer Tutucu
- Yer Tutucu
- Yer Tutucu
- Yer Tutucu
- 1 downloadYer Tutucu
Gerekli Aletler
8- Yer Tutucu
- Yer Tutucu
- Yer Tutucu
- Yer Tutucu
- 2 vendors sell this, none ship to you yetYer Tutucu
- Yer Tutucu
- Yer Tutucu
- 1 vendor sell this, none ship to you yetYer Tutucu
Bu planla yapılan
İlgili Blueprint'ler
Bu blueprint'ler bilgi paylaşır — teknikler, malzemeler veya ilkeler
CC0 Kamu Malı
Bu plan CC0 lisansıyla yayınlanmıştır. İzin almadan kopyalayabilir, değiştirebilir, dağıtabilir ve herhangi bir amaçla kullanabilirsiniz.
Planı üzerinden ürün satın alarak Maker'ı destekleyin, böylece Maker Komisyonu Satıcılar tarafından belirlenen komisyonu kazanırlar veya bu Planın yeni bir versiyonunu oluşturun ve gelir paylaşımı için kendi Planınıza bağlantı olarak ekleyin.