SANAT
GÜZELLİK & SAĞLIK
ZANAAT
KÜLTÜR & TARİH
EĞLENCE
ÇEVRE
YİYECEK & İÇECEK
YEŞİL GELECEK
TERS MÜHENDİSLİK
BİLİMLER
SPOR
TEKNOLOJİ
GİYİLEBİLİR ÜRÜNLER

Çevrildi
BLUEPRINT NFT

Yanıp Sönen LED — İlk Arduino Projeniz
Klasik ilk elektronik projesi! Arduino, breadboard, bir direnç ve tek bir LED kullanarak yanıp sönen LED devresi oluşturun. Mutlak yeni başlayanlar için mükemmel — lehimleme gerekli değildir.
Talimatlar
1
1
Bileşenlerinizi Toplayın
Bileşenlerinizi Toplayın
Aşağıda listelenen tüm bileşenleri toplayın. Lehimlemeye gerek yok — her şey breadboard'a takılır.
Bu adım için malzemeler:
 SparkFun Inventor's Kit - V3.21 kit
Arduino Uno R31 adet
5mm LED (any color)1 adet
 220 ohm Resistor (1/4W)1 adet
Breadboard1 adet
Jumper Wires (Male-to-Male)2 adet
USB-B Cable1 adet
Gerekli aletler:
Computer with Arduino IDE
2
2
Devre Şeması
Devre Şeması
Sinyal, Arduino Pin 13 → 220Ω direnç (R1) → LED (D1) → GND yolundan akar. Direnç, LED koruması için akımı sınırlar.
Bu adım için malzemeler:
Arduino Uno R31 adet
5mm LED (any color)1 adet
220 ohm Resistor (1/4W)1 adet3
3
Kabloları Bağla
Kabloları Bağla
- LED öğesini breadboard'a takın — uzun bacak (anode +) bir sıraya, kısa bacak (katod −) sonraki sıraya.
- 220Ω dirençin bir bacağını LED katodunun bulunduğu sıraya takın. Diğer bacak ayrı bir sıraya.
- Jumper kablosunu LED anode sırası → Arduino Pin 13 üzerine takın.
- Jumper kablosunu direnç boş sırası → Arduino GND üzerine takın.
Bu adım için malzemeler:
5mm LED (any color)1 adet
220 ohm Resistor (1/4W)1 adetBreadboard1 adet
Jumper Wires (Male-to-Male)2 adet
4
4
Blink Kodunu Yükle
Blink Kodunu Yükle
Arduino'yu USB ile bağlayın. Arduino IDE'yi açın, Tools → Board → Arduino Uno seçin, kodu yapıştırın ve Upload'a tıklayın.
blink.inoarduino
Bu adım için malzemeler:
Arduino Uno R31 adet
USB-B Cable1 adet
Gerekli aletler:
Computer with Arduino IDE
5
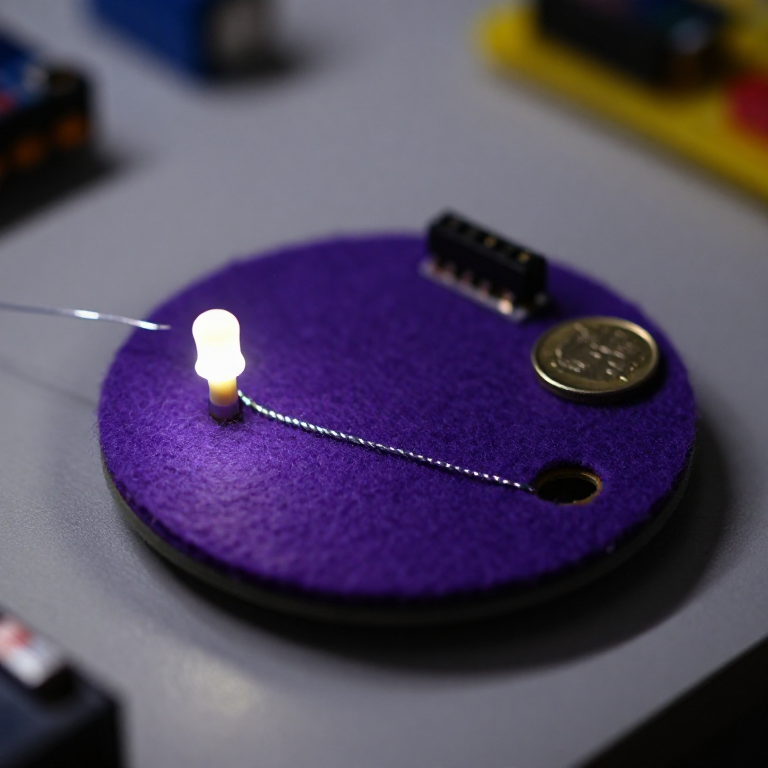
5
PCB Düzeni (Referans)
PCB Düzeni (Referans)
Bu, devreyi PCB düzeni olarak gösterir. Bu proje için gerekli değildir — breadboard mükemmel şekilde çalışır — ancak aynı devrenin gerçek bir kart olarak üretilirse nasıl görüneceğini gösterir.
6
6
Test ve Deneme
Test ve Deneme
LED yanıp sönüyor? Tebrikler! Az önce donanım programladınız.
Sorun Giderme:
Sonraki deneyler:
Sorun Giderme:
- LED yanmıyor mu? LED öğesini çevirin — uzun bacak Pin 13'e doğru.
- LED sürekli açık mı? Kodun başarıyla yüklendiğini kontrol edin.
- Hiçbir şey olmuyor mu? Kablolama işleminin Adım 2'deki şemaya uygun olduğunu doğrulayın.
Sonraki deneyler:
- Yanıp sönme hızını kontrol etmek için
delay()değerlerini değiştirin - Pin 12'ye ikinci bir LED ekleyin
- Bir RGB LED ile değiştirin (SIK Devre 3'e bakın)
Malzemeler
7- $105.00
- Yer Tutucu
Tahmini toplam
$105.00Related blueprints
Other builds that share materials, tools, or techniques with this one.

Using a Shift Register — SIK Circuit 14electronics/active
Blinking an LED with LilyPad Arduinoelectronics

Making Charcoal — The First Chemical Processmaterials

The Spinning Jenny — Multi-Spindle Yarn Productiontextiles

Starting Seeds Indoors — Raising Seedlings for a Head Start

Driving a Motor — SIK Circuit 12electronics/electromech
CC0 Kamu Malı
Bu plan CC0 lisansıyla yayınlanmıştır. İzin almadan kopyalayabilir, değiştirebilir, dağıtabilir ve herhangi bir amaçla kullanabilirsiniz.
Planı üzerinden ürün satın alarak Maker'ı destekleyin, böylece Maker Komisyonu Satıcılar tarafından belirlenen komisyonu kazanırlar veya bu Planın yeni bir versiyonunu oluşturun ve gelir paylaşımı için kendi Planınıza bağlantı olarak ekleyin.