İşbirliği
SANAT
GÜZELLİK & SAĞLIK
ZANAAT
KÜLTÜR & TARİH
EĞLENCE
ÇEVRE
YİYECEK & İÇECEK
TERS MÜHENDİSLİK
BİLİMLER
SPOR
TEKNOLOJİ
GİYİLEBİLİR ÜRÜNLER
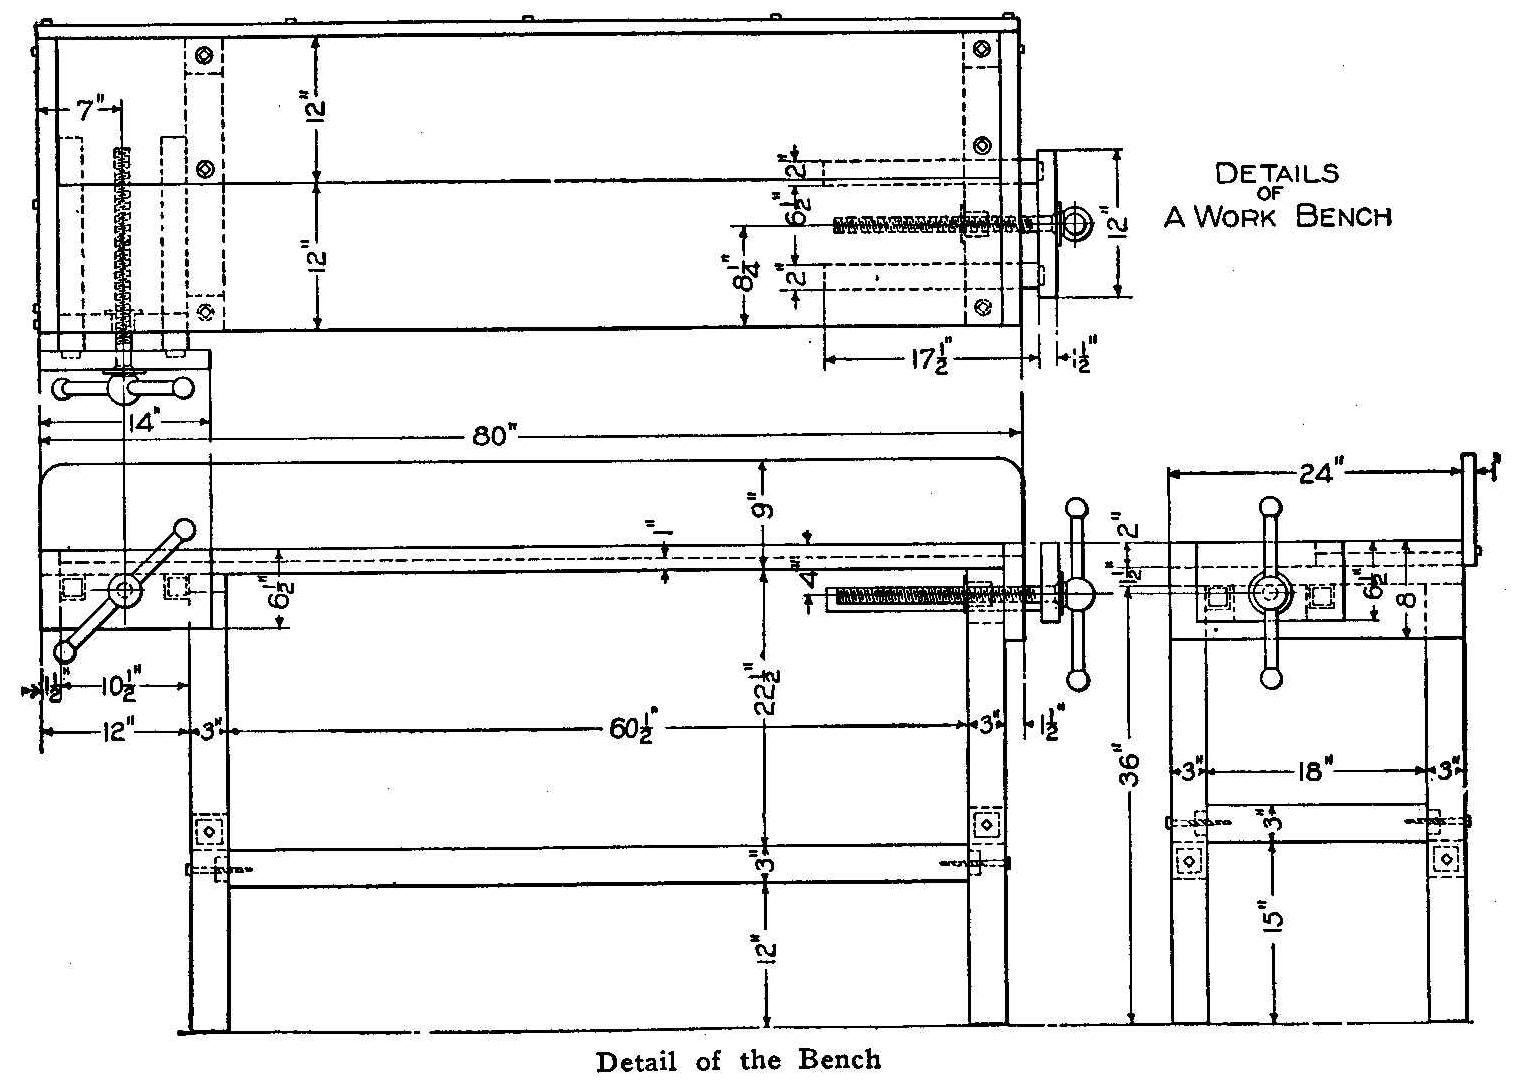


Workbench for the Amateur: Mortised Maple Frame, Two-Board Top, Side and End Vises (Boy Mechanic, 1913)
A full-size woodworking bench from The Boy Mechanic (Popular Mechanics, 1913), "suitable for the amateur woodworker" and made "by anyone who has a few sharp tools and a little spare time": a mortise-and-tenon frame of birch or maple bolted with lag screws, a top of a 2 in and a 1 in board, a side vise and an end vise on square slides, and a back board. All sizes are the book's.
It stands 36 in high, 80 in long and 24 in deep.
Orta
About 2 days
Talimatlar
1
1
Cutting list
Cutting list
Jupyter defteri yükleniyor…
2
2
Read The Boy Mechanic
Read The Boy Mechanic
"If the stock is purchased from the mill ready planed and cut to length, much of the hard labor will be saved."
3
3
Make the lower frame
Make the lower frame
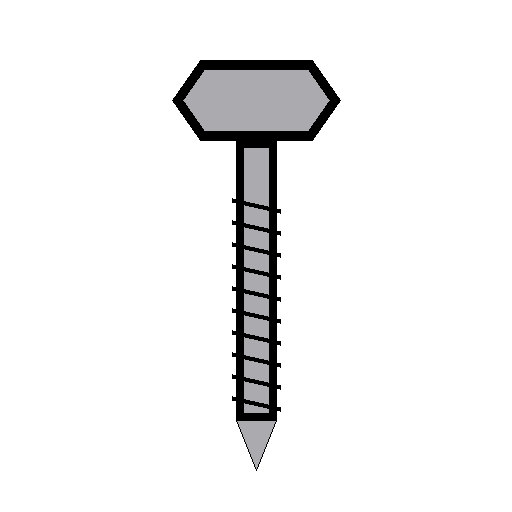
Cut tenons on the side and end rails and mortise the posts to take them. Fit them together and fasten them securely with 3/8 by 5 in lag screws through the posts into the rails, as the drawing shows.
Bu adım için malzemeler:
 Kare kesilmiş kereste1 adet
 Altıgen başlı ağaç vidası (lag vida)1 adet
Gerekli aletler:
 Kollu bıçkı
 Sırtlı testere
 Zıvana yuvası kalemi
 Ahşap Tokmak
 Marangoz gönyesi
 Kol matkabı ve ucu
 Kurbağacık anahtar
 Kurşun kalem
4
4
Fit the crosspieces and top
Fit the crosspieces and top
Screw the 1-1/2 by 3 by 24 in crosspieces to the tops of the posts, countersinking the heads (or bore the top boards to clear them). Fasten the front, 2 in top board to the crosspieces with lag screws from underneath; screw the 1 in top board down from the top.
Bu adım için malzemeler:
Kare kesilmiş kereste1 adet Sert ağaç kalası1 adet
 Sert Ağaç Tahtası1 adetAltıgen başlı ağaç vidası (lag vida)1 adet
 Ahşap vidalar1 adet
Gerekli aletler:
Kol matkabı ve ucu Havşa Ucu Seti
 Tornavida takımıKurbağacık anahtar
5
5
Fit the end pieces and vise slides
Fit the end pieces and vise slides
Screw on the end pieces, countersinking the heads at the vise end. Cut 2 in square holes in the 1-1/2 by 4-1/2 by 10 in piece for the side vise slides and fit it in place, and cut square holes in one end piece for the end vise slides.
Bu adım için malzemeler:
Sert Ağaç Tahtası1 adetAhşap vidalar1 adetGerekli aletler:
Kol matkabı ve ucu Marangoz keskileriAhşap TokmakHavşa Ucu SetiTornavida takımı
6
6
Fit up the two vises
Fit up the two vises
Screw the 2 in square slides (guides) to the two clamp front pieces, countersinking the heads so they are clear of the hands. The clamp screws should be about 1-1/2 in diameter, bought at a hardware store. Fit a block under the crosspiece to hold the end vise's nut. With the slides in place, bore the holes for the clamp screws and fit them.
Bu adım için malzemeler:
Kare kesilmiş kereste1 adetSert Ağaç Tahtası1 adet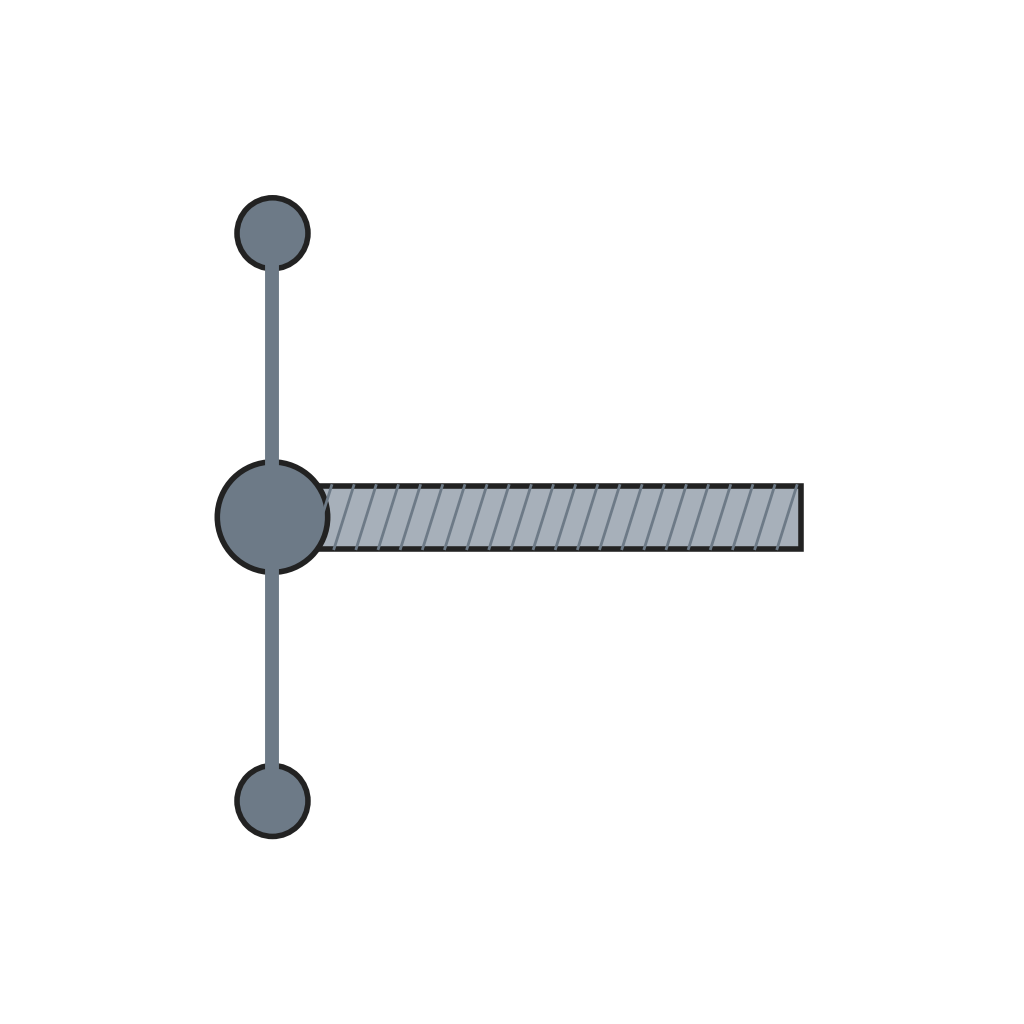 Kayar kollu mengene mili2 adetAhşap vidalar1 adet
Gerekli aletler:
Kol matkabı ve ucuHavşa Ucu SetiTornavida takımı7
7
Back board and finish
Back board and finish
Screw the back board to the back as the top view shows. Give the bench "a couple of coats of oil" to finish and preserve the wood (boiled linseed oil, ours).
Bu adım için malzemeler:
Sert Ağaç Tahtası1 adetAhşap vidalar1 adet Kaynatılmış Bezir Yağı1 adet
 Pamuklu Bez1 adet
Gerekli aletler:
Tornavida takımı8
8
Troubleshooting
Troubleshooting
Workbench troubleshooting.
Flow
Loading...
9
9
History and honest limits
History and honest limits
From **The Boy Mechanic, Volume 1: 700 Things for Boys to Do**, edited by H. H. Windsor, Popular Mechanics, Chicago, 1913 (Project Gutenberg #12655), "A Workbench for the Amateur". All sizes and the fastening are the book's; it names no oil, so boiled linseed oil is ours, as are the metric figures.
Malzemeler
8- 1 adetYer Tutucu
- Yer Tutucu
- 1 adetYer Tutucu
- 1 adetYer Tutucu
- 4 adetYer Tutucu
- 2 adetYer Tutucu
- 1 adetYer Tutucu
- 1 adetYer Tutucu
Gerekli Aletler
11- Yer Tutucu
- Yer Tutucu
- Yer Tutucu
- Yer Tutucu
- Yer Tutucu
- Yer Tutucu
- Yer Tutucu
- 1 vendor sell this, none ship to you yetYer Tutucu
- Yer Tutucu
- Yer Tutucu
- Yer Tutucu
Bu planla yapılan

İlgili Blueprint'ler
Bu blueprint'ler bilgi paylaşır — teknikler, malzemeler veya ilkeler

CC0 Kamu Malı
Bu plan CC0 lisansıyla yayınlanmıştır. İzin almadan kopyalayabilir, değiştirebilir, dağıtabilir ve herhangi bir amaçla kullanabilirsiniz.
Planı üzerinden ürün satın alarak Maker'ı destekleyin, böylece Maker Komisyonu Satıcılar tarafından belirlenen komisyonu kazanırlar veya bu Planın yeni bir versiyonunu oluşturun ve gelir paylaşımı için kendi Planınıza bağlantı olarak ekleyin.