İşbirliği
SANAT
GÜZELLİK & SAĞLIK
ZANAAT
KÜLTÜR & TARİH
EĞLENCE
ÇEVRE
YİYECEK & İÇECEK
TERS MÜHENDİSLİK
BİLİMLER
SPOR
TEKNOLOJİ
GİYİLEBİLİR ÜRÜNLER
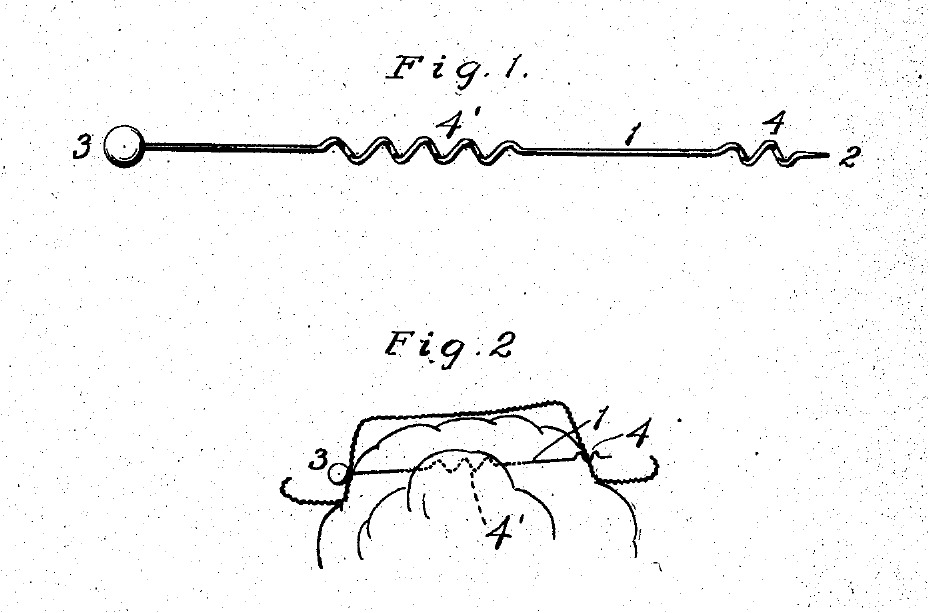


Hat Pin With a Hat-Coil and a Hair-Coil, Screwed In and Out (Condra, 1906)
Elizabeth S. Condra of Corona, California, received US 814,833, dated 13 March 1906, for a hat pin that will not work itself out of the hat. Two small coils are bent into the pin: a short one at the point that screws through the hat, and a longer one in the middle that screws into the hair. Turned in, it holds; turned the other way, it comes out.
We bend it from steel wire with a glass bead for the head. All sizes are ours.
Başlangıç
About 1 hour
Talimatlar
1
1
How much wire
How much wire
Jupyter defteri yükleniyor…
2
2
Read US 814,833
Read US 814,833
"The insertion of the pin is accomplished with the least possible manipulation, as the hat-coil 4 is first passed through one side of the hat, then through the hair, and then through the other side of the hat."
3
3
Cut and straighten the wire
Cut and straighten the wire
Cut 1.6 mm steel wire to the length from the notebook. Draw it through a fold of cloth between your fingers, or roll it under a flat board, until it is straight.
Bu adım için malzemeler:
 Çelik tel1 adet
Gerekli aletler:
 Yan keski
 Şerit Metre
4
4
Sharpen the point
Sharpen the point
Hold the wire in the vice and file one end to a long, even point, turning it as you go. Finish on a sharpening stone so it slips through felt and straw without tearing them.
Gerekli aletler:
 İğne Eğe Takımı
 Tezgah Mengenesi
 Bileği Taşı
5
5
Bend the hat-coil
Bend the hat-coil
About 6 mm from the point, wind the wire two turns round a 3 mm rod, spacing them about 3 mm apart, like a small corkscrew. Bend the wire on each side back so the point and the rest of the pin run straight along the coil's middle: her "axis in line with the rod".
Gerekli aletler:
 Yumuşak Çelik Çubuk
 Yuvarlak uçlu pense
 Yassı Ağızlı Pense
6
6
Bend the hair-coil
Bend the hair-coil
At the place the notebook gives, wind five turns the same way round the same rod, in the same direction as the hat-coil, so one turn of the pin drives both. Bend the ends back in line again. Sight along the pin: the straight parts should all lie on one line.
Gerekli aletler:
Yumuşak Çelik ÇubukYuvarlak uçlu penseYassı Ağızlı Pense7
7
Fit the head
Fit the head
Cut the end square at the finished length and roughen it with sandpaper. Fill the hole of a glass bead with epoxy and push it on, her head or knob 3. It turns the pin and stops it going too far. Leave it to set as the epoxy's label says.
Bu adım için malzemeler:
 Cam boncuk1 adet
 İki bileşenli epoksi1 adet
Gerekli aletler:
Yan keski Zımpara Kağıdı
8
8
Put it in
Put it in
Turn the hat-coil through one side of the hat. Push the pin straight across, without turning, until the hat-coil reaches the far side. Then turn it again: one coil goes through the hat and the other into the hair, and the head comes against the hat. To take it out, turn it back the other way and draw it out.
9
9
Troubleshooting
Troubleshooting
Coiled hat pin troubleshooting.
Flow
Loading...
10
10
History and honest limits
History and honest limits
**Elizabeth S. Condra** of Corona, California, US 814,833, dated 13 March 1906, filed 22 August 1904. She claimed "a hat-pin comprising a metal rod having one end sharpened to form a tip or point, a head at the other end, the rod being provided with a hat-coil and a hair-coil". She wrote that it will be impossible for it to work itself out of the hat "as so frequently happens with a straight pin". She gives no sizes: the steel wire, the 230 mm length, the coil size and number of turns, the glass bead and the epoxy are ours.
Malzemeler
3- 1 adetYer Tutucu
- 1 adetYer Tutucu
- 1 adetYer Tutucu
Gerekli Aletler
9- Yer Tutucu
- 1 vendor sell this, none ship to you yetYer Tutucu
- Yer Tutucu
- Yer Tutucu
- Yer Tutucu
- Yer Tutucu
- Yer Tutucu
- Yer Tutucu
- Yer Tutucu
Bu planla yapılan
İlgili Blueprint'ler
Bu blueprint'ler bilgi paylaşır — teknikler, malzemeler veya ilkeler
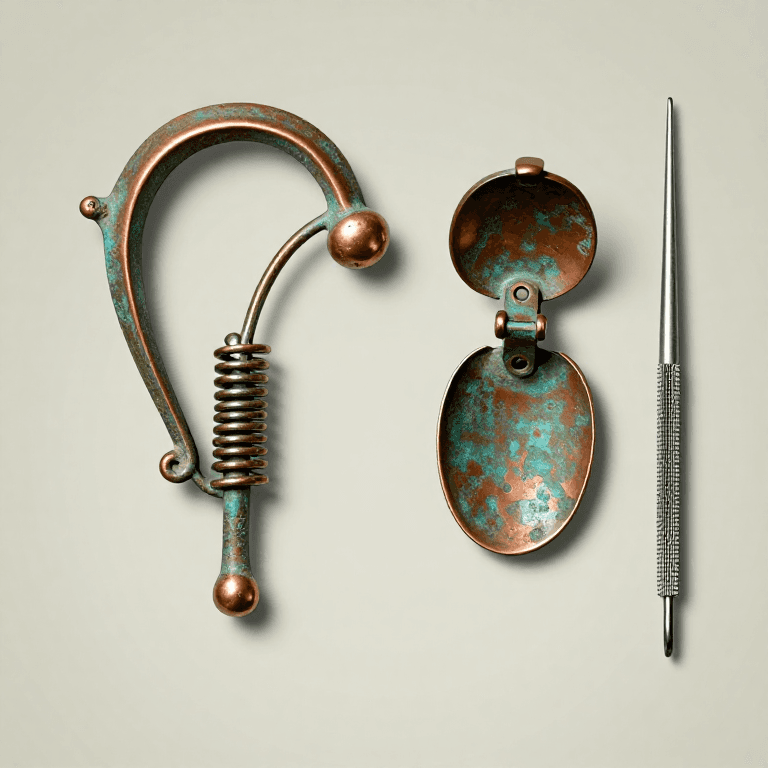


CC0 Kamu Malı
Bu plan CC0 lisansıyla yayınlanmıştır. İzin almadan kopyalayabilir, değiştirebilir, dağıtabilir ve herhangi bir amaçla kullanabilirsiniz.
Planı üzerinden ürün satın alarak Maker'ı destekleyin, böylece Maker Komisyonu Satıcılar tarafından belirlenen komisyonu kazanırlar veya bu Planın yeni bir versiyonunu oluşturun ve gelir paylaşımı için kendi Planınıza bağlantı olarak ekleyin.