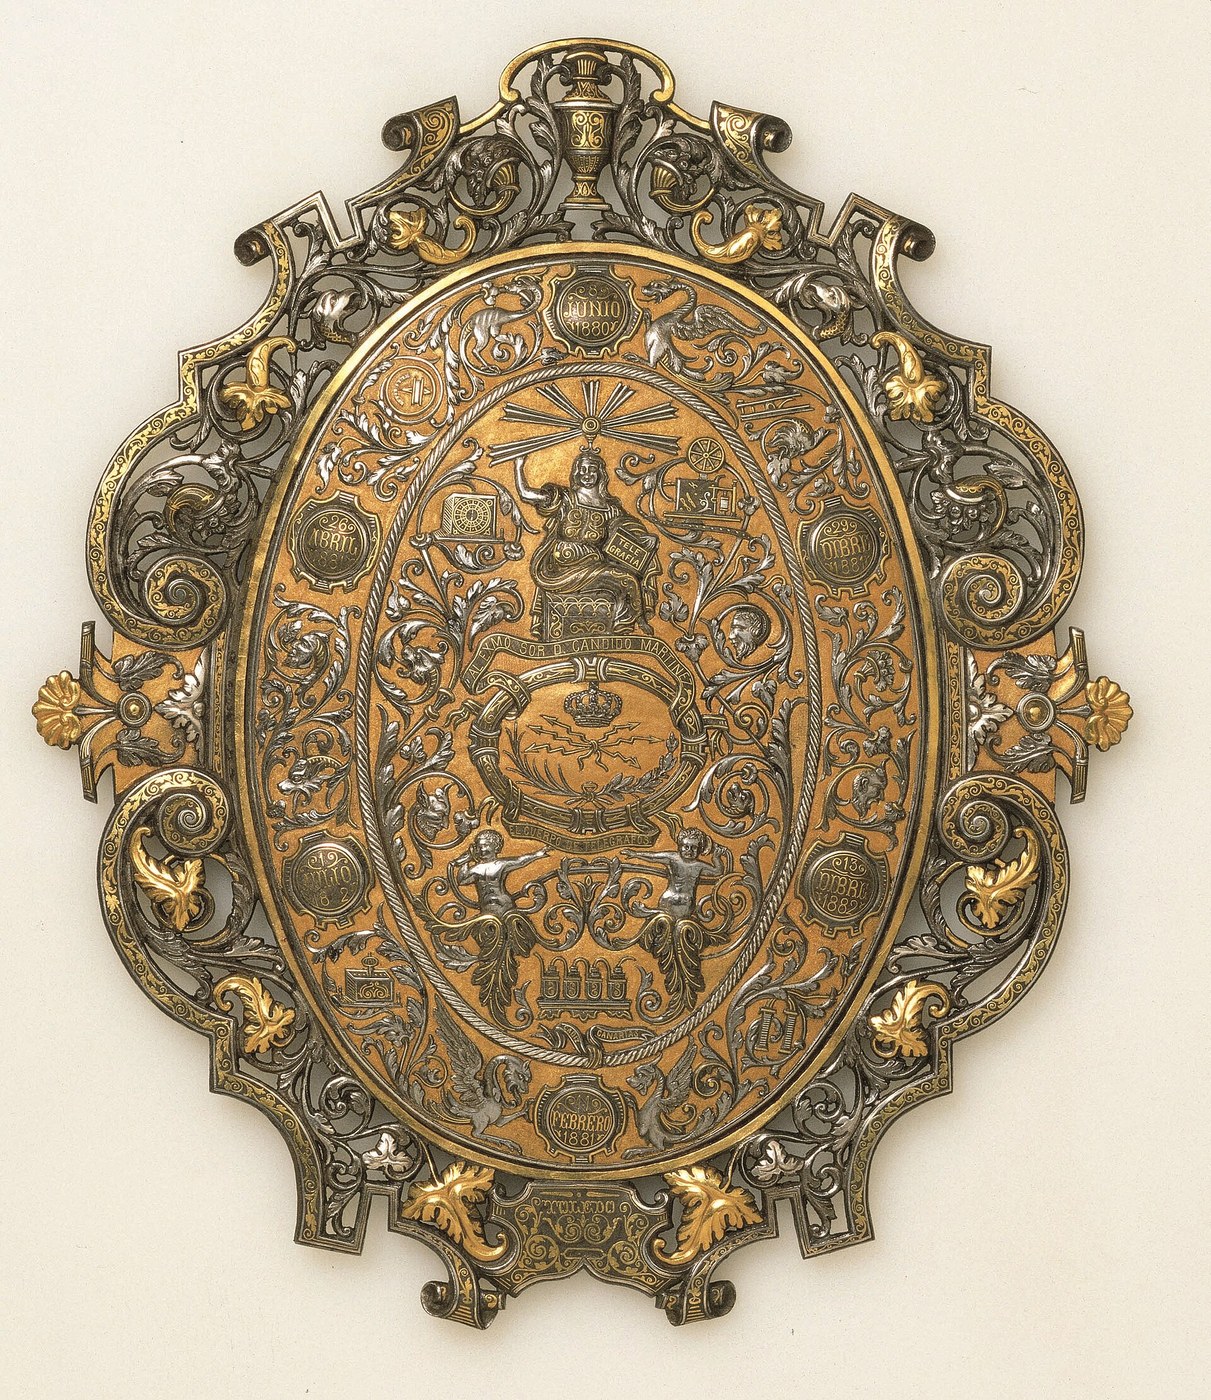


Damascening
Talimatlar
Prove that smooth steel will not hold inlay
Prove that smooth steel will not hold inlay
Try the naive version first so the hatching earns its place.
- Polish a patch of mild steel smooth.
- Hammer a length of soft silver or copper wire onto it.
- Try to lift the wire with a fingernail.
Bu adım için malzemeler:
 Yumuşak çelik lama1 bar
 Bakır Tel1 length
Cut the crosshatched key
Cut the crosshatched key
A dense grid of shallow cuts, each raising a burr that leans over.
- Cut fine parallel lines across the area with a sharp chisel held at a low angle.
- Cut a second set at an angle to the first.
- Look at it under magnification — you want a field of leaning barbs, not clean grooves.
Bu adım için malzemeler:
 Sivri uçlu keski1 adet
 Dışbükey Mercek1 adet
Beat the soft metal in
Beat the soft metal in
Annealed wire, worked from the middle outward with a smooth punch.
- Anneal the silver or gold wire so it is dead soft.
- Lay it on the hatched area and tap it down, working along its length.
- Go over the whole line repeatedly with progressively firmer blows.
Bu adım için malzemeler:
 İnce gümüş tel (999)1 coil
File flush and test the grip
File flush and test the grip
Take the surface down until inlay and ground are one plane.
- File the whole surface flat, cutting steel and silver together.
- Burnish the inlay hard with a smooth steel tool.
- Now try to lift an edge with a scriber.
Bu adım için malzemeler:
 Çelik yünü1 pad
History and context
History and context
The name is misleading and worth untangling. Damascening in this sense — inlaying precious metal into a base metal — is distinct from Damascus steel, which is a matter of the steel's own internal structure (either crucible wootz with its carbide banding, or pattern-welded layers). Both are associated with Damascus, both produce patterned metal, and they are entirely different processes. Confusing them is extremely common.
Where it flourished: across the Islamic world, in India as koftgari, in Japan as zōgan, and in Europe most famously at Toledo, where damascened steel became the signature local craft and remains a tourist trade today. Armour, swords, gun locks and scientific instruments all carried it.
Why steel and not something easier: steel is hard enough to hold a raised burr without it crushing flat under the hammer. Try the same on soft brass and the hatching collapses as you beat the inlay in. The technique needs a hard ground and a soft inlay — the hardness difference is the tool.
An honest note on durability: mechanical inlay is superb against wear and impact but has no protection against corrosion at the interface. Rust forming under the inlay lifts it off, which is why damascened blades were kept oiled and why surviving pieces are often the ones that stayed dry. Modern versions sometimes cheat with adhesive underneath; the traditional joint is purely mechanical.
Malzemeler
6- 1 barYer Tutucu
- 1 lengthYer Tutucu
- 1 adetYer Tutucu
- 1 adetYer Tutucu
- 1 coilYer Tutucu
- 1 padYer Tutucu
İlgili Blueprint'ler
Bu blueprint'ler bilgi paylaşır — teknikler, malzemeler veya ilkeler

CC0 Kamu Malı
Bu plan CC0 lisansıyla yayınlanmıştır. İzin almadan kopyalayabilir, değiştirebilir, dağıtabilir ve herhangi bir amaçla kullanabilirsiniz.
Planı üzerinden ürün satın alarak Maker'ı destekleyin, böylece Maker Komisyonu Satıcılar tarafından belirlenen komisyonu kazanırlar veya bu Planın yeni bir versiyonunu oluşturun ve gelir paylaşımı için kendi Planınıza bağlantı olarak ekleyin.