SANAT
GÜZELLİK & SAĞLIK
ZANAAT
KÜLTÜR & TARİH
EĞLENCE
ÇEVRE
YİYECEK & İÇECEK
TERS MÜHENDİSLİK
BİLİMLER
SPOR
TEKNOLOJİ
GİYİLEBİLİR ÜRÜNLER



Distortion and Sequence: The Weld Pulls, So Decide Where It Pulls To
Every weld shrinks as it cools, and it drags the parts with it. A frame that was square when it was tacked comes out of the jig as a parallelogram; two plates butted flat come out as a shallow roof; a long seam in sheet makes the sheet ripple.
None of that is a beginner's fault. Steel expands about twelve micrometres per metre per degree, the weld metal is restrained while it is hot, and it therefore ends up shorter than it started.
Since the pull cannot be prevented, the work is to predict it, balance it, and use less heat. This rung puts numbers on all three.
Orta
4 hours
Talimatlar
1
1
Three shrinkages, in three directions
Three shrinkages, in three directions
**Transverse shrinkage** closes the joint across the seam. Two plates tacked with a 3 mm gap end up with less. It follows the amount of metal deposited, so it is worst in thick multi-pass joints.
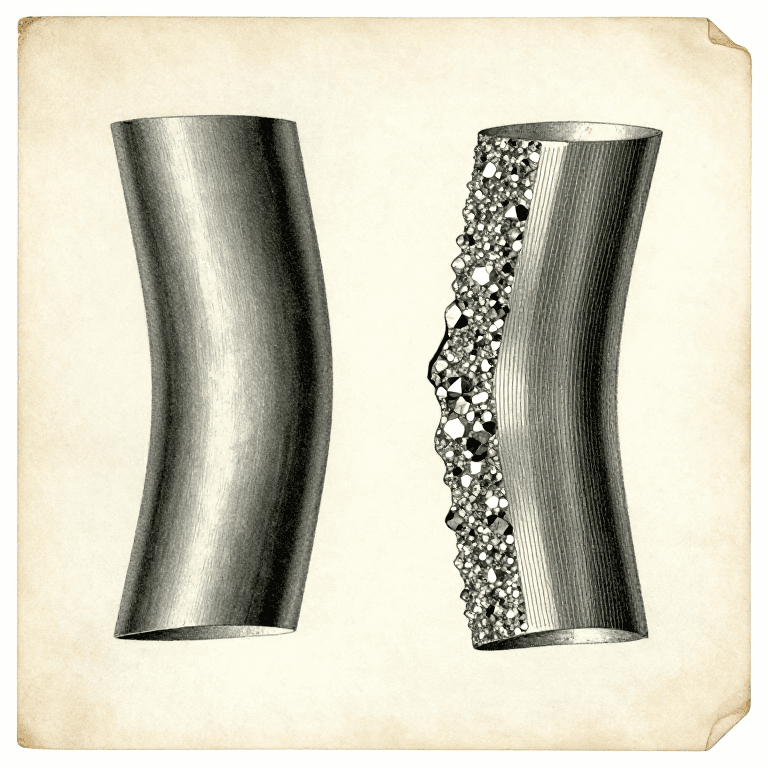
**Longitudinal shrinkage** shortens the seam along its length. It is much smaller than the transverse figure, but on a long member it bows the whole piece towards the weld — which is why a beam welded on one flange only ends up curved.
**Angular distortion** is the fold along the seam. It happens because a single-sided weld has more metal near one face, so that face shrinks more. This is the one that ruins frames, and it is the one the sequence can actually cancel.
All three are worse with more heat, and heat per unit length is the number the bead rung worked out.
Bu adım için malzemeler:
 Yumuşak çelik plaka2 adet
 Yumuşak Çelik Lama2 adet
Gerekli aletler:
 Kombine Gönye
 Cetvel
2
2
How far it moves
How far it moves
Jupyter defteri yükleniyor…
Gerekli aletler:
 Masaüstü Bilgisayar
3
3
Tack, then think about the order
Tack, then think about the order
**Tack from the middle outwards**, not from one end. Tacking from one end pushes the accumulated shrinkage ahead of you and the far end closes up before you get there.
**Back-step.** Weld short lengths, each one laid in the opposite direction to the overall progress: start 100 mm along and weld back to the start, then start 200 mm along and weld back to 100, and so on. Each short run shrinks into metal already welded instead of into the open joint.
**Balance across the neutral axis.** On a tee, weld one side then the other. On a box, weld opposite corners alternately. Never finish one whole side before starting the other.
**Skip around.** On a frame with many joints, never weld two adjacent joints one after the other. Move to the far side and let the first cool.
**Pre-set.** For a distortion you cannot cancel, set the parts up bent the opposite way by the amount the notebook predicts and let the weld pull them straight. That is how a fabricator makes a straight beam out of a process that always bends one.
Bu adım için malzemeler:
Yumuşak çelik plaka2 adet Yumuşak çelik köşebent2 adet
 Kaynak elektrodu1 paket
Gerekli aletler:
 Ark kaynak makinesi
 Otomatik kararan kaynak maskesi
 Kaynak eldivenleri
 C işkenceKombine Gönye
 Sabuntaşı blok
4
4
Clamping helps less than you think, and costs something
Clamping helps less than you think, and costs something
The obvious answer to distortion is to hold the work rigidly. It works, but only while the clamps are on.
Restraint does not remove the shrinkage — it converts it into **residual stress** locked into the joint. Release the clamps and some of the movement happens anyway. Worse, a heavily restrained joint in a thick or hardenable steel can crack as it cools, because the contracting weld has nowhere to go.
So use clamps and jigs to hold **alignment** — to keep the gap and the angle where you set them — and control distortion with sequence, balance and less heat instead. Those work by reducing the shrinkage rather than fighting it.
If a piece still comes out bent, it can be pulled back by flame straightening: heating a small wedge-shaped area, letting the surrounding cold metal upset it, and letting it shrink on cooling. That is the same physics used deliberately — and it puts yet more residual stress in, so it is a repair, not a plan.
Bu adım için malzemeler:
Yumuşak çelik plaka2 adetGerekli aletler:
C işkence Çubuklu işkenceKombine Gönye
 Dijital Açı Ölçer
Malzemeler
4- 2 adetYer Tutucu
- 2 adetYer Tutucu
- 2 adetYer Tutucu
- 1 paketYer Tutucu
Gerekli Aletler
10- Yer Tutucu
- Yer Tutucu
- Yer Tutucu
- Yer Tutucu
- Yer Tutucu
- Yer Tutucu
- Yer Tutucu
- Yer Tutucu
- Yer Tutucu
- Yer Tutucu
İlgili Blueprint'ler
Bu blueprint'ler bilgi paylaşır — teknikler, malzemeler veya ilkeler

CC0 Kamu Malı
Bu plan CC0 lisansıyla yayınlanmıştır. İzin almadan kopyalayabilir, değiştirebilir, dağıtabilir ve herhangi bir amaçla kullanabilirsiniz.
Planı üzerinden ürün satın alarak Maker'ı destekleyin, böylece Maker Komisyonu Satıcılar tarafından belirlenen komisyonu kazanırlar veya bu Planın yeni bir versiyonunu oluşturun ve gelir paylaşımı için kendi Planınıza bağlantı olarak ekleyin.