İşbirliği
SANAT
GÜZELLİK & SAĞLIK
ZANAAT
KÜLTÜR & TARİH
EĞLENCE
ÇEVRE
YİYECEK & İÇECEK
TERS MÜHENDİSLİK
BİLİMLER
SPOR
TEKNOLOJİ
GİYİLEBİLİR ÜRÜNLER
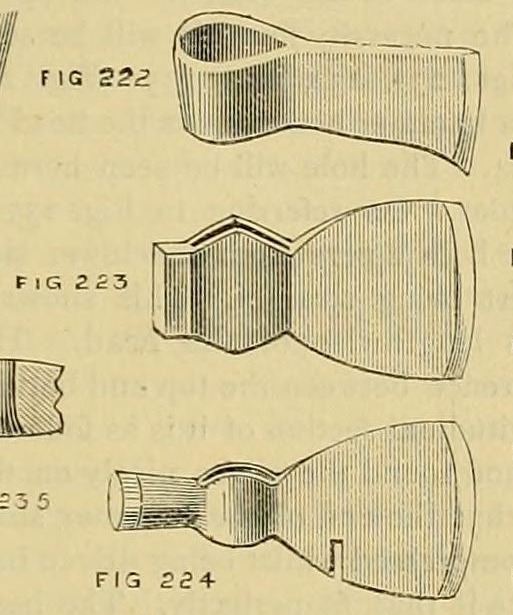


Steel-Laid Axe and Hatchet: Iron Folded Round a Mandrel, Shear Steel Welded Between the Leaves (Edwinson, 1886)
How axes and hatchets were made of iron and shear steel, from George Edwinson's smithing series (Amateur Work, 1886): a flat iron bar folded round a tapering mandrel to make the eye, the leaves welded, and a thin slice of steel welded between them so the ground edge is always steel.
İleri
A day at the forge
Talimatlar
1
1
Read Edwinson
Read Edwinson
"By this means a layer of steel is enclosed between two layers of iron, and a steel edge is always ensured to the tool."
2
2
Fold the eye
Fold the eye
Take flat iron of the width and thickness you want, twice the length of the blade. Heat it and bend it over a tapering mandrel the same section as the handle (his fig. 225).
Bu adım için malzemeler:
 Dövme demir çubuk1 adet
Gerekli aletler:
 Demirci ocağı
 Örs
 Balyoz
 Demirci kerpeteni
 Delik genişletme zımbası
3
3
Close and shape the eye
Close and shape the eye
Weld the two leaves together where they meet near the eye. Reheat and forge the eye to shape on the mandrel, then drive the mandrel in the other way to open the inner edge of the eye slightly.
Bu adım için malzemeler:
 Boraks tozu1 adet
Gerekli aletler:
Demirci ocağıÖrs ÇekiçDelik genişletme zımbası
4
4
Lay in the steel
Lay in the steel
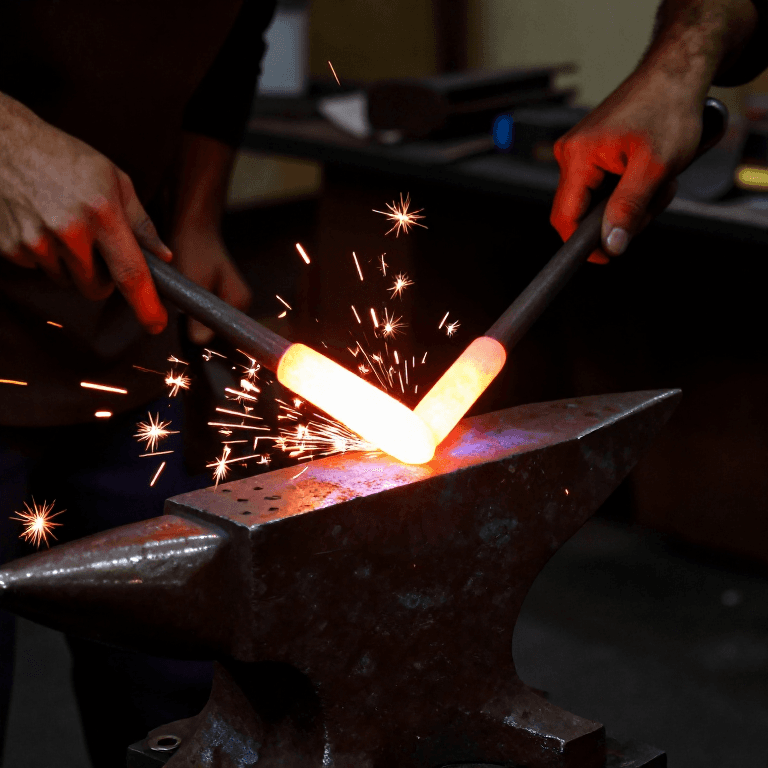
Put a thin slice of shear steel, as wide as the axe, between the two leaves. Bring both to a welding heat and forge them down together to the thickness and width wanted.
Bu adım için malzemeler:
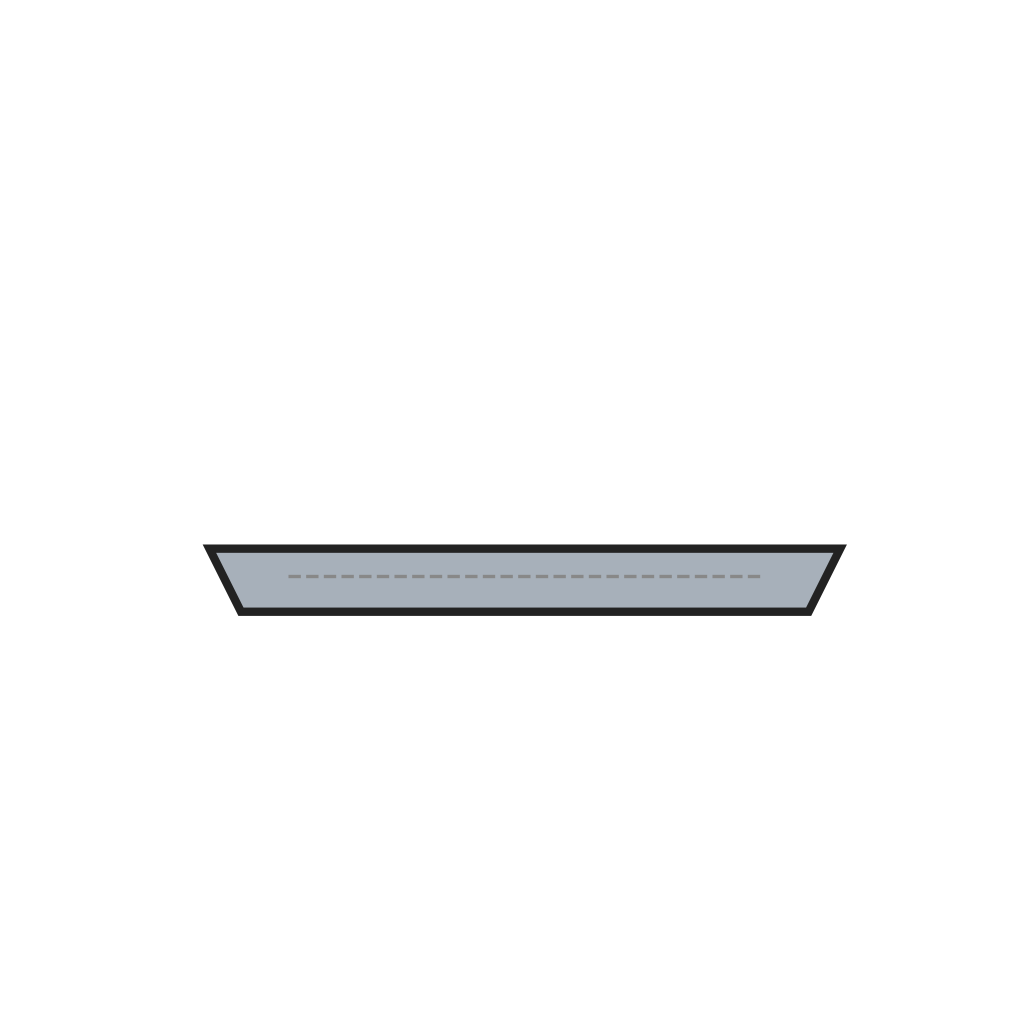 Katlamalı (shear) çelik plaka1 adetBoraks tozu1 adet
Gerekli aletler:
Demirci ocağıÖrsBalyozDemirci kerpeteni5
5
Hatchet hammer (variant)
Hatchet hammer (variant)
For a carpenter's hatchet (fig. 223) weld a rectangular piece of steel to the back of the eye and forge it down with it as the hammer. The miner's hatchet (fig. 224) has a massive ear, a bar-steel hammer and a slit in the blade for drawing nails. Do not make a woodman's axe square-headed: men drive wedges with the back and spoil it.
Bu adım için malzemeler:
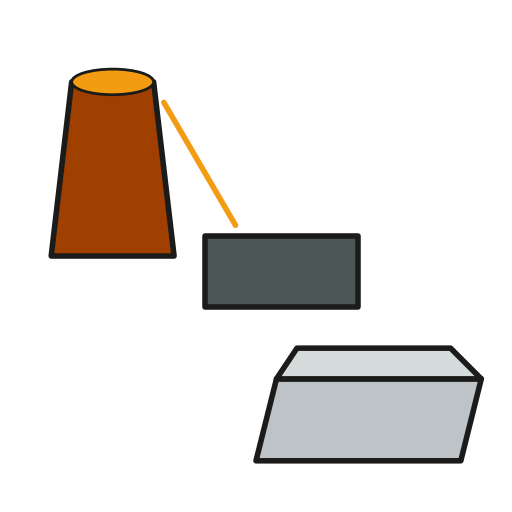 Pota çeliği1 adet
Gerekli aletler:
Demirci ocağıÖrsÇekiç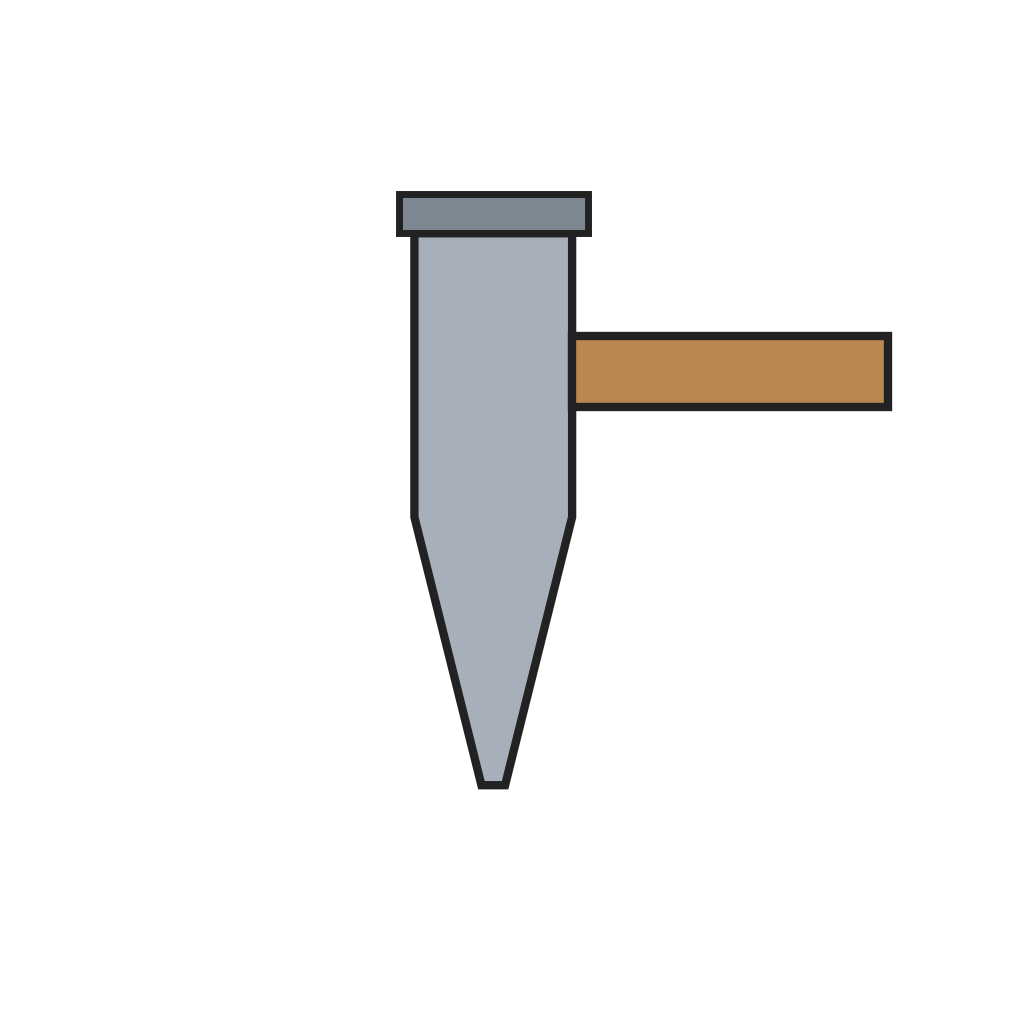 Sıcak keski
6
6
Pare and smooth
Pare and smooth
Pare the rough forging to shape with hot chisels (his setts) while hot. Hammer the sides well at a low red heat until smooth.
Gerekli aletler:
Demirci ocağıSıcak keskiÖrsÇekiç7
7
Harden, temper and grind
Harden, temper and grind
Harden and temper the blade, then grind it on a grindstone to sharpen the edge and polish the blade.
Gerekli aletler:
Demirci ocağı Su verme kovası
 Bileme taşı çarkı
8
8
Hang the head (ours)
Hang the head (ours)
He does not cover the handle. Ours: fit a hickory handle blank to the eye and wedge it.
Bu adım için malzemeler:
 Balta sapı taslağı (hikori)1 adet
 Ahşap kamalar1 adet
Gerekli aletler:
 İki Saplı Yontma BıçağıÇekiç
9
9
Troubleshooting
Troubleshooting
Axe troubleshooting.
Flow
Loading...
10
10
History and honest limits
History and honest limits
From George Edwinson, "Smithing and Forging" (part X), **Amateur Work, Illustrated**, vol. VI (Ward, Lock & Co., 1886-87), pp. 211-214 (checked on the archive.org scan amateurworkillus06lond), p. 212 and figs. 222-225. He gives no temper colour for axes, no sizes and no handle: those are ours.
Malzemeler
6- 1 adetYer Tutucu
- 1 adetYer Tutucu
- Yer Tutucu
- 1 adetYer Tutucu
- Yer Tutucu
- 1 adetYer Tutucu
Gerekli Aletler
10- Yer Tutucu
- Yer Tutucu
- Yer Tutucu
- Yer Tutucu
- Yer Tutucu
- Yer Tutucu
- Yer Tutucu
- Yer Tutucu
- Yer Tutucu
- Yer Tutucu

İlgili Blueprint'ler
Bu blueprint'ler bilgi paylaşır — teknikler, malzemeler veya ilkeler
CC0 Kamu Malı
Bu plan CC0 lisansıyla yayınlanmıştır. İzin almadan kopyalayabilir, değiştirebilir, dağıtabilir ve herhangi bir amaçla kullanabilirsiniz.
Planı üzerinden ürün satın alarak Maker'ı destekleyin, böylece Maker Komisyonu Satıcılar tarafından belirlenen komisyonu kazanırlar veya bu Planın yeni bir versiyonunu oluşturun ve gelir paylaşımı için kendi Planınıza bağlantı olarak ekleyin.