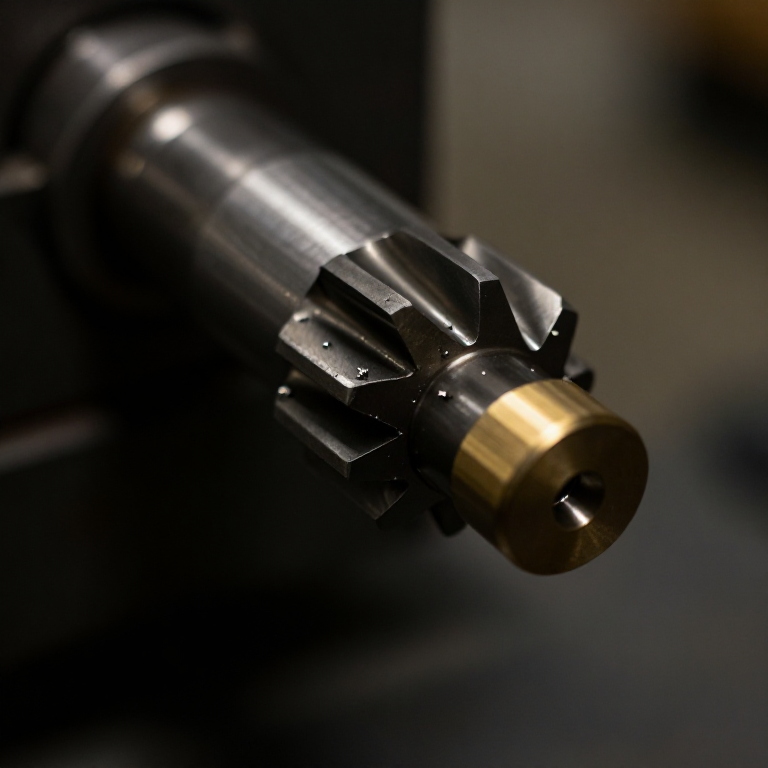


Gear Hobbing Machine
Talimatlar
Understand generation before building anything
Understand generation before building anything
Prove to yourself that a curved tooth can be made by straight cuts.
- Cut a card disc as a gear blank and mark its centre.
- Cut a card strip with straight-sided rack teeth — this represents the hob.
- Roll the rack along the disc's edge without slipping, marking the rack's outline on the disc at each small step.
- Look at the envelope of all those straight lines.
The curve appears without anyone drawing it. The involute tooth form is the envelope of a straight-sided rack rolled against the blank, which is why a hob with straight-sided teeth can cut a correctly curved gear. This is generation rather than copying, and it is why one hob serves every tooth count of its module: the form comes from the ROLLING RELATIONSHIP, not from the cutter's shape.
Do this exercise in card before cutting metal. Most of the difficulty in understanding hobbing dissolves once the envelope appears on the disc in front of you.Bu adım için malzemeler:
 Karışık Renk Bristol Karton Paketi1 paket
 Milimetrik Kağıt1 pad
Gerekli aletler:
 Dijital Kumpas 6 İnç
 Kombine Gönye
 Kıl Testere
Make a single-start hob
Make a single-start hob
A worm with flutes cut across it, so each thread crest becomes a row of teeth.
- Start from a length of M12 threaded rod — a ready-made single-start worm of known pitch.
- Cut three or four straight flutes along its length with a hacksaw, at 90 degrees to each other.
- File a relief behind each cutting edge so only the edge contacts.
- Mount it on an arbor in two 608 bearings.
Modern build spec (derived). A real hob is a hardened, precisely relieved and ground cutter with a defined pressure angle. Threaded rod flutted by hand will cut soft material and demonstrate the geometry exactly, at a fraction of the work. What it will not do is hold form after a few cuts.
The flutes must be straight and evenly spaced, because each becomes a cutting row. Uneven flutes mean some rows cut more than others, which shows up as a periodic error around the finished gear.Bu adım için malzemeler:
 Alüminyum Yuvarlak Çubuk1 adet
 Ball Bearing - Non-Flanged (8mm Bore, 22mm OD)2 adet
 Çukur uçlu setuskur2 adet
Gerekli aletler:
 Demir Testeresi Gövdesi ve Ağızları
 Tezgah Mengenesi
 Eğe Takımı
 Kablosuz Matkap
 Matkap Ucu TakımıDijital Kumpas 6 İnç
Gear the hob to the blank in a fixed ratio
Gear the hob to the blank in a fixed ratio
This is the machine. Everything else is a frame to hold it.
- Mount the blank on a vertical spindle in 608 bearings.
- Connect the hob spindle to the blank spindle through a train of change gears.
- For a single-start hob cutting N teeth, the blank must turn once for every N turns of the hob.
- Fit the change gears to give that ratio and check it by counting turns by hand.
- Secure everything with M6 × 50 hex bolts × 4, M6 flat washers × 8 and M6 hex nuts × 4.
The ratio is the tooth count. Change the gearing to 1:37 and you cut a 37-tooth gear with the same hob; 1:38 gives 38 teeth. Nothing about the cutter changes. That is the whole economic argument for hobbing — one cutter, every tooth count, and prime numbers are no harder than round ones.
Count the turns by hand before cutting. A gearing error produces a gear with the wrong tooth count and a mangled last tooth, and it is not visible until the cut is nearly finished.Bu adım için malzemeler:
 Baltık Huş Kontrplak1 yaprakBall Bearing - Non-Flanged (8mm Bore, 22mm OD)2 adet
 Düz Pul8 adet
 Altıgen Somun4 adet
 Alüminyum Lama1 adet
Gerekli aletler:
Kablosuz MatkapMatkap Ucu Takımı Alyan Anahtar Takımı
 Dekupaj TestereKombine GönyeDijital Kumpas 6 İnç
Set the hob's lead angle and cut a gear
Set the hob's lead angle and cut a gear
The hob must be tilted, or its teeth cut at an angle to the gear's axis.
- Measure the hob's lead angle — the helix angle of its thread.
- Swivel the hob head by that angle so its teeth run parallel to the gear's tooth direction.
- Feed the hob into the blank to full tooth depth.
- Feed it slowly along the blank's axis while both rotate, and let the teeth generate.
- Inspect the finished teeth for the characteristic faceted flanks.
Bu adım için malzemeler:
Alüminyum Lama1 adetGerekli aletler:
Kombine GönyeDijital Kumpas 6 İnçAlyan Anahtar TakımıEğe TakımıGeneration versus forming, and history
Generation versus forming, and history
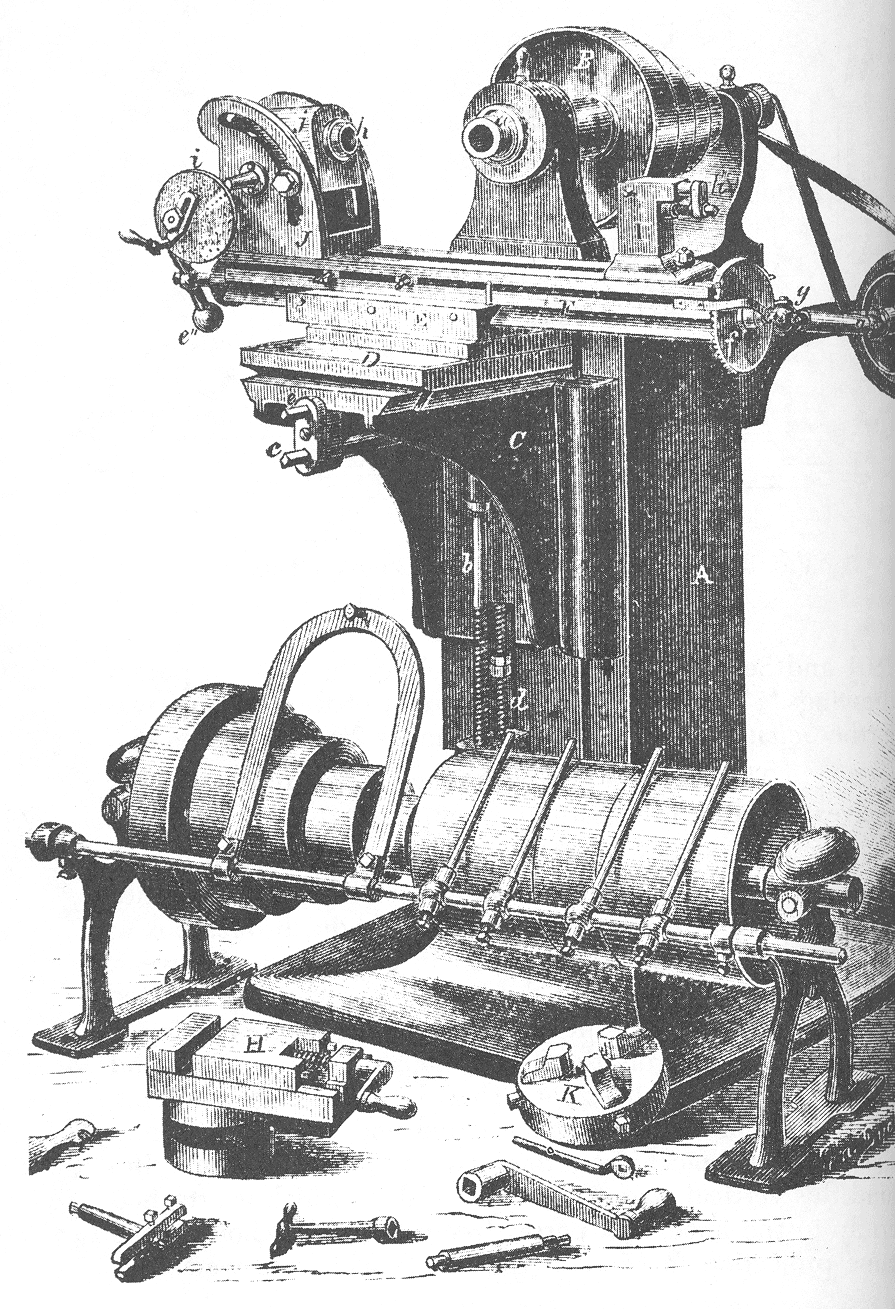
Hermann Pfauter patented a universal gear hobbing machine in 1897 in Chemnitz, and the firm he founded still makes hobbing machines. The same year, Edwin Fellows patented the gear shaper already in this catalogue — two different generating machines arriving simultaneously, which is a good indication that gear cutting was the bottleneck everyone was pushing at.
Generating versus forming, stated plainly. A form cutter is shaped like the space between two teeth, so it copies its own profile and is strictly correct for only one tooth count — which is why form cutters are sold in numbered sets, each covering a range approximately. A generating process rolls a simple cutter against the blank and lets the correct curve emerge from the motion. Generation gives better accuracy from simpler tooling, at the cost of a machine that must hold an exact ratio between two rotations.
What it inherited from this chain: the milling machine's rigid three-axis frame, the dividing head's principle of exact angular relation — here made continuous rather than stepped — and the change-gear train that Maudslay's screw-cutting lathe introduced for connecting rotation to rotation. Hobbing is those three ideas combined and pointed at one job.
Where each still wins: hobbing for spur, helical and worm gears in quantity; shaping for internal gears and for gears with a shoulder close by, where a hob cannot run out; form milling for one-off repairs where setting up a hobber is not worth it. Three approaches to one goal, all still in use — and the choice is about quantity and geometry, not about which is better.
Malzemeler
9- Yer Tutucu
- 1 padYer Tutucu
- 1 adetYer Tutucu
- Ball Bearing - Non-Flanged (8mm Bore, 22mm OD)%10 komisyon2 adet$1.26
- 2 adetYer Tutucu
- 1 yaprakYer Tutucu
- 8 adetYer Tutucu
- 4 adetYer Tutucu
- 1 adetYer Tutucu
Gerekli Aletler
10- Yer Tutucu
- Yer Tutucu
- Yer Tutucu
- Yer Tutucu
- Yer Tutucu
- Yer Tutucu
- 1 vendor sell this, none ship to you yetYer Tutucu
- Yer Tutucu
- Yer Tutucu
- 1 vendor sell this, none ship to you yetYer Tutucu
İlgili Blueprint'ler
Bu blueprint'ler bilgi paylaşır — teknikler, malzemeler veya ilkeler
CC0 Kamu Malı
Bu plan CC0 lisansıyla yayınlanmıştır. İzin almadan kopyalayabilir, değiştirebilir, dağıtabilir ve herhangi bir amaçla kullanabilirsiniz.
Planı üzerinden ürün satın alarak Maker'ı destekleyin, böylece Maker Komisyonu Satıcılar tarafından belirlenen komisyonu kazanırlar veya bu Planın yeni bir versiyonunu oluşturun ve gelir paylaşımı için kendi Planınıza bağlantı olarak ekleyin.