
Grinding a Glass Lens for a Telescope — Shaping Light with Abrasive and Patience
Every refracting telescope, microscope, camera, and spectacle begins with a shaped piece of glass — a lens. The art of grinding glass into precise curved surfaces was developed in the late 13th century for spectacles, then refined dramatically in the early 17th century when telescope makers needed lenses of much longer focal length and higher optical quality. The process is fundamentally simple: a flat glass disc is rubbed against a curved tool (or vice versa) with abrasive grit and water between them. The grit cuts away glass where it contacts most, gradually producing a smooth spherical curve. Coarser grits establish the rough curve, finer grits remove the scratches left by coarser ones, and a final polish with cerium oxide or rouge on a pitch lap produces a transparent, optically smooth surface. Galileo ground his own lenses in 1609. Newton considered lens grinding too slow and switched to mirrors, but Huygens, Dollond, and Fraunhofer perfected the technique over the following two centuries. This blueprint grinds a plano-convex lens from a flat glass disc — the same basic process used from the Renaissance to the present day.
Talimatlar
Understand lens geometry
Understand lens geometry
Select the glass blank
Select the glass blank
Bu adım için malzemeler:
 Glass Sheet1 adet
Prepare the grinding tool
Prepare the grinding tool
Bu adım için malzemeler:
Glass Sheet1 adetRough grind with coarse grit
Rough grind with coarse grit
Bu adım için malzemeler:
 Silicon Carbide Grit200 g
Test the curve with a template
Test the curve with a template
Gerekli aletler:
 Measuring Ruler
Fine grind with progressively finer grits
Fine grind with progressively finer grits
Bu adım için malzemeler:
Prepare a pitch lap for polishing
Prepare a pitch lap for polishing
Bu adım için malzemeler:
 Pine Pitch Glue100 g
 Beeswax30 g
Polish with cerium oxide
Polish with cerium oxide
Bu adım için malzemeler:
 Cerium Oxide Polish50 g
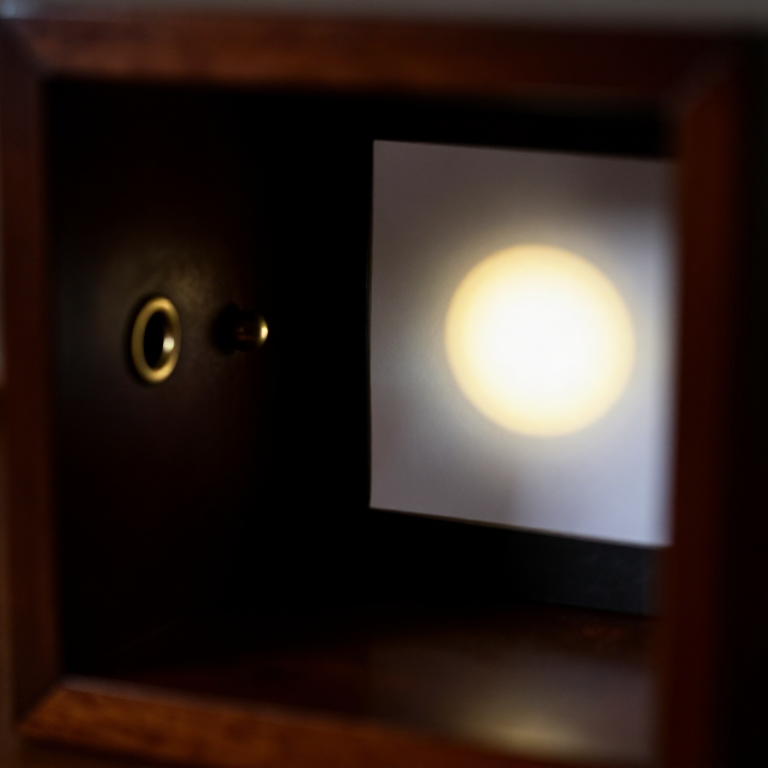
Test the focal length
Test the focal length
Grind the eyepiece lens (shorter focal length)
Grind the eyepiece lens (shorter focal length)
Bu adım için malzemeler:
Glass Sheet1 adetSilicon Carbide Grit100 gCerium Oxide Polish25 gMalzemeler
6- 3 adetYer Tutucu
- 300 gYer Tutucu
- 100 gYer Tutucu
- Yer Tutucu
Gerekli Aletler
1- Yer Tutucu
Bağlı Plan Malzemeleri
You can swap these in
Can't get one of the materials? Swap it for an equivalent — these work just as well.
- Instead of Glass Sheet, try:
 Sheet Glass
 Dichroic Glass
 Capillary Glass Tube
 Cover Glass
 - Instead of Pine Pitch Glue, try:
 Polyurethane Glue
 Wood Glue
 Super Glue
 Rabbit Skin Glue (Granules)
 - Instead of Silicon Carbide Grit, try:
 Sandpaper 220 Grit (Fine)
 Whetstone 1000 Grit
 - Instead of Measuring Ruler, try:
 Steel Ruler (30cm)
 Quilting Ruler (6x24 Inch)
Recommended for this build
Products makers often use with builds like this one.
 HacksawFrequently used with this build's materials
 ProtractorUsed in similar builds
 Diamond ScriberUsed together and in similar builds
 Polishing CompoundUsed in similar builds
 Crucible TongsUsed together and in similar builds
 CharcoalUsed in similar builds
 Clay Crucible (deep)Used in similar builds
 Tin IngotUsed in similar builds
İlgili Blueprint'ler
Bu blueprint'ler bilgi paylaşır — teknikler, malzemeler veya ilkeler
Related blueprints
Other builds that share materials, tools, or techniques with this one.


CC0 Kamu Malı
Bu plan CC0 lisansıyla yayınlanmıştır. İzin almadan kopyalayabilir, değiştirebilir, dağıtabilir ve herhangi bir amaçla kullanabilirsiniz.
Planı üzerinden ürün satın alarak Maker'ı destekleyin, böylece Maker Komisyonu Satıcılar tarafından belirlenen komisyonu kazanırlar veya bu Planın yeni bir versiyonunu oluşturun ve gelir paylaşımı için kendi Planınıza bağlantı olarak ekleyin.