SANAT
GÜZELLİK & SAĞLIK
ZANAAT
KÜLTÜR & TARİH
EĞLENCE
ÇEVRE
YİYECEK & İÇECEK
TERS MÜHENDİSLİK
BİLİMLER
SPOR
TEKNOLOJİ
GİYİLEBİLİR ÜRÜNLER
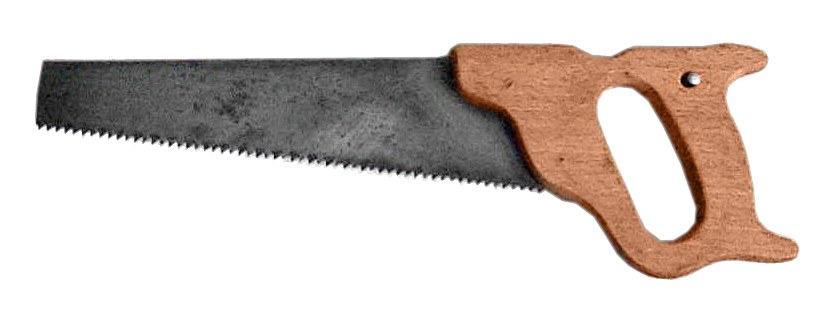


Hand Saw: Plate, Teeth, Temper and Handle
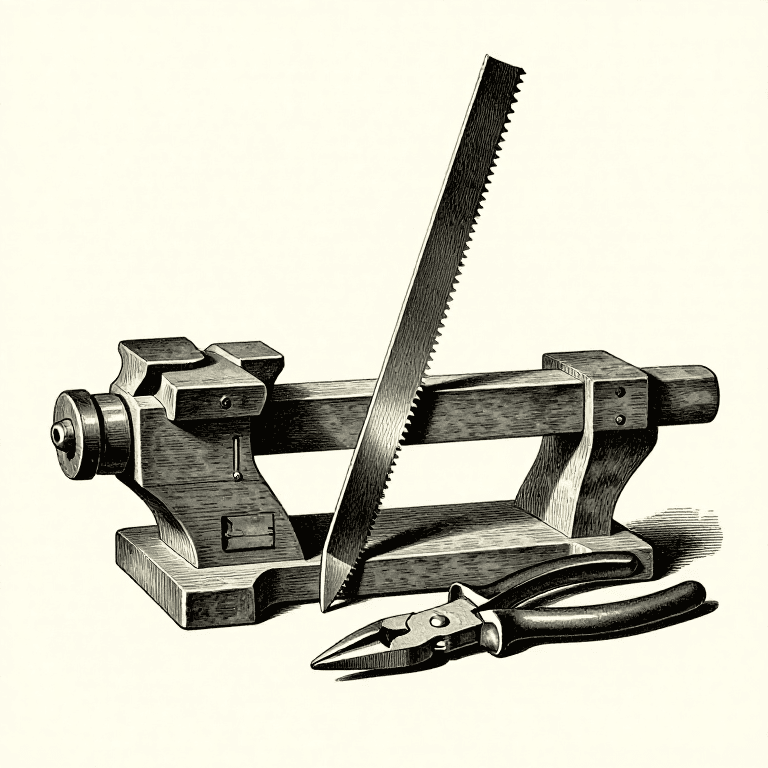
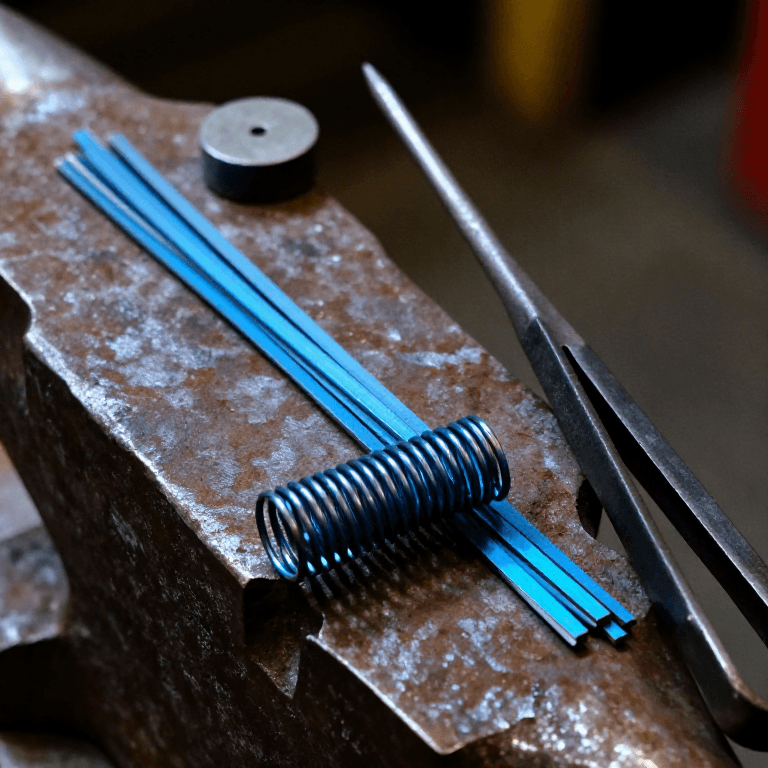
Hand saws were made like this in the saw works of the 1880s. Steel plate is sheared to the outline of the blade and the teeth are punched in a press. The toothed plate is heated to a light cherry red and plunged into a bath of oil, tallow, rosin and beeswax, which leaves it as brittle as glass; it is then flattened between heated dies until it reaches a blue, the colour of spring temper. After smithing and grinding, the teeth are set, bent alternately left and right, and filed sharp, and a wooden handle is riveted on. Today the plate is laser cut and the teeth are ground and flame hardened.
İleri
Factory process (1880s)
Talimatlar
1
1
Cut the plate
Cut the plate
Shear the steel plate to the outline of the blade.
Bu adım için malzemeler:
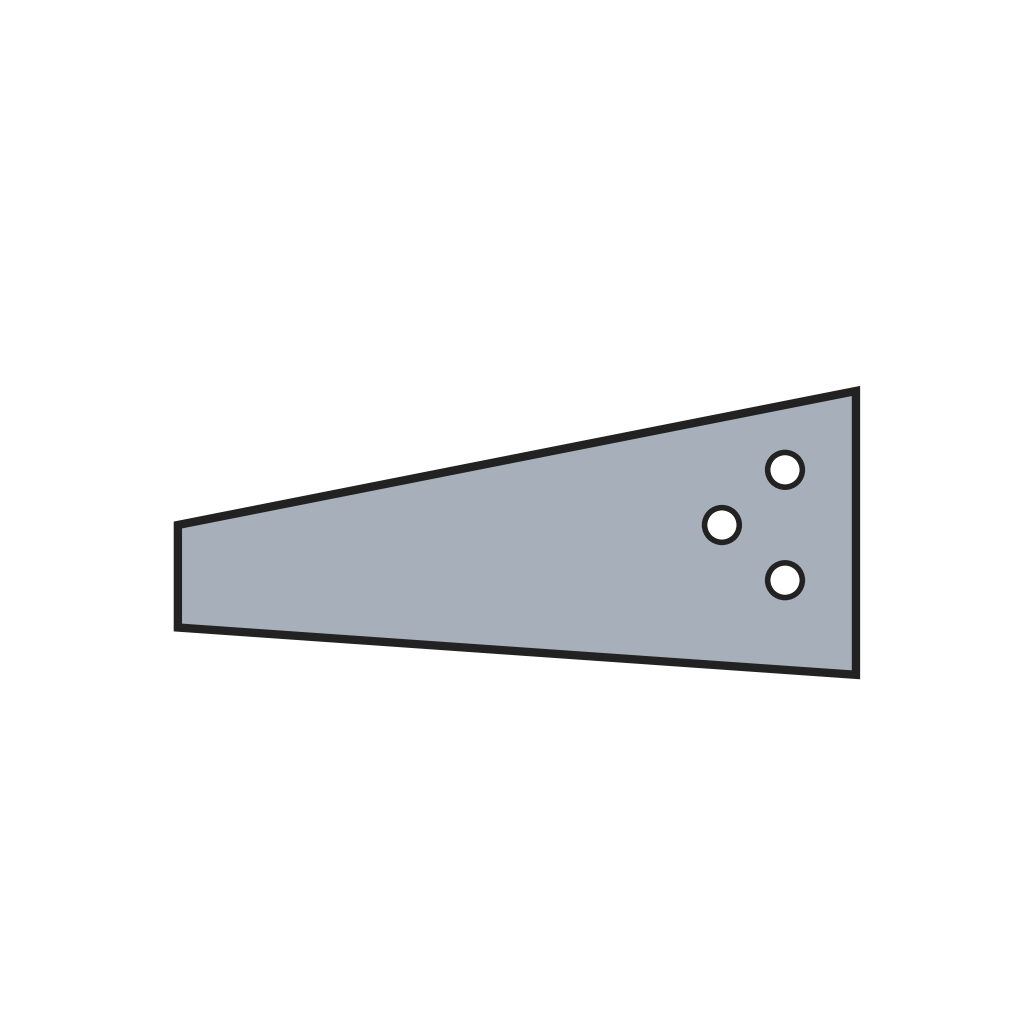 Testere çeliği sac1 adet
Gerekli aletler:
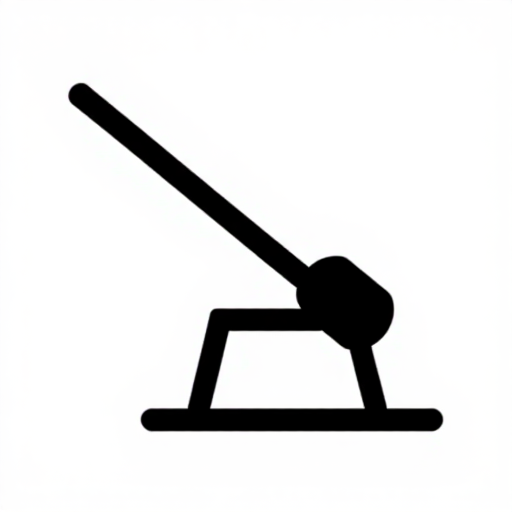 Sac makası
2
2
Punch the teeth
Punch the teeth
Punch the teeth along the edge with a shaped die in a press.
Gerekli aletler:
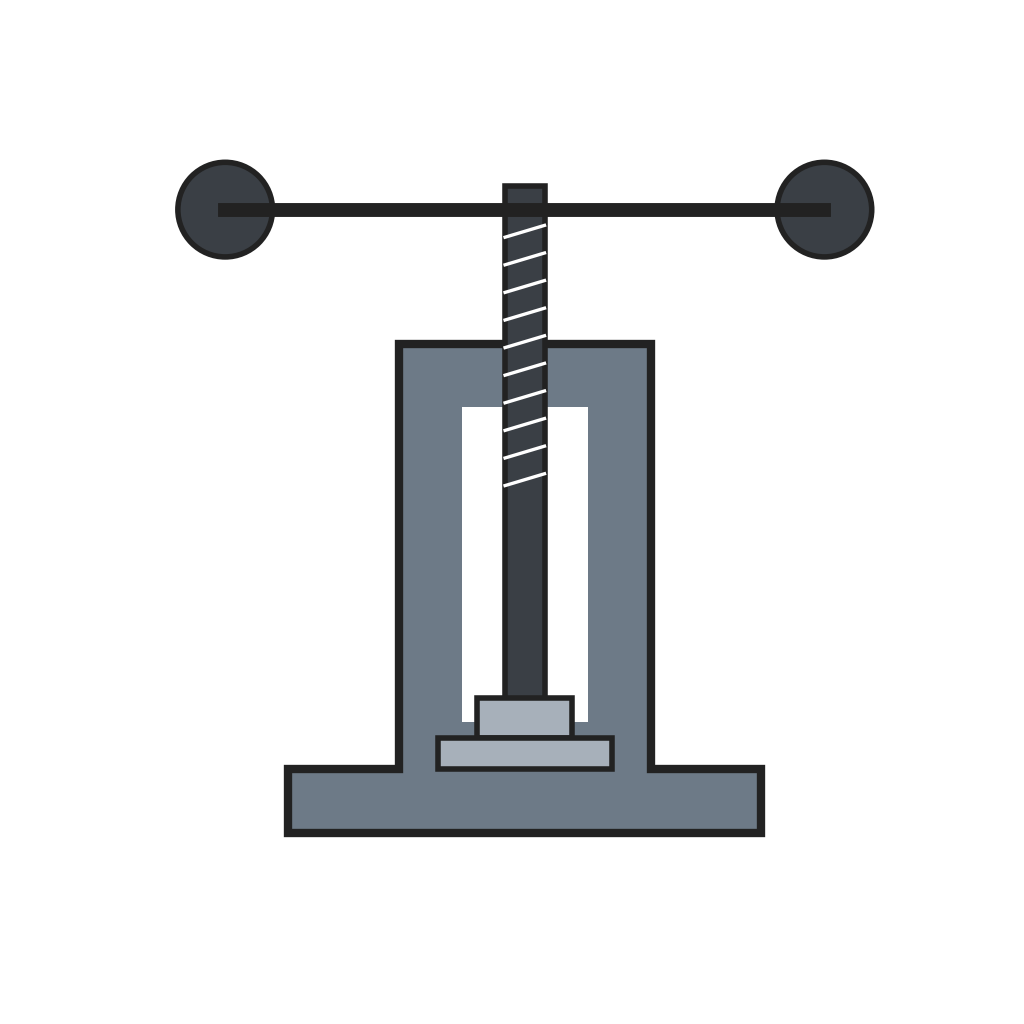 Testere dişi zımbalama presi
3
3
Harden
Harden
Heat the toothed plate to a light cherry red and plunge it into a bath of oil, tallow, rosin and beeswax. It comes out as brittle as glass and buckled.
Bu adım için malzemeler:
 Hayvansal Yağ (Donyağı)1 kg
 Çam reçinesi (kolofan)0.5 kg
 Balmumu0.5 kg
4
4
Flatten and temper
Flatten and temper
Clean off the scale and grease and press the plate flat between heated dies until it turns blue, the spring temper. Test it by bending: a good blade springs back straight.
Gerekli aletler:
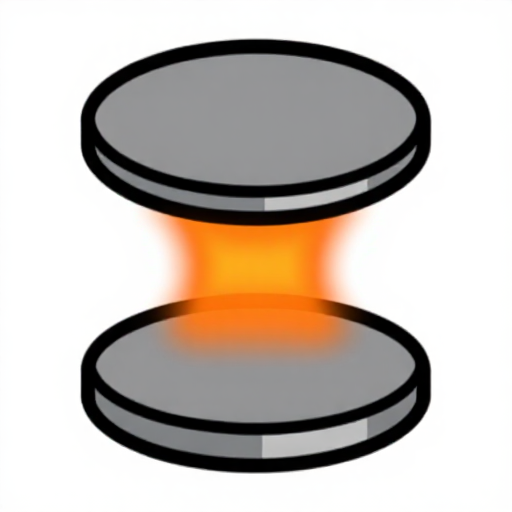 Isıtmalı düzeltme kalıpları
5
5
Smith and grind
Smith and grind
Hammer out any remaining unevenness on a stake, then grind the blade to its gauge on a grindstone.
Gerekli aletler:
 Bileme taşı çarkı
6
6
Set and sharpen
Set and sharpen
Set the teeth alternately left and right with a saw set, joint the points level with a file, and file each tooth sharp with a triangular file.
Gerekli aletler:
 Testere çaprazlama pensesi
 Metal Eğe
7
7
Fit the handle
Fit the handle
Shape a handle from beech and fix the blade in it with rivets.
Bu adım için malzemeler:
 Kayın kereste1 adet
 Testere sapı perçinleri3 adet
Malzemeler
6- 1 adetYer Tutucu
- Yer Tutucu
- 0.5 kgYer Tutucu
- 0.5 kgYer Tutucu
- 1 adetYer Tutucu
- 3 adetYer Tutucu
Gerekli Aletler
6- Yer Tutucu
- Yer Tutucu
- Yer Tutucu
- Yer Tutucu
- Yer Tutucu
- Yer Tutucu
Bu planla yapılan



İlgili Blueprint'ler
Bu blueprint'ler bilgi paylaşır — teknikler, malzemeler veya ilkeler
CC0 Kamu Malı
Bu plan CC0 lisansıyla yayınlanmıştır. İzin almadan kopyalayabilir, değiştirebilir, dağıtabilir ve herhangi bir amaçla kullanabilirsiniz.
Planı üzerinden ürün satın alarak Maker'ı destekleyin, böylece Maker Komisyonu Satıcılar tarafından belirlenen komisyonu kazanırlar veya bu Planın yeni bir versiyonunu oluşturun ve gelir paylaşımı için kendi Planınıza bağlantı olarak ekleyin.