İşbirliği
SANAT
GÜZELLİK & SAĞLIK
ZANAAT
KÜLTÜR & TARİH
EĞLENCE
ÇEVRE
YİYECEK & İÇECEK
TERS MÜHENDİSLİK
BİLİMLER
SPOR
TEKNOLOJİ
GİYİLEBİLİR ÜRÜNLER
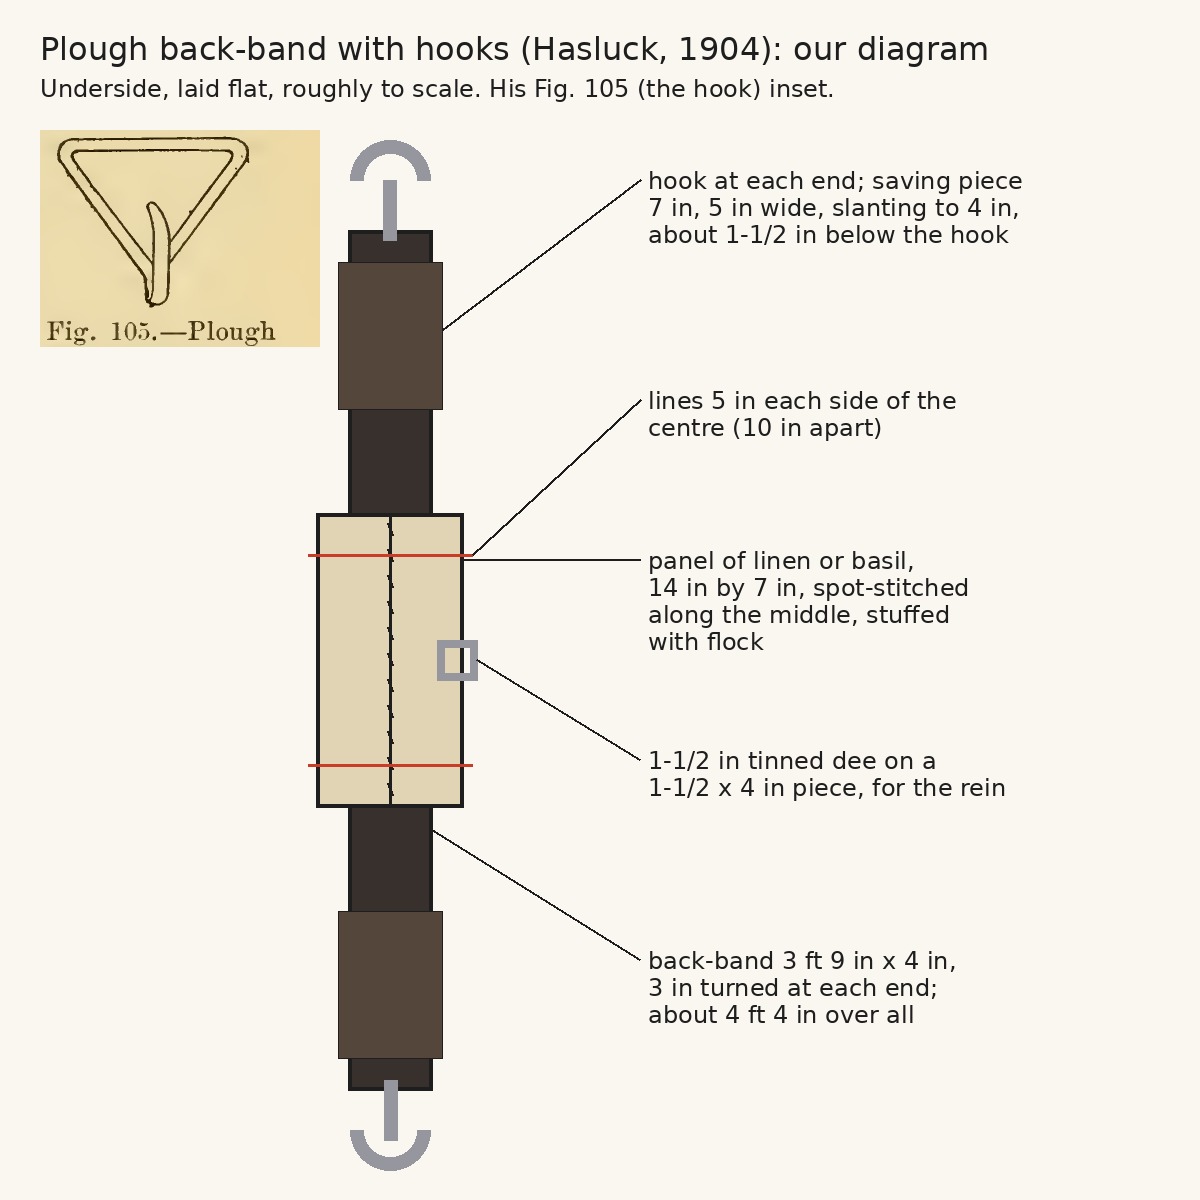


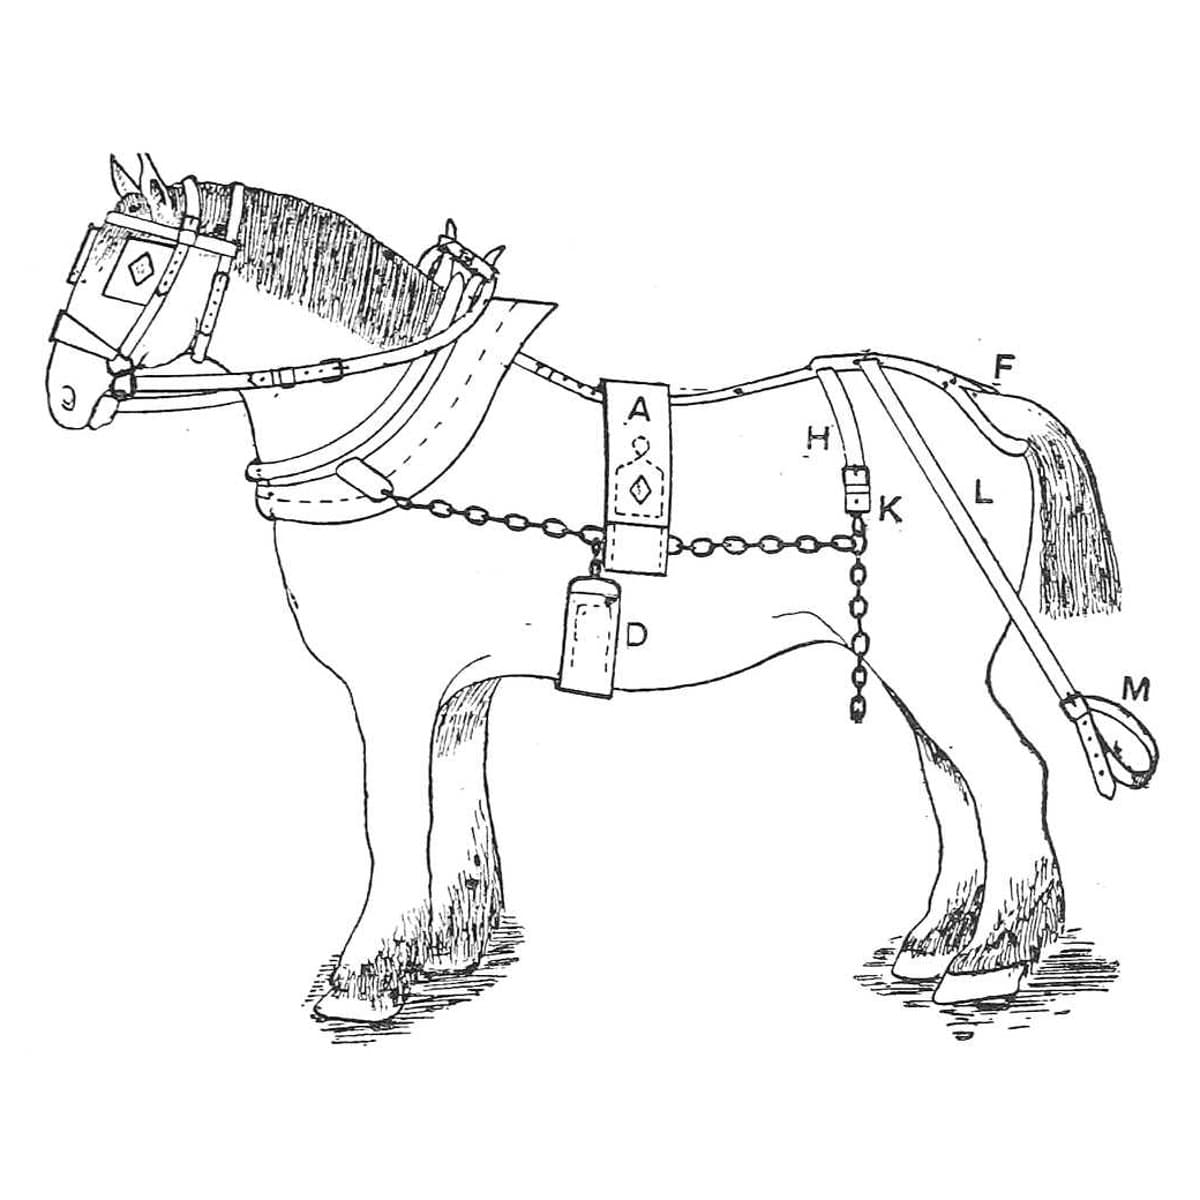
Plough Back-Band With Hooks: Faced, Flock-Padded Back-Band With a Rein Dee (Hasluck, Harness Making, 1904)
In plough harness the back-band carries the traces over the horse's back. This is the plough back-band with hooks from Paul N. Hasluck's Harness Making (1904): a 4 in band about 4 ft 4 in over all, with leather facings, a flock-stuffed panel to stop the back getting sore, a dee for the plough rein, and a hook sewn into each end. Every size is his; the picture is our diagram with his Fig. 105 inset.
Orta
About 1 day
Talimatlar
1
1
His sizes in centimetres
His sizes in centimetres
Jupyter defteri yükleniyor…
2
2
Read Harness Making, ch. IX
Read Harness Making, ch. IX
"In plough gears the ordinary bridle and collar are employed. The back-band is made in various ways. The method with hooks is taken first. The eye of the hook (Fig. 105) is 4 in. wide."
3
3
Cut and mark the back-band
Cut and mark the back-band
Cut the leather 3 ft 9 in long and 4 in wide. Turn down 3 in at each end, beat the bend slightly with the hammer to keep it down, and crease it with the screw race, two rows on each side. Mark the centre from each end and draw a line straight across there, then two lines 5 in each side of the centre, 10 in apart.
Bu adım için malzemeler:
 Koşum derisi1 adet
Gerekli aletler:
 Deri bıçağı
 Çekiç
 Kıvırma aleti
 Propan Pürmüz
 Kurşun kalem
 Şerit Metre
4
4
Stitch on the facings
Stitch on the facings
Cut two pieces 10-1/2 in long and 3/4 in wide; cut a small piece out of each corner of the working side, then dye and crease that side. Draw a line along the centre of each with the compasses and mark across the centre. Prick out where they go on the back-band, then place one underneath the back-band, centre to centre, as far as the drawn line, and tack it down; place the other the same way on the other side, so the pieces run a little over both lower lines at each end. Stitch, keeping the line close to the edge of the back-band, with thread of three or four cords of coarse hemp.
Bu adım için malzemeler:
Koşum derisi1 adet Deri boyası1 adet
 Kalıba çekme çivisi1 adet
 Kenevir İpi1 adet
 Balmumu1 adet
Gerekli aletler:
Deri bıçağıKıvırma aleti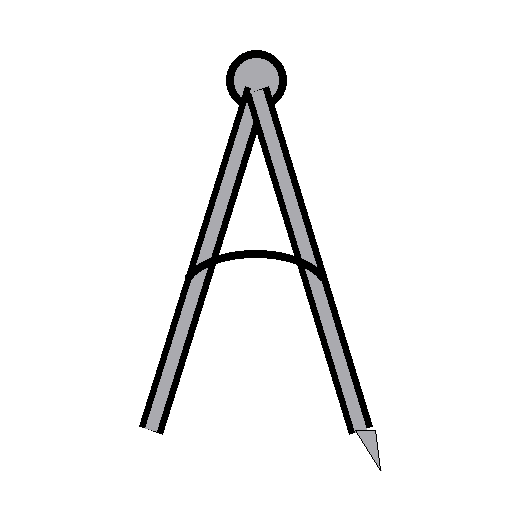 Saraç oluk pergeli
 Deri dikiş zımbasıÇekiç
 Biz
 İki saraç iğnesi
 Saraç mengenesi
5
5
Fit the rein dee
Fit the rein dee
Cut a piece of leather 1-1/2 in by 4 in, shave and point both ends, and crease, black and prick it like the side, eight or ten marks per inch. Put a 1-1/2 in tinned dee in the centre of it, lay it flat on the back-band in the centre (measured from both sides, or from the top line to either line below), tack it and stitch. The plough rein runs through this dee; for a pair of horses put the dee on the opposite side of each back-band, for a single horse one on each side of the same back-band.
Bu adım için malzemeler:
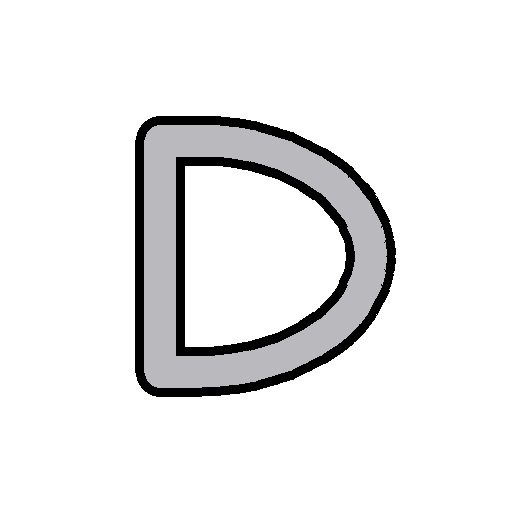 Koşum D halkası1 adetKoşum derisi1 adetDeri boyası1 adetKenevir İpi1 adetBalmumu1 adet
Gerekli aletler:
Deri bıçağıDeri dikiş zımbasıBizİki saraç iğnesiSaraç mengenesi6
6
Make the panel
Make the panel
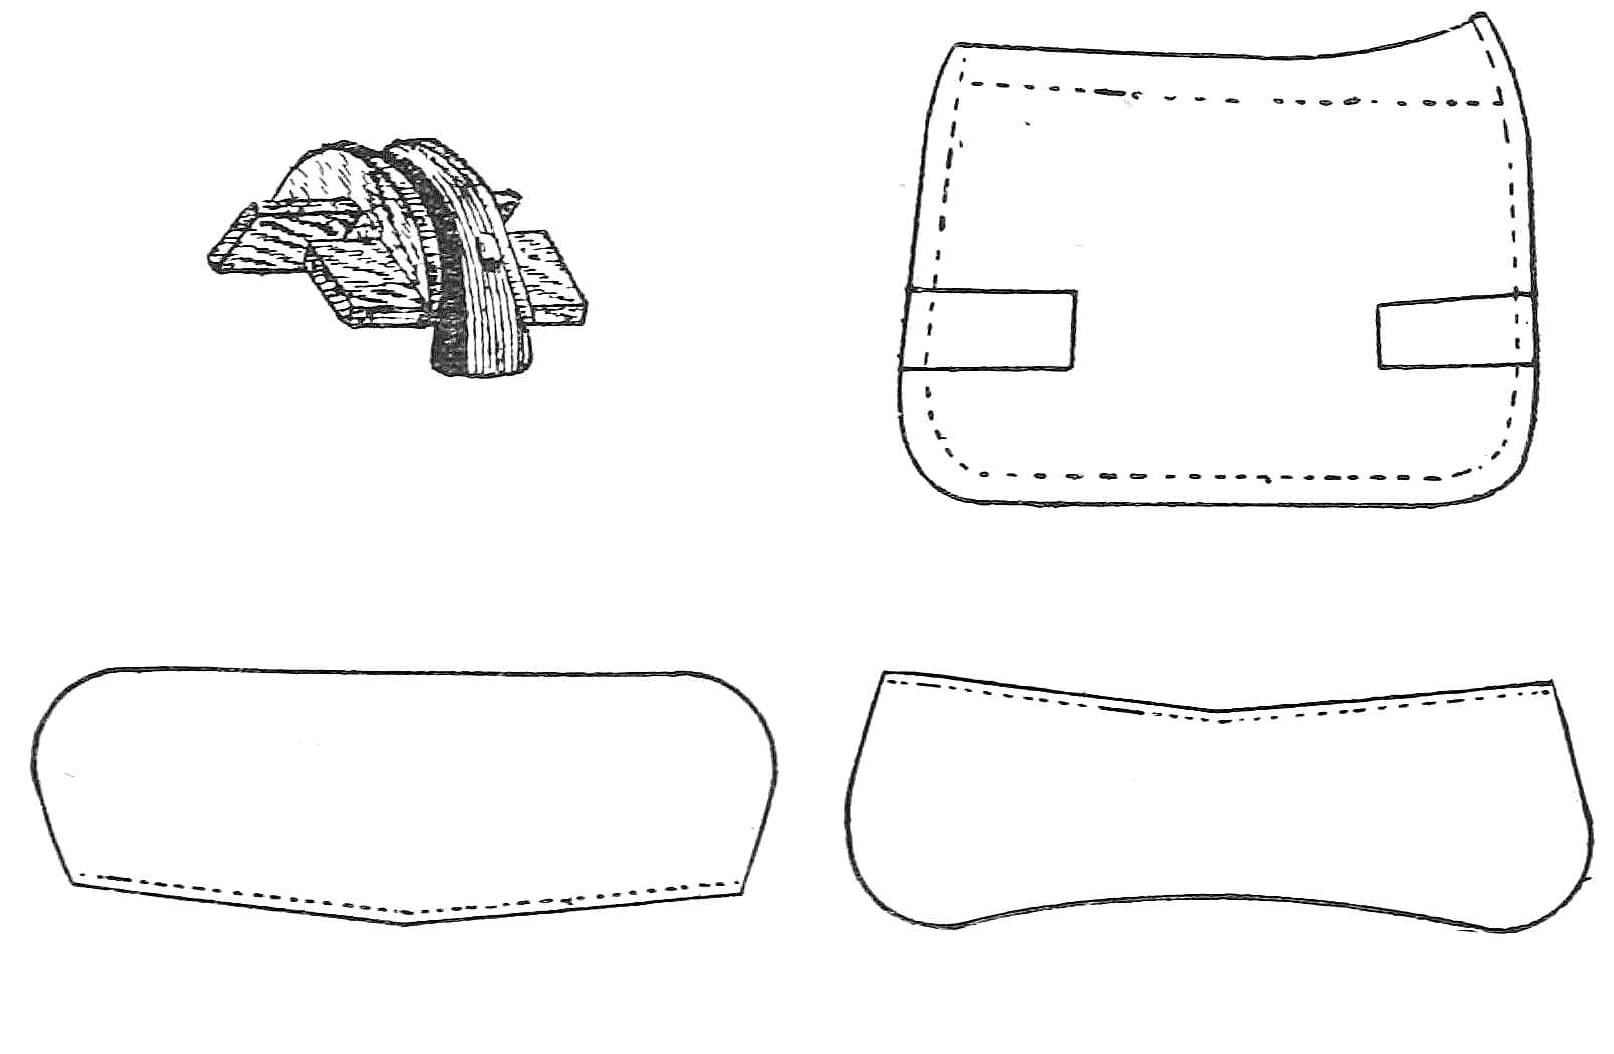
Take linen (or basil) 14 in by 7 in and lay the back-band on it centre to centre, even on both sides. Spot-stitch across the back-band and through the linen along the middle line, like this: // // //. Turn in the linen all round about 1/2 in (basil needs no turning). Make a pleat at each corner at the end of the facing, both exactly the same length, and another opposite each, so the width equals the back-band and facing together (for basil, cut the corner off and stitch the cut instead). Stitch all round, starting about 1-1/2 in from the centre on one side to leave an opening for stuffing, along the cross lines at the bottom, to within 1-1/2 in of the centre on the other side.
Bu adım için malzemeler:
 Keten kumaş1 adetKenevir İpi1 adetBalmumu1 adet
Gerekli aletler:
 MakasBizİki saraç iğnesi
7
7
Stuff the panel
Stuff the panel
Lay the back-band flat on the bench, leather side underneath, openings near the bench edge. Stuff each side rather tightly with flock through the openings, using the stuffing stick; smooth it well towards the sides, flatten with a mallet, and stitch along the openings to the starting point.
Bu adım için malzemeler:
 Yün dolgu1 adetKenevir İpi1 adetBalmumu1 adet
Gerekli aletler:
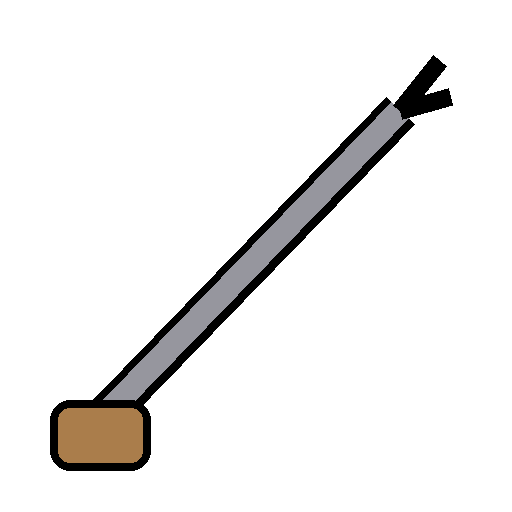 Dolgu çubuğu
 Ahşap TokmakBizİki saraç iğnesi
8
8
Sew in the hooks
Sew in the hooks
Cut two saving pieces from a thick, firm face of hide (the face of a gear hide is best), 7 in long and, for a 4 in back-band, 5 in wide. Cut one end slanting to 4 in, the back-band's width, and shave it; round the corners of the other end, leaving it full width; black and crease the edges. Put the hooks in place with the saving pieces under them about 1-1/2 in lower than the end of the hook, and tack them down exactly in the centre. Mark and prick four rows from the hook up to the end of the saving pieces, stitch with four-cord thread, nine or ten stitches per inch, and stitch a line across close to the hook to bind it all together.
Bu adım için malzemeler:
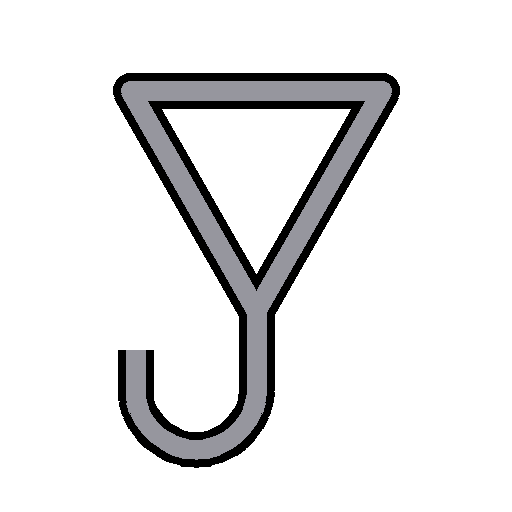 Sırt kayışı kancası2 adetKoşum derisi1 adetDeri boyası1 adetKalıba çekme çivisi1 adetKenevir İpi1 adetBalmumu1 adet
Gerekli aletler:
Deri bıçağıKıvırma aletiPropan PürmüzDeri dikiş zımbasıÇekiçBizİki saraç iğnesiSaraç mengenesi9
9
Troubleshooting
Troubleshooting
Plough back-band troubleshooting.
Flow
Loading...
10
10
History and honest limits
History and honest limits
From **Harness Making**, edited by Paul N. Hasluck, Cassell, 1904 (Project Gutenberg 70169), chapter IX, "Plough Harness", pp. 107-110, Fig. 105; every fraction was checked on the archive.org scan (harnessmaking00hasl). The back-band with chains instead of hooks and the coupling straps are not made here. Linen for the panel (he allows basil), the tools and metric figures are ours; the picture is our diagram with his Fig. 105 inset.
Malzemeler
9- 4 adetYer Tutucu
- 3 adetYer Tutucu
- 1 adetYer Tutucu
- 5 adetYer Tutucu
- 5 adetYer Tutucu
- 1 adetYer Tutucu
- 1 adetYer Tutucu
- 1 adetYer Tutucu
- 2 adetYer Tutucu
Gerekli Aletler
14- Yer Tutucu
- Yer Tutucu
- Yer Tutucu
- Yer Tutucu
- 1 vendor sell this, none ship to you yetYer Tutucu
- 1 vendor sell this, none ship to you yetYer Tutucu
- Yer Tutucu
- Yer Tutucu
- Yer Tutucu
- Yer Tutucu
- Yer Tutucu
- Yer Tutucu
- Yer Tutucu
- Yer Tutucu
Bu planla yapılan
İlgili Blueprint'ler
Bu blueprint'ler bilgi paylaşır — teknikler, malzemeler veya ilkeler
CC0 Kamu Malı
Bu plan CC0 lisansıyla yayınlanmıştır. İzin almadan kopyalayabilir, değiştirebilir, dağıtabilir ve herhangi bir amaçla kullanabilirsiniz.
Planı üzerinden ürün satın alarak Maker'ı destekleyin, böylece Maker Komisyonu Satıcılar tarafından belirlenen komisyonu kazanırlar veya bu Planın yeni bir versiyonunu oluşturun ve gelir paylaşımı için kendi Planınıza bağlantı olarak ekleyin.