SANAT
GÜZELLİK & SAĞLIK
ZANAAT
KÜLTÜR & TARİH
EĞLENCE
ÇEVRE
YİYECEK & İÇECEK
TERS MÜHENDİSLİK
BİLİMLER
SPOR
TEKNOLOJİ
GİYİLEBİLİR ÜRÜNLER
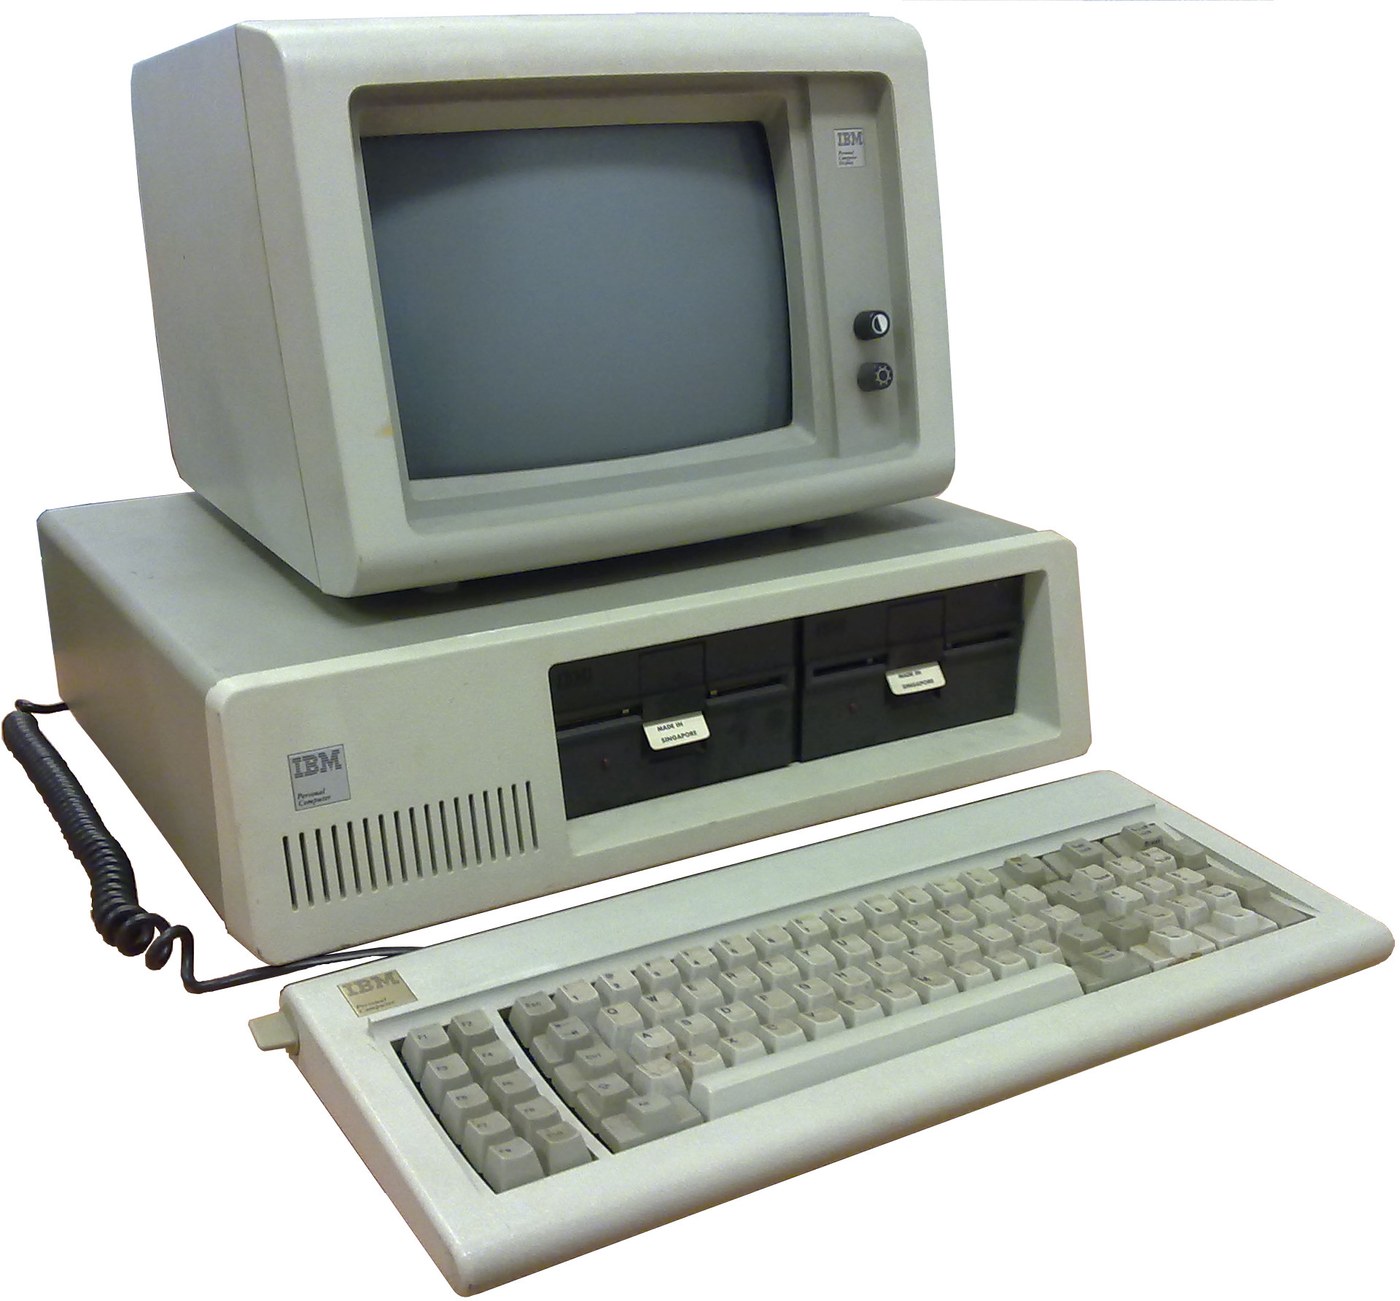


IBM Personal Computer (5150): System Unit, Keyboard and Display (IBM Technical Reference, 1981)
IBM's first personal computer, the machine today's desktop PCs descend from. One system unit holds an Intel 8088 system board, a power supply and five expansion slots. A keyboard, a display and 5-1/4 inch diskette drives complete it. IBM published its whole design, down to the BIOS program, in the Technical Reference.
Result: an IBM PC that tests itself at power-on and starts an operating system from diskette.
Source: IBM Personal Computer Technical Reference (1981; edition of April 1984). Unknown: the chassis and its sizes, the display and diskette adapter cards (described in IBM's separate Options and Adapters volumes), and how each part is made. Ours: the assembly order. Picture: Wikimedia Commons.
İleri
1 week
Talimatlar
1
1
Populate the system board
Populate the system board
On the system board, fit the Intel 8088 processor. It runs at 4.77 MHz, taken from a 14.31818 MHz crystal divided by 3; divided by 4, the same crystal gives the 3.58 MHz colour-burst signal for colour TVs. Fit its support chips: the 8237A-5 DMA controller, 8259A interrupt controller, 8253-5 timer and 8255A-5 peripheral interface. Add the ROM holding the BIOS, the read/write memory, the speaker circuit, five expansion slots, and 5-pin DIN sockets for the keyboard and a cassette recorder. The 8088 runs in maximum mode, so a coprocessor can be added later. Set switch SW1 to tell the machine what it has: whether to start from a 5-1/4 inch diskette drive, how much read/write memory is on the board, which display adapter is fitted, and how many diskette drives there are. Not given here: the board layout.
Bu adım için malzemeler:
 Baskı devre kartı1 system board
 Tümdevre1 8088, 8237A-5, 8259A, 8253-5, 8255A-5, ROM, RAM
 Kuvars kristal1 14.31818 MHz
 IBM PC BIOS1 in ROM
 DIP anahtar1 SW1
 Lehim Teli1 as needed
Gerekli aletler:
 Havya
2
2
Fit the board and power supply in the chassis
Fit the board and power supply in the chassis
Screw the system board into the system-unit chassis. Fit the power supply at the right rear; its housing supports the rear panel and its fan cools the whole machine. It is rated for 63.5 W continuous, from a fused 120 V or 220/240 V input. Its four protected outputs are +5 V at 7 A, +12 V at 2 A, -5 V at 0.3 A and -12 V at 0.25 A, bussed to all five slots. It also has a power-good signal, a switched mains socket for the monochrome display and two drive power plugs. Not given: the chassis metal and sizes.
Bu adım için malzemeler:
 Bilinmeyen metal1 chassis
 Bilgisayar güç kaynağı1 63.5 W
 Makine vidaları1 takım
Gerekli aletler:
 Tornavida takımı
 Bilinmeyen ölçüler
 Multimetre
3
3
Add the drives and adapter cards
Add the drives and adapter cards
Fit up to two 5-1/4 inch diskette drives, each powered from its own plug on the supply. Only one drive runs at a time. Plug a diskette drive adapter and a display adapter (monochrome or colour/graphics) into expansion slots, and cable the drives to their adapter. Not given here: the adapter cards and cables, which IBM describes in its separate Options and Adapters volumes.
Bu adım için malzemeler:
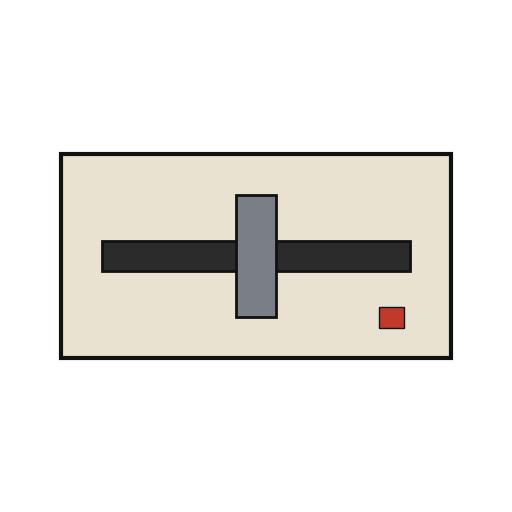 5¼ inç disket sürücüsü2 up to two
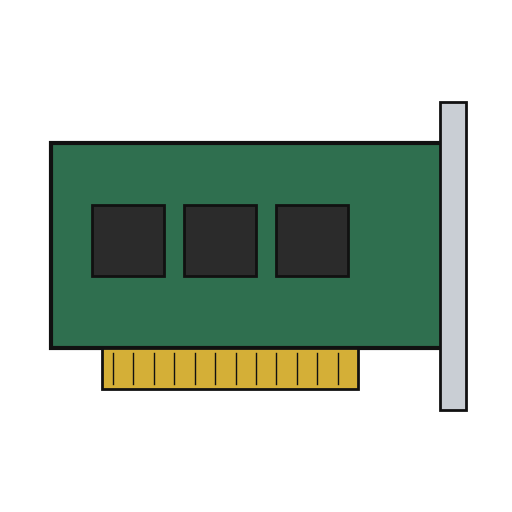 Genişleme kartı2 diskette adapter, display adapter
 Şerit kablo1 drive cable
Gerekli aletler:
Tornavida takımı4
4
Connect keyboard and display, and power on
Connect keyboard and display, and power on
Plug in the keyboard: 83 keys, with the typewriter keys in the middle, 10 function keys on the left and a 15-key pad on the right. It sends scan codes, not letters, so the software decides what each key does. Connect the display to its adapter and to the switched socket. Switch on: the power-on self-test in the BIOS checks the machine, sets up its interrupt vectors, and looks for extra ROM on the adapter cards. The bootstrap loader then starts the operating system from a diskette.
Bu adım için malzemeler:
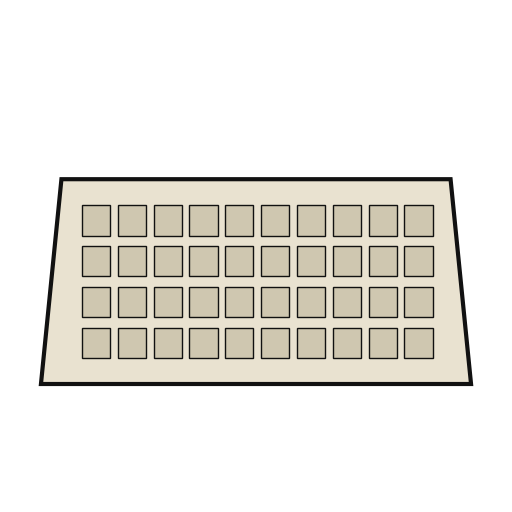 Bilgisayar klavyesi1 83 keys
 Bilgisayar monitörü1 adet
Gerekli aletler:
 Disket
Malzemeler
14- 1 system boardYer Tutucu
- 1 8088, 8237A-5, 8259A, 8253-5, 8255A-5, ROM, RAMYer Tutucu
- 1 14.31818 MHzYer Tutucu
- 1 in ROMYer Tutucu
- Yer Tutucu
- 1 as neededYer Tutucu
- 1 chassisYer Tutucu
- 1 63.5 WYer Tutucu
- 1 takımYer Tutucu
- 2 up to twoYer Tutucu
- 2 diskette adapter, display adapterYer Tutucu
- Yer Tutucu
- 1 83 keysYer Tutucu
- 1 adetYer Tutucu
Bağlı Plan Malzemeleri
Bu planla yapılan
CC0 Kamu Malı
Bu plan CC0 lisansıyla yayınlanmıştır. İzin almadan kopyalayabilir, değiştirebilir, dağıtabilir ve herhangi bir amaçla kullanabilirsiniz.
Planı üzerinden ürün satın alarak Maker'ı destekleyin, böylece Maker Komisyonu Satıcılar tarafından belirlenen komisyonu kazanırlar veya bu Planın yeni bir versiyonunu oluşturun ve gelir paylaşımı için kendi Planınıza bağlantı olarak ekleyin.