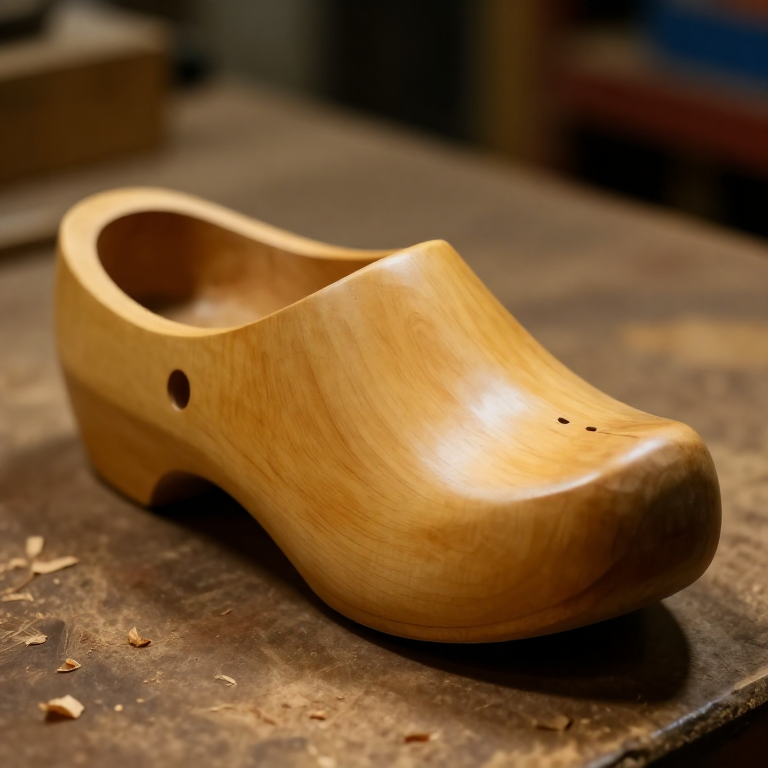

Carving a Wooden Clog — The All-Wood Sabot from a Single Green Block
Talimatlar
Split a clean billet
Split a clean billet
Bu adım için malzemeler:
 Sert Ahşap Blok1 adet
Gerekli aletler:
 Yarma bıçağı (froe)
 Ahşap Tokmak
Rough out the foot profile
Rough out the foot profile
Gerekli aletler:
 El baltası
Mark the sole and top outlines
Mark the sole and top outlines
Gerekli aletler:
 Sloyd Oyma Bıçağı
Shape the outside with the drawknife
Shape the outside with the drawknife
Gerekli aletler:
 İki Saplı Yontma Bıçağı
Refine the curves with a spokeshave
Refine the curves with a spokeshave
Gerekli aletler:
 Çift saplı rende
Bore out the mouth
Bore out the mouth
Gerekli aletler:
 El Burgusu
Hollow the foot cavity
Hollow the foot cavity
Gerekli aletler:
 Kaşık bıçağı (kanca uçlu)
 Oluklu Kalem (Guj)Ahşap Tokmak
Fit the cavity to the foot
Fit the cavity to the foot
Gerekli aletler:
Kaşık bıçağı (kanca uçlu)Cut the instep throat
Cut the instep throat
Gerekli aletler:
Oluklu Kalem (Guj)Sloyd Oyma BıçağıSmooth inside and out
Smooth inside and out
Gerekli aletler:
Sloyd Oyma BıçağıÇift saplı rendeCarve the matching clog
Carve the matching clog
Bu adım için malzemeler:
Sert Ahşap Blok1 adetGerekli aletler:
El baltasıİki Saplı Yontma BıçağıKaşık bıçağı (kanca uçlu)Dry the pair slowly
Dry the pair slowly
Malzemeler
1- 1 adetYer Tutucu
Gerekli Aletler
9- Yer Tutucu
- Yer Tutucu
- Yer Tutucu
- Yer Tutucu
- Yer Tutucu
- Yer Tutucu
- Yer Tutucu
- Yer Tutucu
- Yer Tutucu
Bağlı Plan Malzemeleri
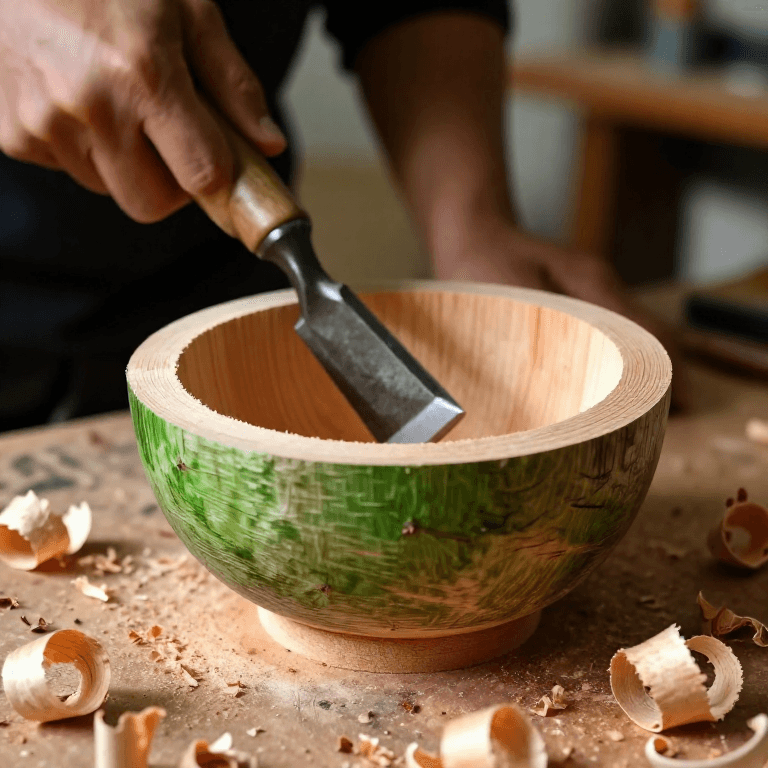
İlgili Blueprint'ler
Bu blueprint'ler bilgi paylaşır — teknikler, malzemeler veya ilkeler
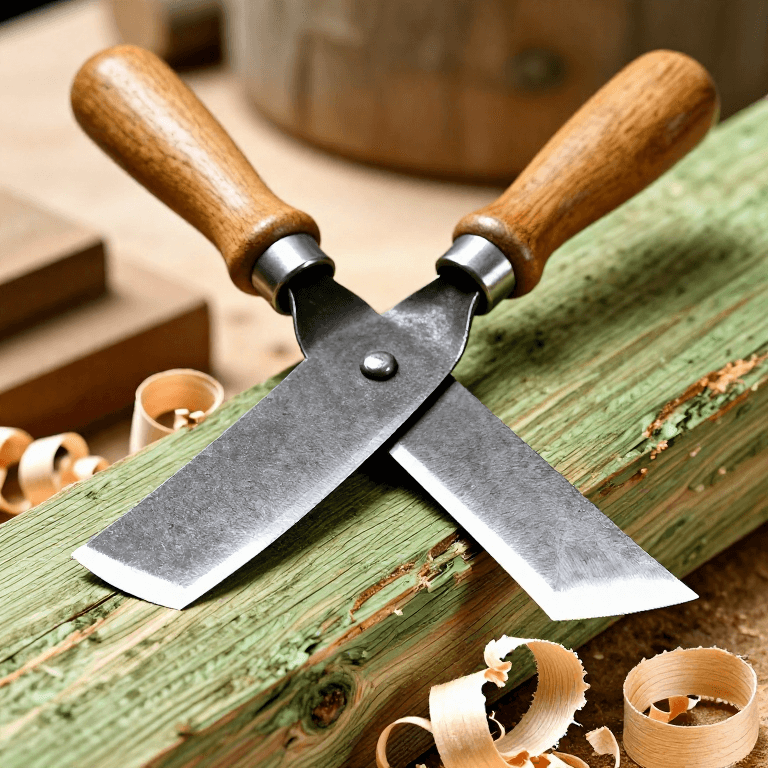
Using a Drawknife — Shaping Riven Timber by Drawing a Blade Toward You
Woody tarafından
Ağaç işleri
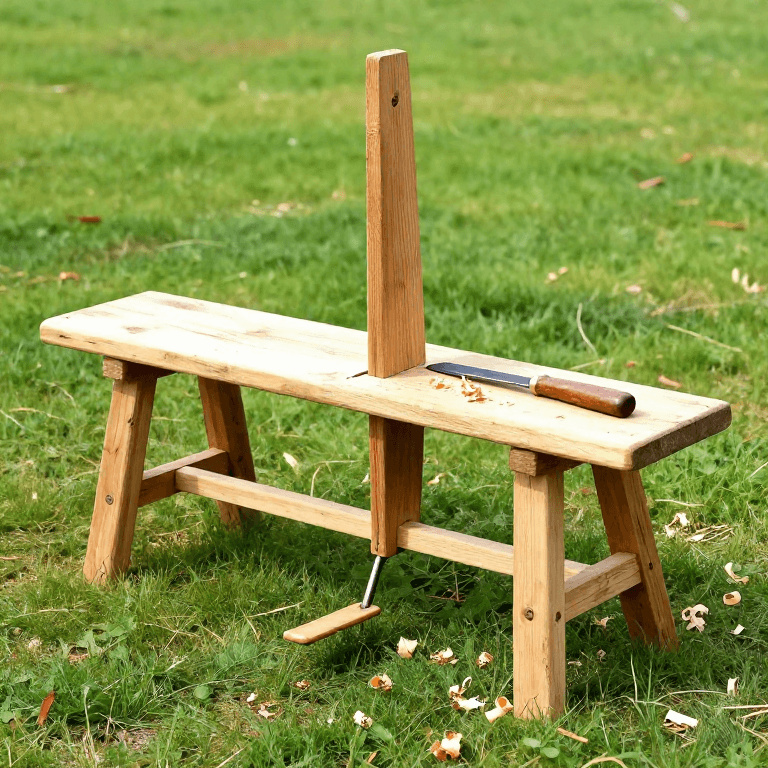
Building a Shave Horse — The Foot-Operated Clamping Bench for Green Woodworking
Woody tarafından
Ağaç işleri
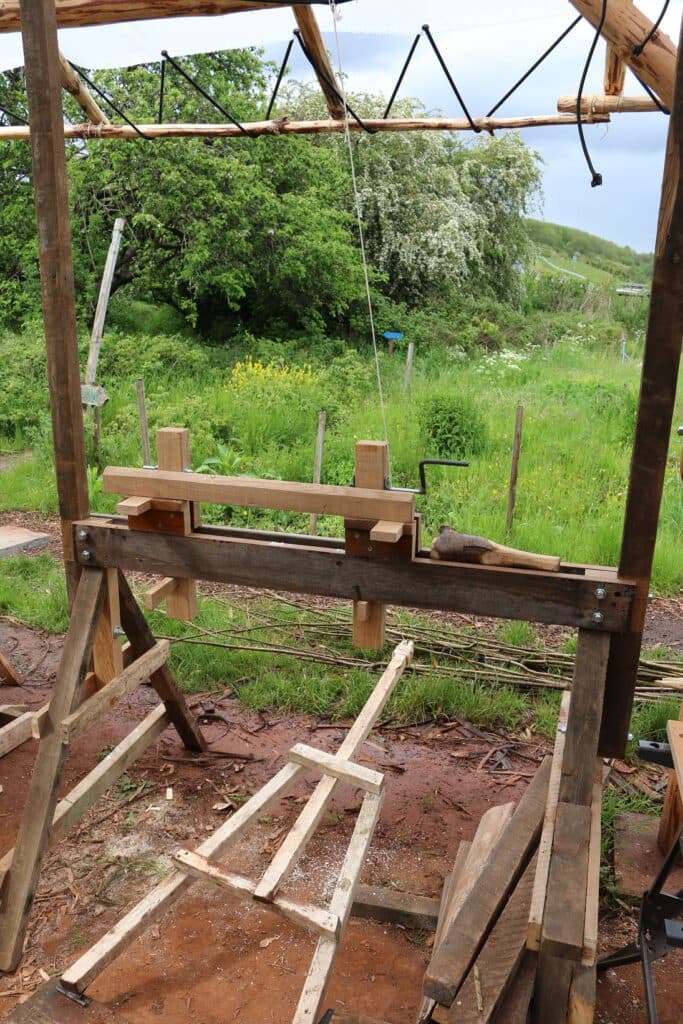
Building a Pole Lathe for Green Wood Turning — Spring-Pole Reciprocating Lathe
Woody tarafından
Ağaç işleri
CC0 Kamu Malı
Bu plan CC0 lisansıyla yayınlanmıştır. İzin almadan kopyalayabilir, değiştirebilir, dağıtabilir ve herhangi bir amaçla kullanabilirsiniz.
Planı üzerinden ürün satın alarak Maker'ı destekleyin, böylece Maker Komisyonu Satıcılar tarafından belirlenen komisyonu kazanırlar veya bu Planın yeni bir versiyonunu oluşturun ve gelir paylaşımı için kendi Planınıza bağlantı olarak ekleyin.