Shaping a Clay Oil Lamp — Pinch-Formed Vessel with Wick Channel
Talimatlar
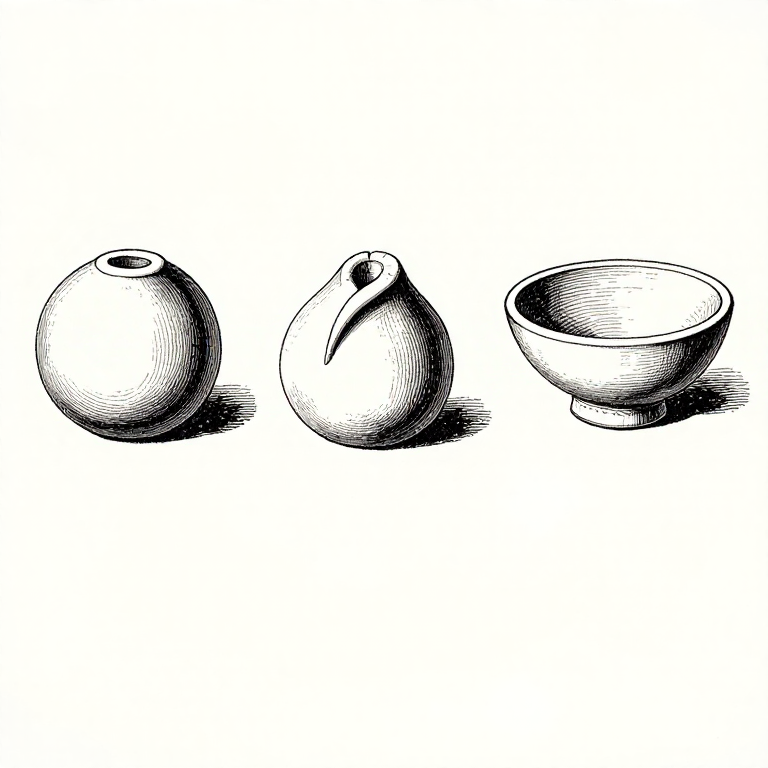
Prepare the Clay
Prepare the Clay
Collect natural clay from a riverbank, exposed clay deposit, or dig below the topsoil layer. Remove stones, roots, and debris by picking through the clay by hand. If the clay is very sticky and plastic, mix in a small amount of fine sand or crushed fired pottery (grog) as temper — about 10-15 percent by volume. Temper reduces shrinkage cracking during drying and thermal shock during firing. Knead the clay thoroughly until it is uniform in texture, with no air pockets or dry lumps.
Bu adım için malzemeler:
 Fine Sandsmall handful adet
 Animal Fat (Tallow)enough to fill the lamp bowl adet
Gerekli aletler:
 Tuyere Former
Form the Lamp Bowl
Form the Lamp Bowl
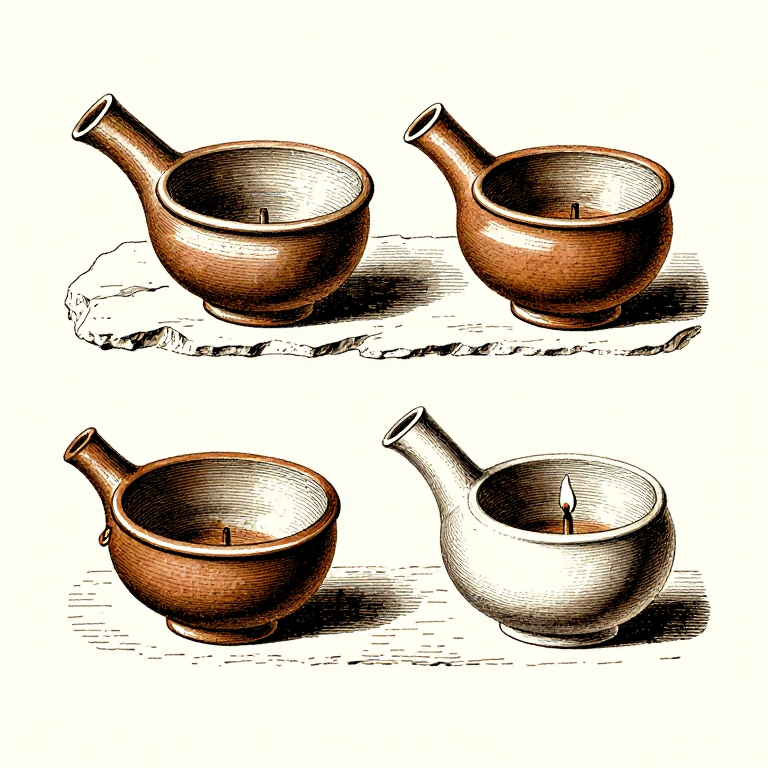
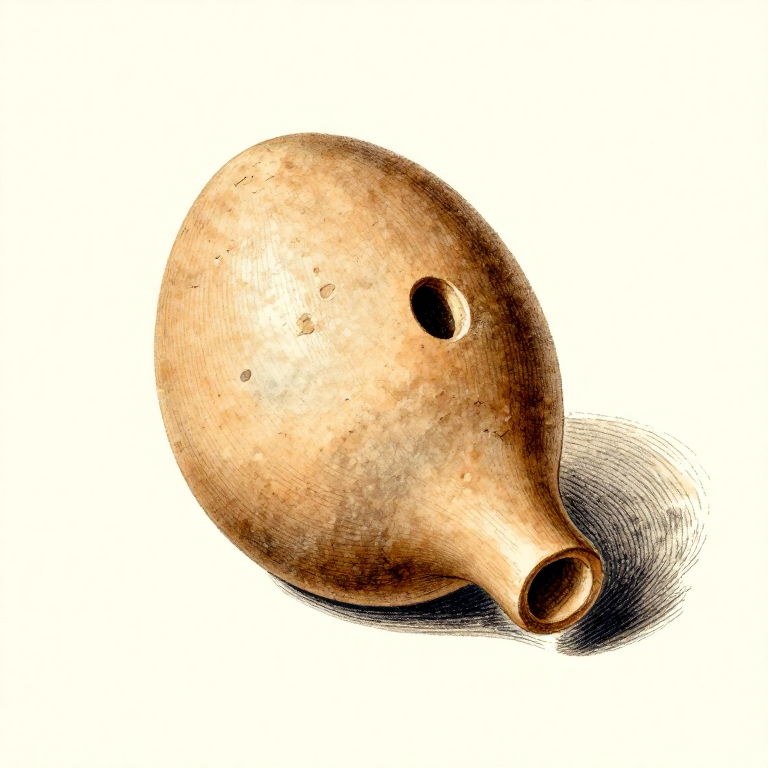
Roll the clay into a smooth ball about the size of a small apple. Press your thumb into the centre, leaving 1 cm of clay at the bottom as the base. Pinch and rotate the walls outward, creating a shallow bowl about 8-10 cm in diameter and 2-3 cm deep. Keep the walls an even thickness of about 5-8 mm — too thin and the lamp cracks when heated; too thick and it takes longer to dry and is heavier than necessary. The bowl should be slightly wider than it is deep to allow easy access for refilling fuel.
Create the Wick Channel
Create the Wick Channel
Pinch one section of the bowl rim into a narrow spout or channel. This spout holds the wick in position and allows it to protrude slightly beyond the rim. The channel should be just wide enough to cradle the wick — about 5-8 mm across. Some prehistoric lamps have a simple pinched lip; others have a fully enclosed channel formed by folding the clay over the wick area. The spout should angle slightly downward so any melted fat drips back into the bowl rather than running off the outside.
Dry and Fire the Lamp
Dry and Fire the Lamp
Allow the lamp to air-dry completely in a shaded, well-ventilated area for 2-5 days depending on humidity. The clay must be bone-dry before firing — any residual moisture causes steam explosions in the kiln. Fire the lamp in a pit kiln or open fire, starting with a low warming fire and gradually building heat over 1-2 hours. Alternatively, place the lamp at the edge of a campfire and slowly move it closer over several hours. The lamp is adequately fired when it rings when tapped and has changed from the grey colour of raw clay to a reddish-brown or orange tone.
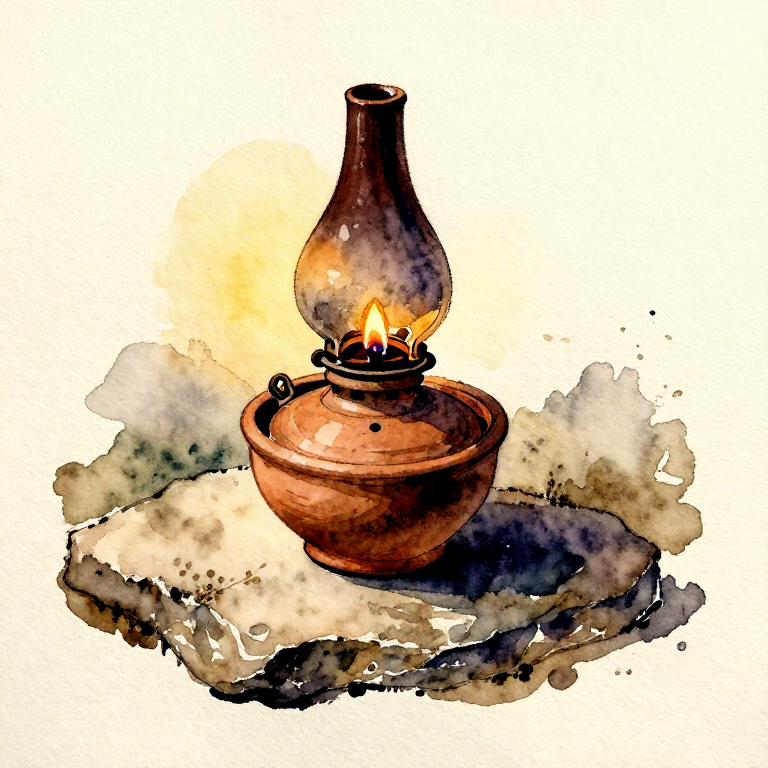
Fuel and Light the Lamp
Fuel and Light the Lamp
Fill the lamp bowl with rendered animal fat (tallow from beef or mutton works well) or plant oil. The fuel should be liquid or semi-liquid at room temperature — if using solid tallow, the lamp's own heat will melt it once lit. Lay a wick of twisted plant fiber in the spout channel with one end submerged in the fat and 1-2 cm protruding beyond the rim. Dried moss, cattail fluff, or the pith of mullein stalks all serve as effective wicks. Light the protruding wick tip. A well-fuelled lamp burns for 2-4 hours per filling, producing a steady, warm-toned light roughly equivalent to a modern candle.
Malzemeler
4- enough to fill lamp bowl adetYer Tutucu
Gerekli Aletler
2- Yer Tutucu
- Yer Tutucu
Related blueprints
Other builds that share materials, tools, or techniques with this one.
CC0 Kamu Malı
Bu plan CC0 lisansıyla yayınlanmıştır. İzin almadan kopyalayabilir, değiştirebilir, dağıtabilir ve herhangi bir amaçla kullanabilirsiniz.
Planı üzerinden ürün satın alarak Maker'ı destekleyin, böylece Maker Komisyonu Satıcılar tarafından belirlenen komisyonu kazanırlar veya bu Planın yeni bir versiyonunu oluşturun ve gelir paylaşımı için kendi Planınıza bağlantı olarak ekleyin.