SANAT
GÜZELLİK & SAĞLIK
ZANAAT
KÜLTÜR & TARİH
EĞLENCE
ÇEVRE
YİYECEK & İÇECEK
YEŞİL GELECEK
TERS MÜHENDİSLİK
BİLİMLER
SPOR
TEKNOLOJİ
GİYİLEBİLİR ÜRÜNLER
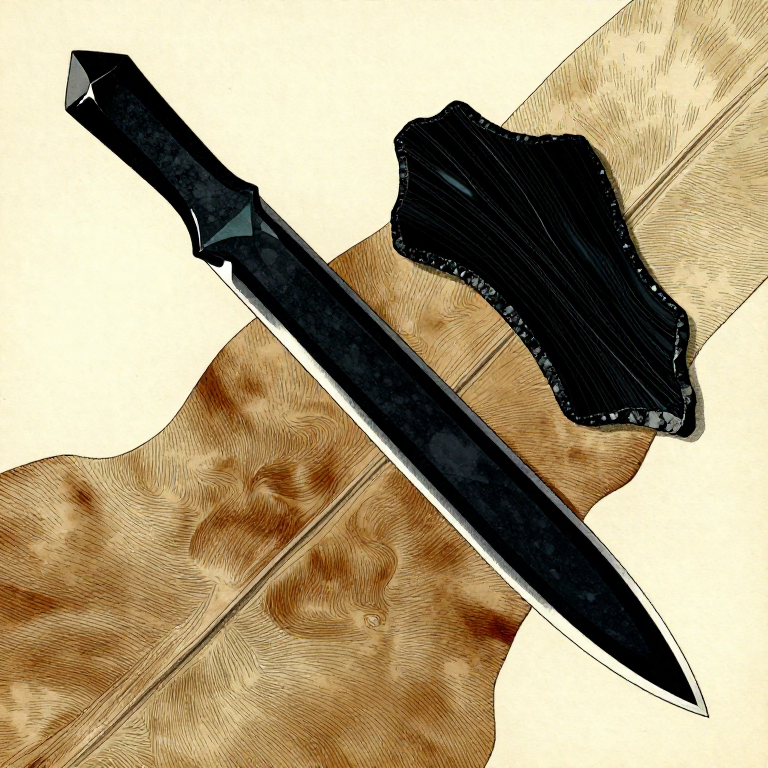
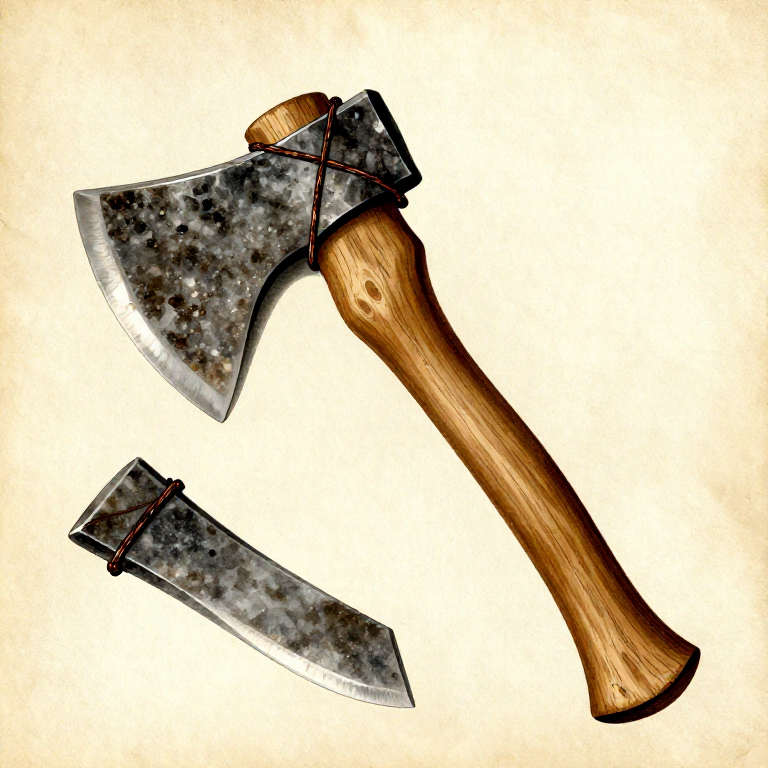
Knapping an Obsidian Blade — Pressure-Flaked Volcanic Glass
Obsidian is volcanic glass formed when silica-rich lava cools so rapidly that crystals cannot form. The result is an amorphous solid that fractures with perfect conchoidal breakage, producing edges sharper than any surgical steel — measured at 30 to 50 angstroms, roughly 500 times thinner than a steel scalpel blade. Obsidian blademaking reached its peak in Mesoamerica and Anatolia between 7000 BCE and 1500 CE, where prismatic blade cores were systematically reduced to produce dozens of identical blades from a single prepared core. This blueprint teaches the simpler direct percussion and pressure-flaking technique used across the prehistoric world to produce a single utility blade suitable for cutting, scraping, and precision work. The process demands more finesse than flint knapping because obsidian is simultaneously harder and more brittle — it fractures beautifully but shatters if struck too hard or at the wrong angle.
Orta
1 hour
Talimatlar
1
1
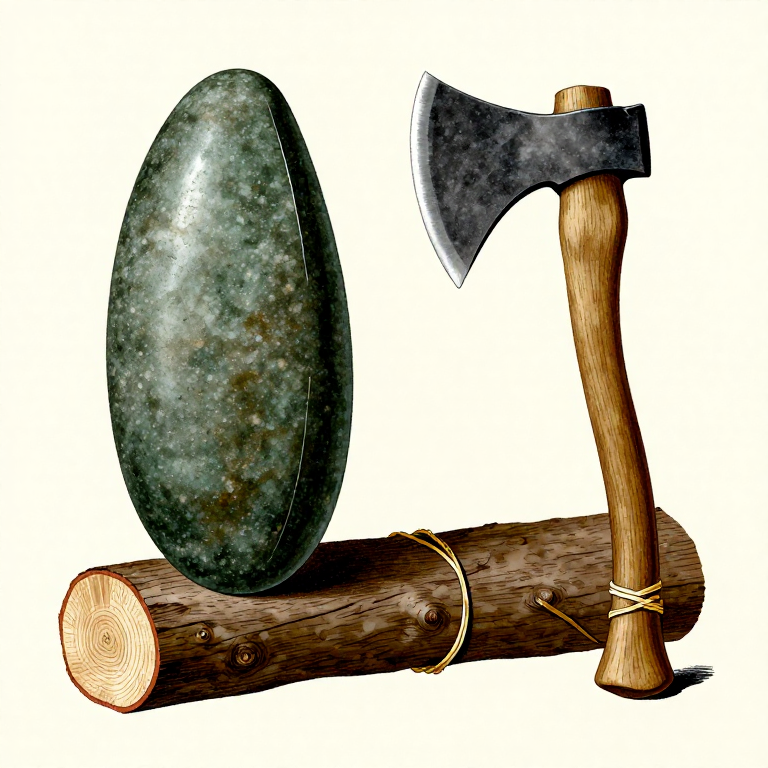
Select an Obsidian Nodule or Core
Select an Obsidian Nodule or Core
Choose a piece of obsidian at least 8 cm across with no visible cracks, bubbles, or crystalline inclusions (snowflake obsidian contains cristobalite crystals that disrupt fracture planes). Good obsidian is translucent at thin edges — hold it toward light to check. The surface may have a grey weathering rind (perlite) which will be removed during initial flaking.
Bu adım için malzemeler:
 Obsidian Block1 adet
2
2
Prepare Your Work Area and Safety Equipment
Prepare Your Work Area and Safety Equipment
Obsidian flakes are microscopically sharp and nearly invisible on dark surfaces. Work on a light-coloured cloth or leather pad. Wear leather gloves on your holding hand and eye protection — obsidian splinters like glass because it is glass. Have a container ready for waste flakes. Never work obsidian barefoot or on carpet where fragments embed invisibly.
Gerekli aletler:
 Leather Work Gloves
3
3
Remove the Weathering Rind
Remove the Weathering Rind
Using a small hammerstone, remove the outer cortex (perlite rind) with light glancing blows. Strike at a shallow angle to pop off thin cortex flakes without driving fractures deep into the core. The fresh obsidian beneath should be glassy black or dark brown with a vitreous lustre. Continue until you have exposed at least two clean surfaces that meet at an edge.
Gerekli aletler:
 Hammerstone
4
4
Create a Flat Striking Platform
Create a Flat Striking Platform
Remove several small flakes from one end of the core to create a flat platform surface at 75 to 85 degrees to the intended blade removal direction. The platform must be flat and free of crushing — obsidian platforms shatter easily if they are uneven. Lightly abrade the platform edge with a piece of sandstone to strengthen it and prevent it from collapsing on impact.
Gerekli aletler:
Hammerstone Sandstone (Abrasive)
5
5
Set Up a Ridge Line on the Core Face
Set Up a Ridge Line on the Core Face
The blade will follow a ridge (arris) running down the core face. If no natural ridge exists, create one by removing two adjacent flakes that leave a raised line between their negative scars. This ridge guides the fracture front of the blade, keeping it straight and preventing it from diving into the core or curving off to one side.
Gerekli aletler:
Hammerstone6
6
Detach the Blade with a Precise Blow
Detach the Blade with a Precise Blow
Hold the core firmly with the platform edge facing up. Using a soft hammer (antler billet or dense hardwood baton), strike the platform edge directly above the ridge line. The blow must be sharp, confident, and directed inward and slightly downward at about 10 degrees past vertical. Obsidian requires less force than flint — a moderate, controlled strike releases the blade cleanly.
Gerekli aletler:
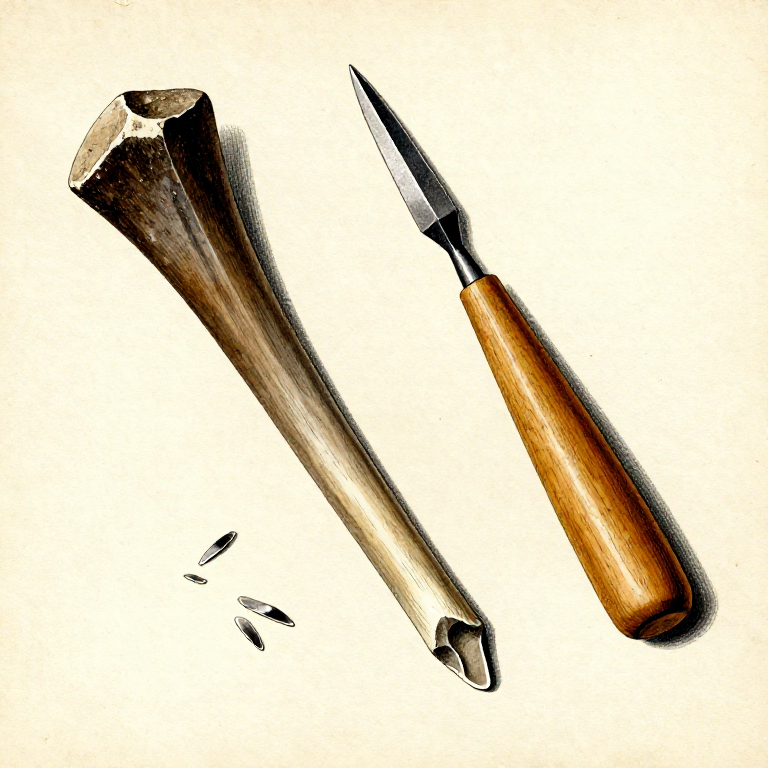
 Antler Baton
7
7
Evaluate the Blade
Evaluate the Blade
A successful blade is 6 to 12 cm long, 1 to 3 cm wide, with parallel edges and a triangular or trapezoidal cross-section. The dorsal surface shows the ridge line and previous flake scars. The ventral surface is smooth with a small bulb of percussion at the proximal end. Both lateral edges should be razor-sharp. If the blade terminated short (hinge fracture), the striking angle was too steep.
8
8
Straighten Irregular Edges by Pressure Flaking
Straighten Irregular Edges by Pressure Flaking
Rest the blade ventral side down on a leather pad. Using a pointed antler tine or copper pressure flaker, press firmly against the dorsal edge at a shallow angle and push inward. This removes tiny flakes along the edge, straightening irregularities and creating a uniform cutting edge. Work from one end to the other, removing material evenly from both sides.
Gerekli aletler:
Antler Baton9
9
Blunt the Back Edge for Safe Handling
Blunt the Back Edge for Safe Handling
One edge of the blade should remain the sharp cutting edge. The opposite edge (the back) can be deliberately blunted by steep retouch or abrasion on a sandstone slab. This creates a safe spine that you can press your index finger against for control during cutting. Alternatively, wrap the back edge with a strip of rawhide or plant fiber binding.
Gerekli aletler:
Sandstone (Abrasive)10
10
Notch the Proximal End for Hafting
Notch the Proximal End for Hafting
If the blade will be mounted in a wooden or bone handle, create two small notches on opposite sides of the proximal end (the thick end with the bulb). Use a pointed antler tip to press-flake small notches 3 to 5 mm deep. These notches anchor binding material that secures the blade into a split handle, creating a composite knife.
11
11
Test the Cutting Edge
Test the Cutting Edge
Hold the blade firmly (gloved hand on the blunted back) and draw it across a piece of fresh hide or leather. A properly made obsidian blade cuts with virtually no resistance — the material parts as if it were not there. The edge should not catch, skip, or require sawing motion. If it catches, a microscopic step fracture on the edge needs to be removed with light pressure flaking.
12
12
Store Safely and Handle with Respect
Store Safely and Handle with Respect
Wrap the finished blade in a piece of soft leather or bark before storing. Obsidian edges are permanent but fragile — they chip if knocked against hard surfaces. A wrapped blade retains its edge indefinitely since glass does not corrode or dull chemically. This is why obsidian tools are found in perfect cutting condition in archaeological sites thousands of years old.
Malzemeler
1- 1 adetYer Tutucu
Bağlı Plan Malzemeleri
İlgili Blueprint'ler
Bu blueprint'ler bilgi paylaşır — teknikler, malzemeler veya ilkeler
Related blueprints
Other builds that share materials, tools, or techniques with this one.
Making a Pump Drill — Flywheel-Powered Rotary Drillstoneworking
Making an Antler Pressure Flaker — Precision Flint-Knapping Toolstoneworking
Hafting Stone Tools — Attaching Blades to Handles with Pitch and Sinewstoneworking
Polishing a Neolithic Ground Stone Axe — The Tool That Cleared the Forestsstoneworking

Making a Stone Chisel — Splitting and Grooving Toolstoneworking

Carving a Stone Oil Lamp — Soapstone Fat Lamp with Wick Channelstoneworking
CC0 Kamu Malı
Bu plan CC0 lisansıyla yayınlanmıştır. İzin almadan kopyalayabilir, değiştirebilir, dağıtabilir ve herhangi bir amaçla kullanabilirsiniz.
Planı üzerinden ürün satın alarak Maker'ı destekleyin, böylece Maker Komisyonu Satıcılar tarafından belirlenen komisyonu kazanırlar veya bu Planın yeni bir versiyonunu oluşturun ve gelir paylaşımı için kendi Planınıza bağlantı olarak ekleyin.