SANAT
GÜZELLİK & SAĞLIK
ZANAAT
KÜLTÜR & TARİH
EĞLENCE
ÇEVRE
YİYECEK & İÇECEK
YEŞİL GELECEK
TERS MÜHENDİSLİK
BİLİMLER
SPOR
TEKNOLOJİ
GİYİLEBİLİR ÜRÜNLER
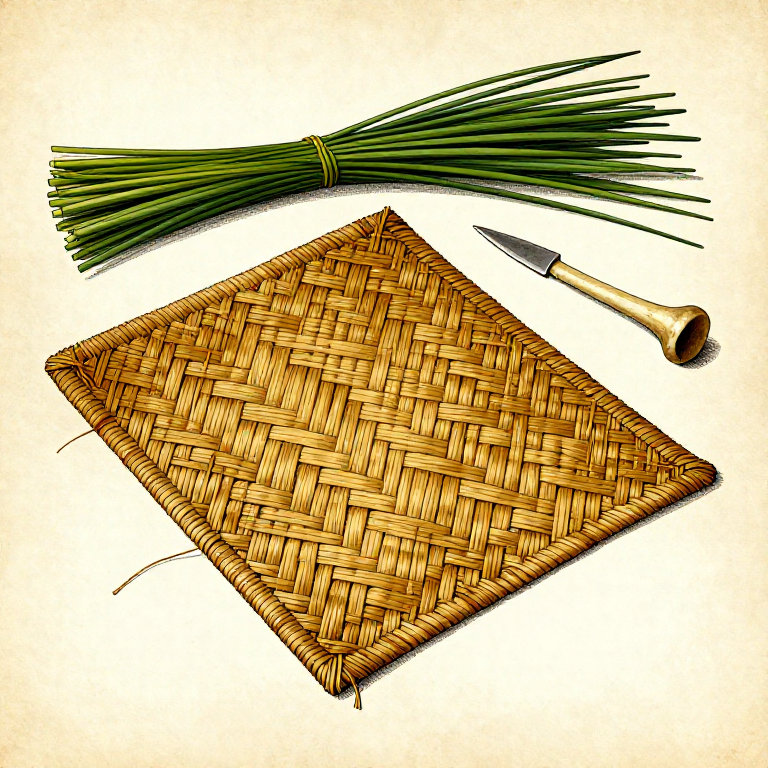
Weaving a Rush Floor Mat — Simple Plaiting with Wetland Plants
Mat weaving is likely the oldest form of textile production, predating both spinning and loom weaving. Plaited rush mats have been found at archaeological sites dating to at least 10,000 years ago, and impressions of woven mats on the underside of clay floors push the technology much further back. Rushes, cattail leaves, and sedges are ideal mat-weaving materials because they are flat, flexible when fresh, and stiffen as they dry to produce a firm, insulating surface. A simple over-under (tabby) plait produces a functional floor mat, sleeping mat, or wall covering using no tools beyond a bone awl to tighten the weave. The technique is the foundation of all flat-weave textiles.
Başlangıç
2-3 hours
Talimatlar
1
1
Harvest Long Rushes or Cattail Leaves
Harvest Long Rushes or Cattail Leaves
Gather rushes, cattail leaves, or bulrush stems at least 60 cm long from wetland margins, pond edges, or stream banks. Cut them at the base with a sharp flint blade or snap them off cleanly by hand. Harvest before the plants dry out on the stalk — green, freshly cut material is flexible and easy to weave. Brown, dried stems are brittle and will crack when bent. Collect at least twice the volume you think you need — rushes compress significantly during weaving.
Bu adım için malzemeler:
 Dried Reed30 adet
2
2
Wilt the Rushes in Shade
Wilt the Rushes in Shade
Spread the freshly cut rushes in a single layer in a shaded area and let them wilt for 2 to 4 hours. This partial drying removes excess surface moisture that could cause mould in the finished mat, while keeping the interior fibres flexible enough to bend without cracking. Do not dry in direct sun — this makes the rushes brittle too quickly. The rushes are ready when they feel leathery rather than crisp or soggy.
3
3
Sort by Length and Width
Sort by Length and Width
Separate the wilted rushes into groups of similar length and width. Using consistent sizes in each row produces a neater, more even mat. Set aside the longest, widest rushes for the warp (the lengthwise foundation) and the shorter or narrower pieces for the weft (the crosswise weaving). Very thin or damaged rushes can be used for splicing later.
4
4
Lay Out the Warp Rushes
Lay Out the Warp Rushes
Lay the warp rushes parallel to each other on a flat surface, touching edge to edge with no gaps. The length of these warp rushes determines the length of the finished mat. Weight the top ends with stones or a straight stick to keep them in position while you weave. Aim for 30 to 50 warp rushes for a mat approximately 60 cm wide — adjust the count based on the width of your individual rushes.
5
5
Weave the First Weft Rush
Weave the First Weft Rush
Take a weft rush and weave it perpendicular to the warp, passing it alternately over one warp rush and under the next, across the entire width. Push this first weft rush tight against the weighted top edge. Pull it snug but not so tight that it buckles the warp rushes out of alignment. This first row establishes the edge of the mat.
6
6
Push Weft Tight with a Bone Awl
Push Weft Tight with a Bone Awl
Use a bone awl or any smooth pointed tool to push the weft rush firmly against the starting edge and to adjust any warp rushes that have shifted. The awl can also be used to lift individual warp rushes during weaving, making it easier to pass the weft through. Keep the weave as tight as possible — a loose mat will have gaps that catch on feet and wear out quickly.
Gerekli aletler:
 Bone Awl
7
7
Continue Adding Weft Rushes Row by Row
Continue Adding Weft Rushes Row by Row
Add weft rushes one at a time, alternating the over-under pattern with each new row. If the first row goes over-under-over-under, the second row must go under-over-under-over. This alternation locks each warp rush between two weft rushes and creates the stable tabby weave structure. Push each new row snugly against the previous one before starting the next.
8
8
Splice New Rushes When Pieces Run Out
Splice New Rushes When Pieces Run Out
When a weft rush runs out before reaching the far edge, overlap the end of the old rush with the beginning of a new one by 5 to 8 cm. Continue weaving with the new rush, leaving both overlapping ends tucked into the weave. The overlap will be locked in place by subsequent rows and will not pull free once the mat dries and tightens. Stagger splice points across different rows so they do not create a visible line of weakness.
9
9
Continue Weaving to Desired Width
Continue Weaving to Desired Width
Continue the over-under weaving, row after row, until the mat reaches the desired width. A sleeping mat should be at least 60 cm wide and 150 to 180 cm long. A floor mat can be any size. Check periodically that the edges are straight and even — if the mat is narrowing, the weft is being pulled too tight. If it is widening, the weft is too loose.
10
10
Fold and Tuck the Warp Ends
Fold and Tuck the Warp Ends
When the mat reaches full width, fold each protruding warp end back over the last weft row and tuck it down through the 3 to 4 previous rows of weaving. Use the bone awl to open a gap in the weave, push the warp end through, and pull it snug. This locks the edge and prevents the weave from unravelling. Repeat on both ends of the mat — the starting edge may need the stones removed and the warp ends folded and tucked the same way.
11
11
Trim and Dry Flat Under Weight
Trim and Dry Flat Under Weight
Trim any protruding ends flush with the mat surface using a sharp flint blade. Lay the finished mat flat on the ground and place flat stones or heavy logs across its surface to keep it from curling as it dries. Let the mat dry for 1 to 2 days. As the rushes dry, the weave tightens and the mat becomes firm and rigid. Once fully dry, the mat is ready for use as flooring, bedding, or a seat.
Bağlı Plan Malzemeleri
İlgili Blueprint'ler
Bu blueprint'ler bilgi paylaşır — teknikler, malzemeler veya ilkeler
Related blueprints
Other builds that share materials, tools, or techniques with this one.
Weaving with a Flying Shuttle — Kay's Invention That Launched the Textile Revolutiontextiles

Making Bark Cloth (Tapa) — Beaten Inner Bark Fabrictextiles
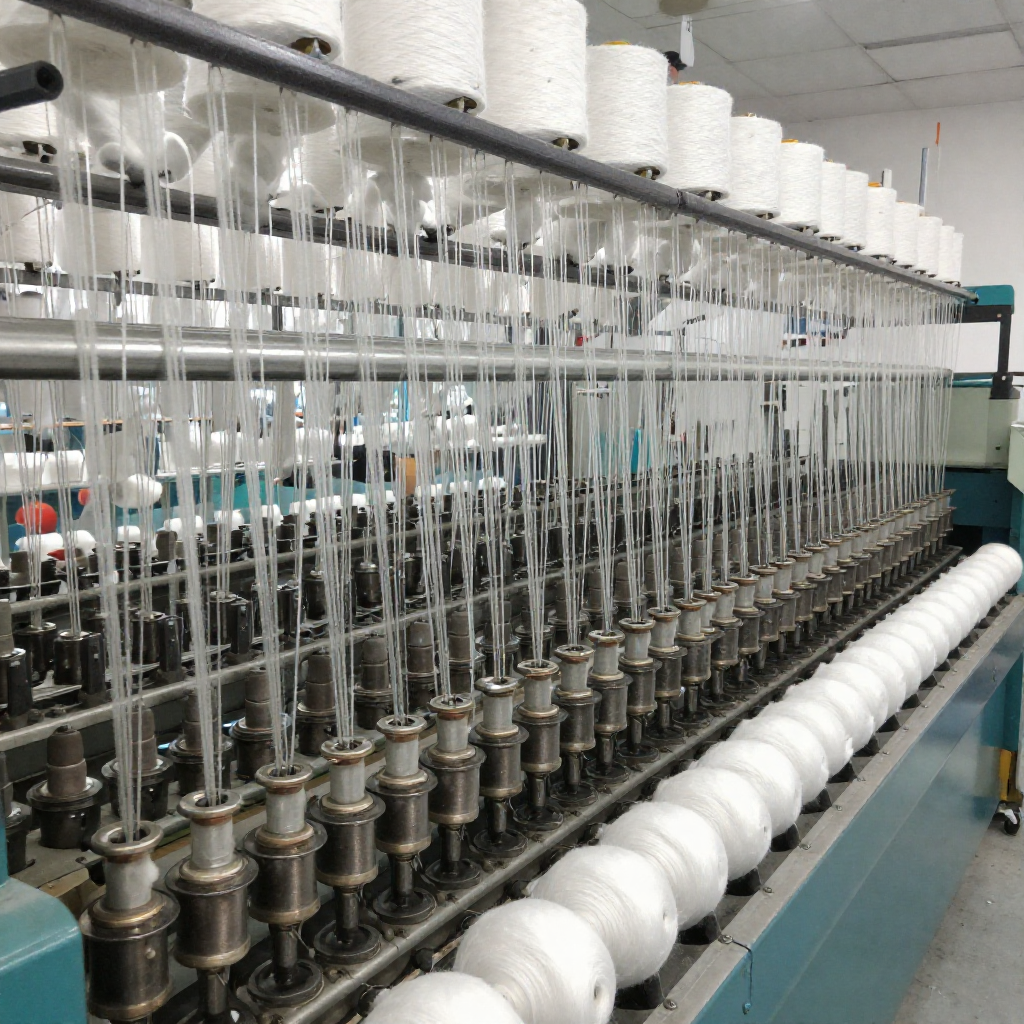
The Ring Spinning Frame — Continuous Yarn Production with Ring and Travelertextiles
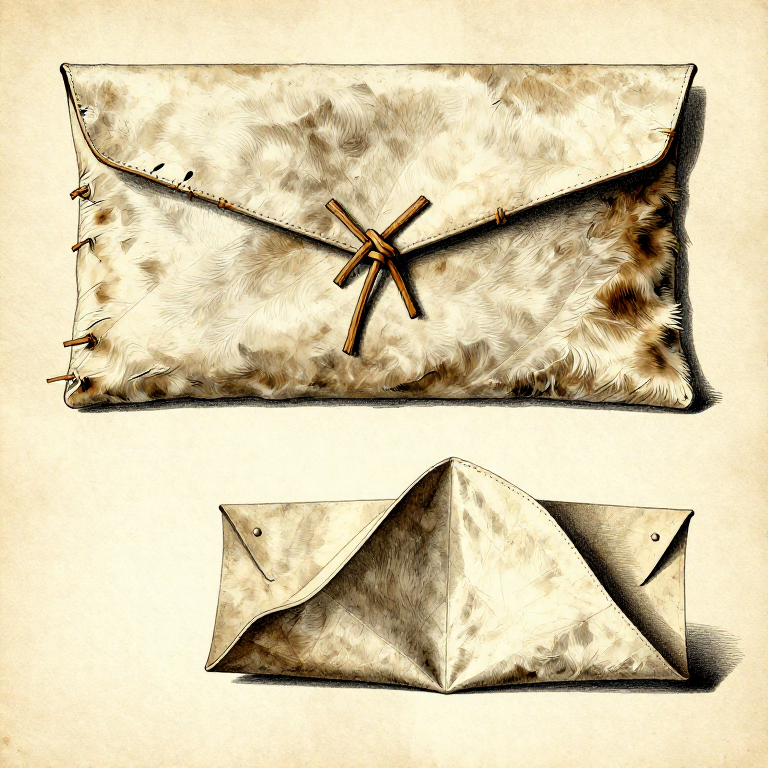
Making a Rawhide Parfleche — Folded Envelope Container from Untanned Hidetextiles
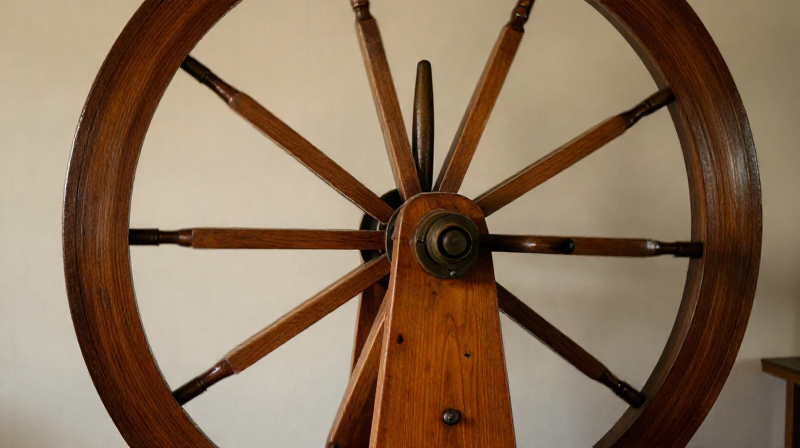
Spinning Yarn on a Great Wheel — The Walking Wheeltextiles
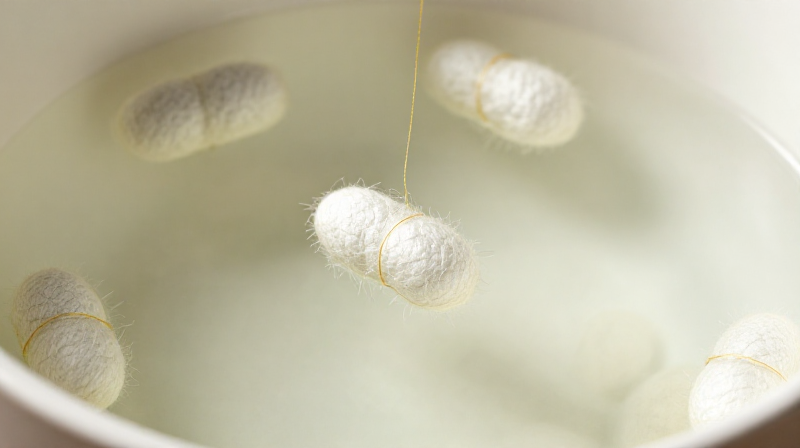
Reeling Silk from Cocoons — Unwinding the Continuous Filamenttextiles
CC0 Kamu Malı
Bu plan CC0 lisansıyla yayınlanmıştır. İzin almadan kopyalayabilir, değiştirebilir, dağıtabilir ve herhangi bir amaçla kullanabilirsiniz.
Planı üzerinden ürün satın alarak Maker'ı destekleyin, böylece Maker Komisyonu Satıcılar tarafından belirlenen komisyonu kazanırlar veya bu Planın yeni bir versiyonunu oluşturun ve gelir paylaşımı için kendi Planınıza bağlantı olarak ekleyin.