SANAT
GÜZELLİK & SAĞLIK
ZANAAT
KÜLTÜR & TARİH
EĞLENCE
ÇEVRE
YİYECEK & İÇECEK
YEŞİL GELECEK
TERS MÜHENDİSLİK
BİLİMLER
SPOR
TEKNOLOJİ
GİYİLEBİLİR ÜRÜNLER
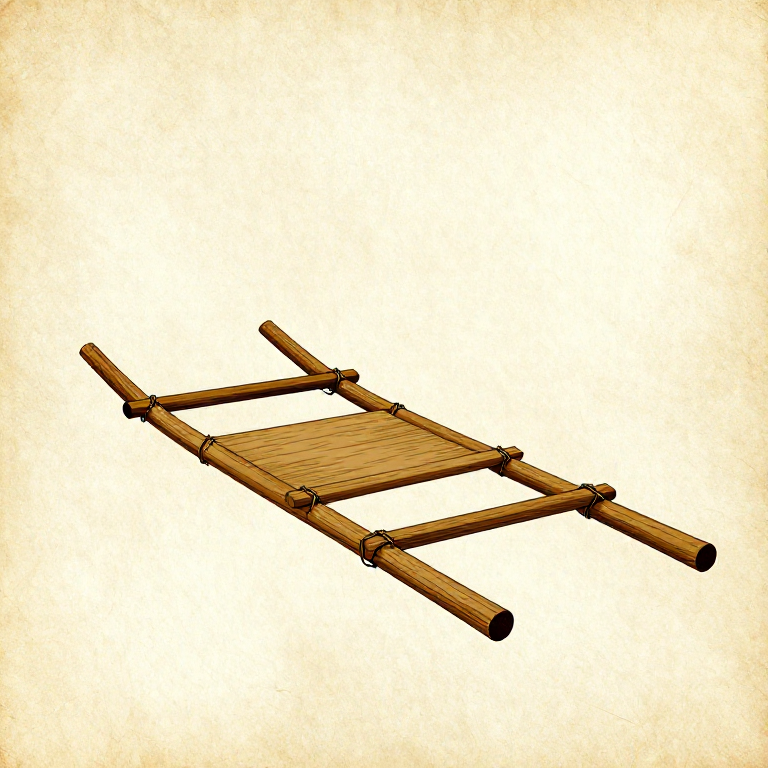
Building a Travois — Pole-Frame Load Carrier
The travois is a simple A-frame transport device consisting of two long poles joined at one end and spread apart at the other, with a platform or netting between them for carrying loads. It is the oldest known land transport technology, predating the wheel by thousands of years. Before horses arrived in the Americas, Plains peoples used dog-pulled travois to move camp — the poles doubled as tipi frame poles. A human-pulled travois can transport 40 to 60 kg of cargo that would be impossible to carry on the back alone. The trailing pole ends act as skids, sliding over grass, snow, and rough ground. The design is so simple and effective that it remained in use alongside wheeled transport well into the 19th century for terrain where wheels cannot operate.
Başlangıç
1-2 hours
Talimatlar
1
1
Select Two Long, Straight Poles
Select Two Long, Straight Poles
Select two straight, strong poles 3 to 4 metres long and 5 to 8 cm in diameter. Ash, spruce, and pine are all suitable — the poles must be strong enough to bear the load without snapping, and flexible enough not to shatter on rough ground. Green (freshly cut) wood is preferred because it is more resilient than seasoned wood.
Bu adım için malzemeler:
 Hardwood Sapling2 adet
2
2
Strip Bark and Side Branches
Strip Bark and Side Branches
Strip all bark and remove every side branch from both poles. Bark retains moisture and attracts insects, and protruding branch stubs snag on undergrowth and injure the person pulling the travois. Use a flint scraper or knife to shave the branch stubs flush with the pole surface.
3
3
Lash the Poles Together at the Narrow End
Lash the Poles Together at the Narrow End
Lay the poles side by side and lash them together at the narrow (thinner) end with strong cordage, leaving 30 to 40 cm of pole extending beyond the lashing. Use a diagonal or shear lashing, wrapping tightly at least 8 times around both poles with frapping turns between to cinch the binding tight. This joint is the primary stress point — it must not slip.
Bu adım için malzemeler:
 Cordage1 adet
4
4
Spread the Butt Ends Apart
Spread the Butt Ends Apart
Spread the butt (thicker) ends apart to form an A-frame, with the wide end 60 to 80 cm apart. The joined narrow end points forward (toward the puller) and the spread butt ends trail behind on the ground. The angle between the poles determines the platform width — too narrow and cargo falls off, too wide and the frame flexes excessively.
5
5
Lash Crossbars Between the Poles
Lash Crossbars Between the Poles
Lash two or three crossbars (straight sticks 2 to 3 cm in diameter) between the poles perpendicular to the main poles. Start the first crossbar approximately 1 metre from the joined end and space additional crossbars 30 to 40 cm apart. Use square lashings at each junction — wrap around both the crossbar and pole in alternating directions, then frap between to tighten.
Bu adım için malzemeler:
Cordage1 adet6
6
Weave a Cargo Platform
Weave a Cargo Platform
Weave a platform of smaller sticks, rawhide strips, or rope netting between the crossbars to hold cargo. If using sticks, lay them across the crossbars close together and lash each end. If using rawhide strips or rope, weave a net in a simple grid pattern tied to the crossbars and main poles. The platform must support the load without sagging through to the ground.
7
7
Add a Cargo Liner (Optional)
Add a Cargo Liner (Optional)
Lash a hide or large piece of bark over the platform to contain loose items like dried food, tools, or bedding. Without a liner, small items fall through gaps in the platform. Tie the liner at its corners and edges to the crossbars so it does not shift during transport.
8
8
Attach a Pulling Harness
Attach a Pulling Harness
Attach a chest harness or shoulder straps of rawhide or braided cord near the joined end of the poles. The harness should distribute the pulling force across the chest and shoulders, not concentrate it on the hands. A simple breast strap tied to each pole just behind the junction works effectively — the puller leans into it with their body weight.
Bu adım için malzemeler:
Cordage1 adet9
9
Load the Cargo
Load the Cargo
Load cargo onto the platform, keeping the weight centred between the crossbars and balanced equally on both sides. Heavy items go at the bottom, close to the ground, to keep the centre of gravity low. A travois that is top-heavy or unevenly loaded will tip sideways on uneven ground.
10
10
Pull the Travois
Pull the Travois
Lean forward into the harness and drag the travois behind you. The butt ends of the poles trail on the ground, acting as skids. On smooth grass or snow, a loaded travois slides easily. On rough terrain, lift the front end slightly to clear obstacles. The trailing poles flex over bumps rather than jolting, which is why the travois works on terrain that defeats wheeled carts.
Bağlı Plan Malzemeleri
İlgili Blueprint'ler
Bu blueprint'ler bilgi paylaşır — teknikler, malzemeler veya ilkeler
Related blueprints
Other builds that share materials, tools, or techniques with this one.
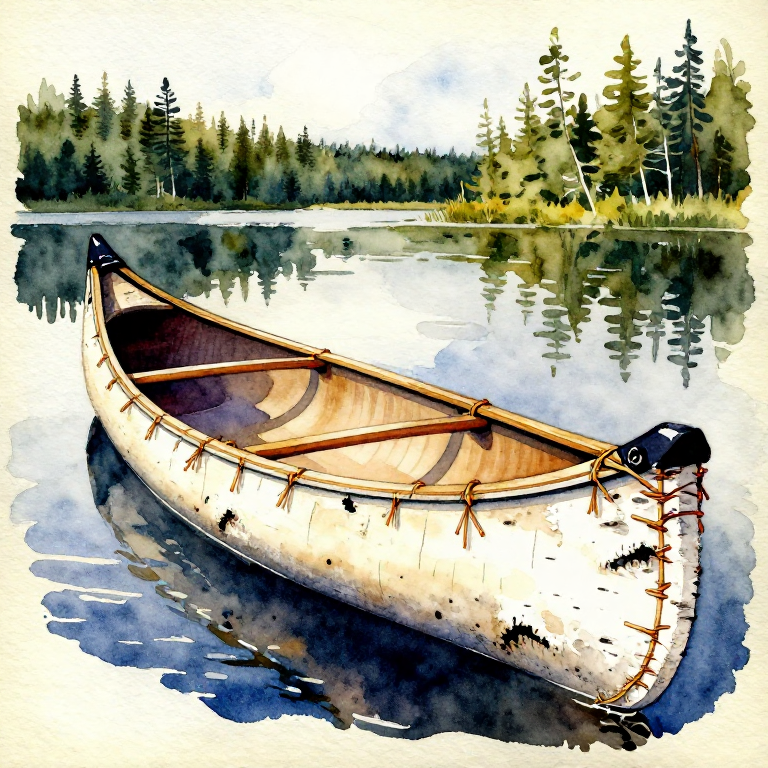
Building a Bark Canoe — Birch Bark Frame Watercraftwoodworking
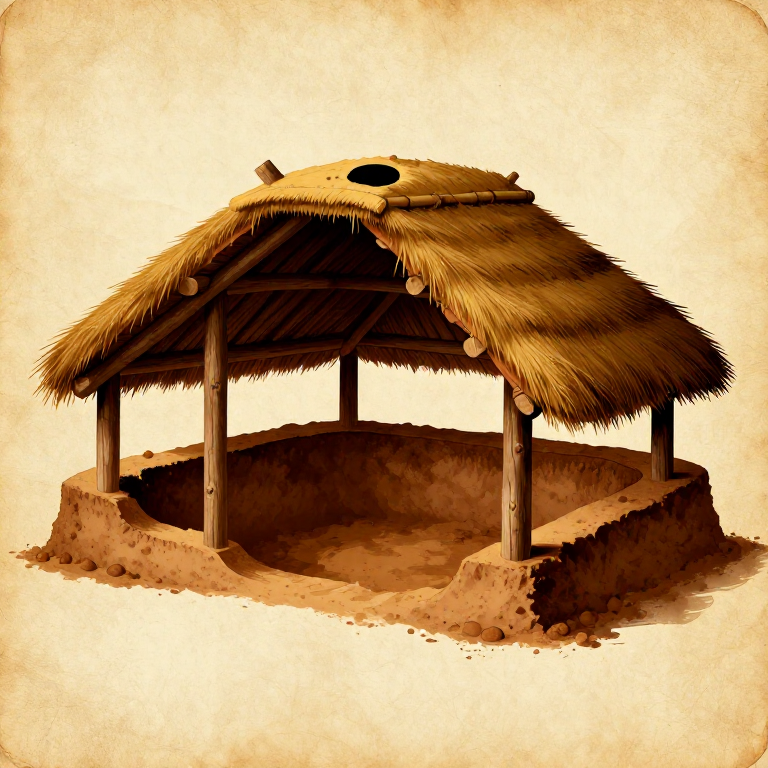
Building a Pit House — Semi-Subterranean Earth Lodge Dwellingwoodworking
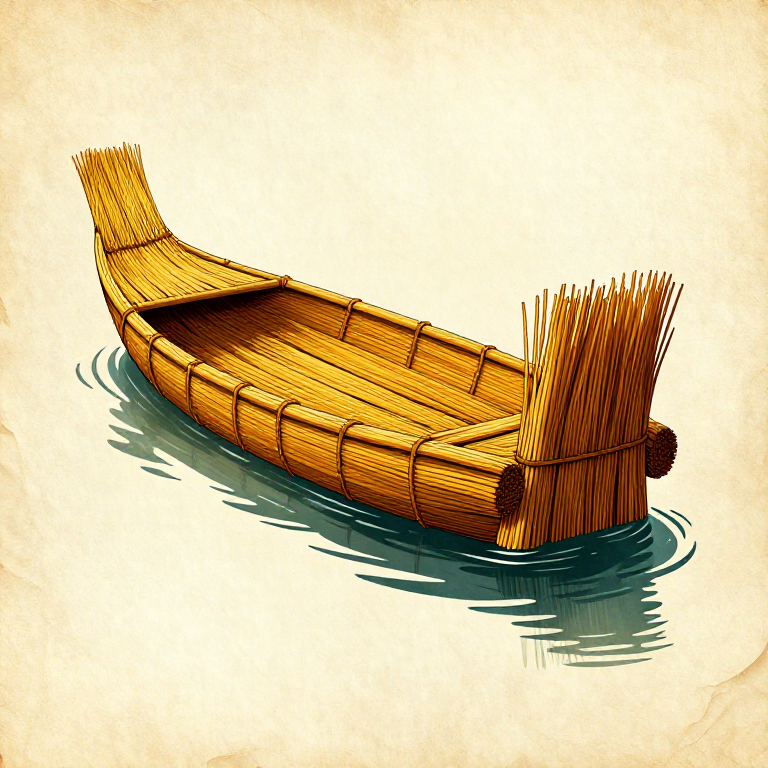
Building a Reed Bundle Raft — Buoyant Watercraft from Wetland Plantswoodworking

Building a Box Bellows — The Breath That Makes Metal Obey Firewoodworking

Building a Pole Lathe for Green Wood Turning — Spring-Pole Reciprocating Lathewoodworking
Weaving a Hazel Wattle Hurdlewoodworking
CC0 Kamu Malı
Bu plan CC0 lisansıyla yayınlanmıştır. İzin almadan kopyalayabilir, değiştirebilir, dağıtabilir ve herhangi bir amaçla kullanabilirsiniz.
Planı üzerinden ürün satın alarak Maker'ı destekleyin, böylece Maker Komisyonu Satıcılar tarafından belirlenen komisyonu kazanırlar veya bu Planın yeni bir versiyonunu oluşturun ve gelir paylaşımı için kendi Planınıza bağlantı olarak ekleyin.