
İşbirliği
SANAT
GÜZELLİK & SAĞLIK
ZANAAT
KÜLTÜR & TARİH
EĞLENCE
ÇEVRE
YİYECEK & İÇECEK
TERS MÜHENDİSLİK
BİLİMLER
SPOR
TEKNOLOJİ
GİYİLEBİLİR ÜRÜNLER
Self-Watering Plant Station with ESP32 and OLED
Ed

Oluşturan

Ed

16. Kasım 2026FI
5
0
0
0
0

Self-Watering Plant Station with ESP32 and OLED

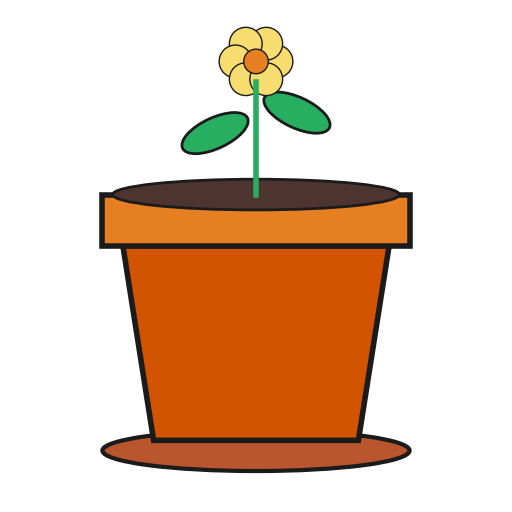
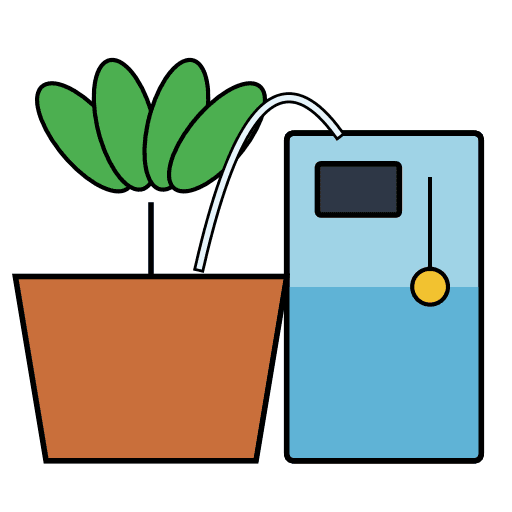
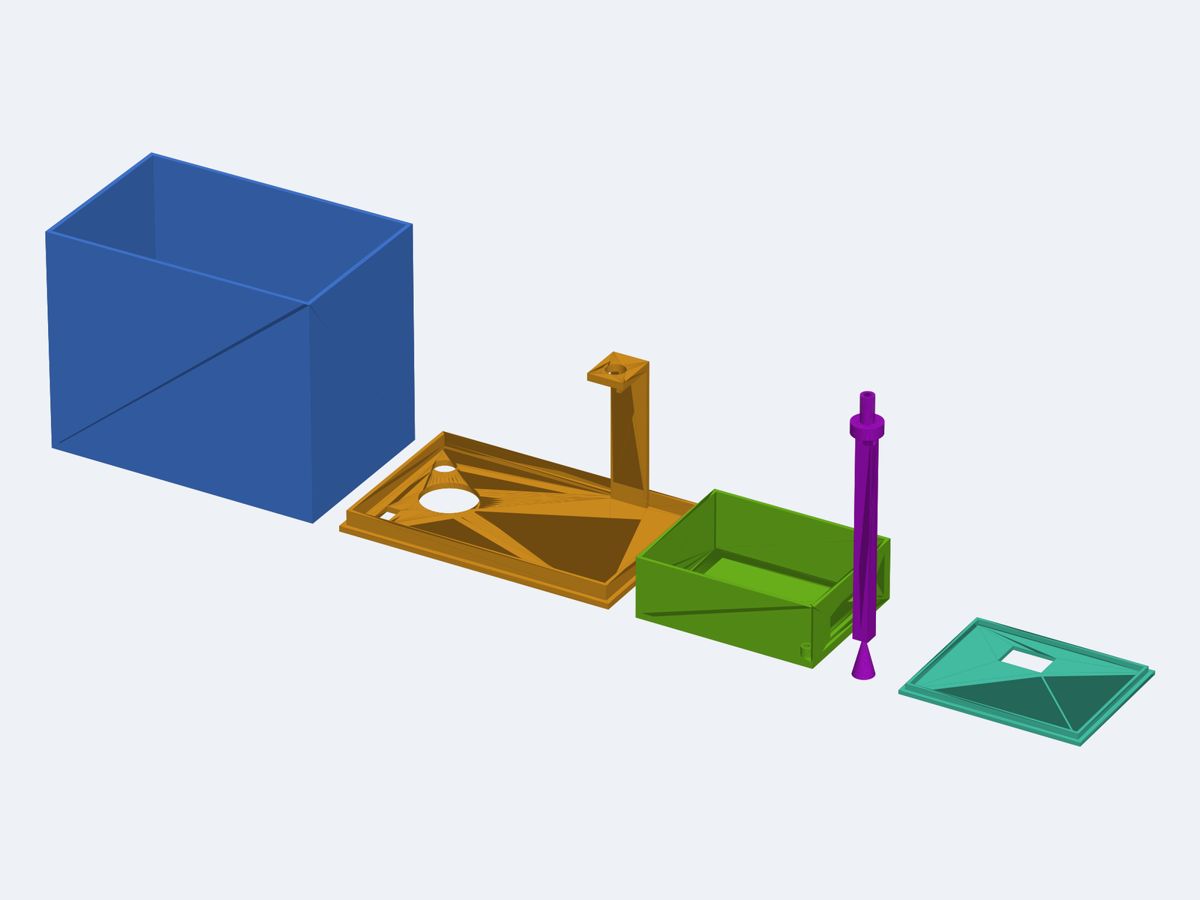
A watering unit that stands next to one houseplant. It has a printed water tank, and a lid on the tank carries the electronics box. An ESP32 reads a capacitive soil-moisture probe in the pot. When the soil is dry, it runs a small 5 V submersible pump in the tank through a logic-level MOSFET, and water goes up a silicone tube to a printed drip stake. A float switch in the tank blocks the pump when the water is low. A 0.96 in OLED shows soil moisture %, tank OK/LOW and pump state. Power comes from a 5 V USB-C adapter.

Talimatlar

1

Circuit board

KiCanvas görüntüleyici yükleniyor...

Profesyonel PCB Tasarım Görüntüleyici

2

Schematic

KiCanvas görüntüleyici yükleniyor...

Profesyonel PCB Tasarım Görüntüleyici

3

Print the enclosure base

Tasarım DosyasıSTL69.0 KBCC0 - Free
4

Print the enclosure lid

Tasarım DosyasıSTL3.2 KBCC0 - Free
5

Print the water tank

Tasarım DosyasıSTL1.4 KBCC0 - Free
6

Print the tank lid

Tasarım DosyasıSTL30.8 KBCC0 - Free
7

Print the drip stake

Tasarım DosyasıSTL53.3 KBCC0 - Free
8

Firmware

firmware.inoarduino
// Self-watering controller - ESP32 DevKit (38-pin)
// Soil sensor AOUT -> GPIO34 (ADC1), float switch -> GPIO27 (internal pull-up, other side GND),
// pump MOSFET gate (via 330R) -> GPIO26, SSD1306 128x64 OLED on I2C (SDA 21, SCL 22, addr 0x3C).
// No external libraries required: a tiny SSD1306 driver and 5x7 font are included below.

#include <Wire.h>

// ---------------- user settings ----------------
const int PIN_SOIL  = 34;
const int PIN_FLOAT = 27;
const int PIN_PUMP  = 26;
const uint8_t OLED_ADDR = 0x3C;

// Float switch wiring: true = contact CLOSED when there is enough water (recommended, fail-safe:
// a broken wire reads as LOW tank and blocks the pump). Set false if your switch closes when empty.
const bool FLOAT_CLOSED_MEANS_OK = true;

// Soil sensor calibration (raw 12-bit ADC). Measure your sensor in dry air and in a glass of water.
const int RAW_DRY = 3000;
const int RAW_WET = 1300;

const int  START_BELOW_PCT   = 35;     // start watering below this moisture
const int  STOP_ABOVE_PCT    = 45;     // stop watering at/above this moisture
const unsigned long PUMP_MAX_MS  = 5000;   // max run per watering burst
const unsigned long SOAK_MS      = 60000;  // wait after a burst so water can soak in
const unsigned long TANK_DEBOUNCE_MS = 500;

// ---------------- SSD1306 driver ----------------
uint8_t fb[1024];

void oledCmd(uint8_t c) {
  Wire.beginTransmission(OLED_ADDR);
  Wire.write(0x00);
  Wire.write(c);
  Wire.endTransmission();
}

void oledInit() {
  const uint8_t init[] = {0xAE, 0xD5, 0x80, 0xA8, 0x3F, 0xD3, 0x00, 0x40, 0x8D, 0x14,
                          0x20, 0x00, 0xA1, 0xC8, 0xDA, 0x12, 0x81, 0xCF, 0xD9, 0xF1,
                          0xDB, 0x40, 0xA4, 0xA6, 0xAF};
  for (uint8_t i = 0; i < sizeof(init); i++) oledCmd(init[i]);
}

void oledShow() {
  oledCmd(0x21); oledCmd(0); oledCmd(127);
  oledCmd(0x22); oledCmd(0); oledCmd(7);
  for (int i = 0; i < 1024; i += 16) {
    Wire.beginTransmission(OLED_ADDR);
    Wire.write(0x40);
    Wire.write(&fb[i], 16);
    Wire.endTransmission();
  }
}

// 5x7 font, columns LSB = top. Only the characters used.
struct Glyph { char c; uint8_t d[5]; };
const Glyph FONT[] = {
  {' ', {0x00,0x00,0x00,0x00,0x00}}, {'%', {0x23,0x13,0x08,0x64,0x62}},
  {'-', {0x08,0x08,0x08,0x08,0x08}}, {'.', {0x00,0x60,0x60,0x00,0x00}},
  {'/', {0x20,0x10,0x08,0x04,0x02}}, {':', {0x00,0x36,0x36,0x00,0x00}},
  {'!', {0x00,0x00,0x5F,0x00,0x00}},
  {'0', {0x3E,0x51,0x49,0x45,0x3E}}, {'1', {0x00,0x42,0x7F,0x40,0x00}},
  {'2', {0x42,0x61,0x51,0x49,0x46}}, {'3', {0x21,0x41,0x45,0x4B,0x31}},
  {'4', {0x18,0x14,0x12,0x7F,0x10}}, {'5', {0x27,0x45,0x45,0x45,0x39}},
  {'6', {0x3C,0x4A,0x49,0x49,0x30}}, {'7', {0x01,0x71,0x09,0x05,0x03}},
  {'8', {0x36,0x49,0x49,0x49,0x36}}, {'9', {0x06,0x49,0x49,0x29,0x1E}},
  {'A', {0x7E,0x11,0x11,0x11,0x7E}}, {'B', {0x7F,0x49,0x49,0x49,0x36}},
  {'C', {0x3E,0x41,0x41,0x41,0x22}}, {'D', {0x7F,0x41,0x41,0x22,0x1C}},
  {'E', {0x7F,0x49,0x49,0x49,0x41}}, {'F', {0x7F,0x09,0x09,0x09,0x01}},
  {'G', {0x3E,0x41,0x49,0x49,0x7A}}, {'H', {0x7F,0x08,0x08,0x08,0x7F}},
  {'I', {0x00,0x41,0x7F,0x41,0x00}}, {'J', {0x20,0x40,0x41,0x3F,0x01}},
  {'K', {0x7F,0x08,0x14,0x22,0x41}}, {'L', {0x7F,0x40,0x40,0x40,0x40}},
  {'M', {0x7F,0x02,0x0C,0x02,0x7F}}, {'N', {0x7F,0x04,0x08,0x10,0x7F}},
  {'O', {0x3E,0x41,0x41,0x41,0x3E}}, {'P', {0x7F,0x09,0x09,0x09,0x06}},
  {'Q', {0x3E,0x41,0x51,0x21,0x5E}}, {'R', {0x7F,0x09,0x19,0x29,0x46}},
  {'S', {0x46,0x49,0x49,0x49,0x31}}, {'T', {0x01,0x01,0x7F,0x01,0x01}},
  {'U', {0x3F,0x40,0x40,0x40,0x3F}}, {'V', {0x1F,0x20,0x40,0x20,0x1F}},
  {'W', {0x3F,0x40,0x38,0x40,0x3F}}, {'X', {0x63,0x14,0x08,0x14,0x63}},
  {'Y', {0x07,0x08,0x70,0x08,0x07}}, {'Z', {0x61,0x51,0x49,0x45,0x43}},
};

const uint8_t *glyph(char c) {
  if (c >= 'a' && c <= 'z') c -= 32;
  for (unsigned i = 0; i < sizeof(FONT) / sizeof(FONT[0]); i++)
    if (FONT[i].c == c) return FONT[i].d;
  return FONT[0].d;
}

void setPixel(int x, int y) {
  if (x < 0 || x > 127 || y < 0 || y > 63) return;
  fb[x + (y / 8) * 128] |= (1 << (y & 7));
}

void drawText(int x, int y, const char *s, int scale) {
  for (; *s; s++) {
    const uint8_t *g = glyph(*s);
    for (int col = 0; col < 5; col++)
      for (int row = 0; row < 7; row++)
        if (g[col] & (1 << row))
          for (int dx = 0; dx < scale; dx++)
            for (int dy = 0; dy < scale; dy++)
              setPixel(x + col * scale + dx, y + row * scale + dy);
    x += 6 * scale;
  }
}

void drawBar(int x, int y, int w, int h, int pct) {
  for (int i = 0; i < w; i++) { setPixel(x + i, y); setPixel(x + i, y + h - 1); }
  for (int j = 0; j < h; j++) { setPixel(x, y + j); setPixel(x + w - 1, y + j); }
  int fill = (w - 4) * pct / 100;
  for (int i = 0; i < fill; i++)
    for (int j = 2; j < h - 2; j++) setPixel(x + 2 + i, y + j);
}

// ---------------- application ----------------
bool tankOk = false;
bool tankRaw = false;
unsigned long tankChangeMs = 0;
bool pumpOn = false;
unsigned long pumpStartMs = 0;
unsigned long soakUntilMs = 0;
int moisturePct = 0;
int moistureRaw = 0;

void pump(bool on) {
  if (on && !tankOk) on = false;       // hard interlock: never run with a low tank
  digitalWrite(PIN_PUMP, on ? HIGH : LOW);
  if (on && !pumpOn) pumpStartMs = millis();
  pumpOn = on;
}

int readMoistureRaw() {
  long sum = 0;
  for (int i = 0; i < 16; i++) { sum += analogRead(PIN_SOIL); delay(2); }
  return sum / 16;
}

bool readTankOkRaw() {
  bool closed = (digitalRead(PIN_FLOAT) == LOW);
  return FLOAT_CLOSED_MEANS_OK ? closed : !closed;
}

void setup() {
  pinMode(PIN_PUMP, OUTPUT);
  digitalWrite(PIN_PUMP, LOW);
  pinMode(PIN_FLOAT, INPUT_PULLUP);
  Serial.begin(115200);
  analogReadResolution(12);
  analogSetPinAttenuation(PIN_SOIL, ADC_11db);
  Wire.begin(21, 22);
  Wire.setClock(400000);
  oledInit();
  tankRaw = readTankOkRaw();
  tankOk = false;                      // start with pump blocked until the reading is stable
  tankChangeMs = millis();
}

void loop() {
  unsigned long now = millis();

  // tank: a LOW reading blocks the pump immediately, OK needs to be stable for the debounce time
  bool r = readTankOkRaw();
  if (r != tankRaw) { tankRaw = r; tankChangeMs = now; }
  if (!r) tankOk = false;
  else if (now - tankChangeMs >= TANK_DEBOUNCE_MS) tankOk = true;
  if (!tankOk && pumpOn) pump(false);

  moistureRaw = readMoistureRaw();
  long p = (long)(RAW_DRY - moistureRaw) * 100 / (RAW_DRY - RAW_WET);
  moisturePct = constrain(p, 0, 100);

  if (pumpOn) {
    if (moisturePct >= STOP_ABOVE_PCT || now - pumpStartMs >= PUMP_MAX_MS) {
      pump(false);
      soakUntilMs = now + SOAK_MS;
    }
  } else if (tankOk && moisturePct < START_BELOW_PCT && (long)(now - soakUntilMs) >= 0) {
    pump(true);
  }

  // display
  memset(fb, 0, sizeof(fb));
  char buf[24];
  drawText(0, 0, "SOIL", 2);
  snprintf(buf, sizeof(buf), "%3d%%", moisturePct);
  drawText(128 - 4 * 12, 0, buf, 2);
  drawBar(0, 18, 128, 10, moisturePct);
  drawText(0, 32, "TANK", 2);
  drawText(tankOk ? 128 - 2 * 12 : 128 - 3 * 12, 32, tankOk ? "OK" : "LOW", 2);
  drawText(0, 54, pumpOn ? "PUMP: ON" : "PUMP: OFF", 1);
  if (!tankOk) drawText(64, 54, "REFILL!", 1);
  oledShow();

  static unsigned long lastLog = 0;
  if (now - lastLog > 2000) {
    lastLog = now;
    Serial.printf("raw=%d moisture=%d%% tank=%s pump=%s\n", moistureRaw, moisturePct,
                  tankOk ? "OK" : "LOW", pumpOn ? "ON" : "OFF");
  }
  delay(100);
}
9

Solder resistors and diodes

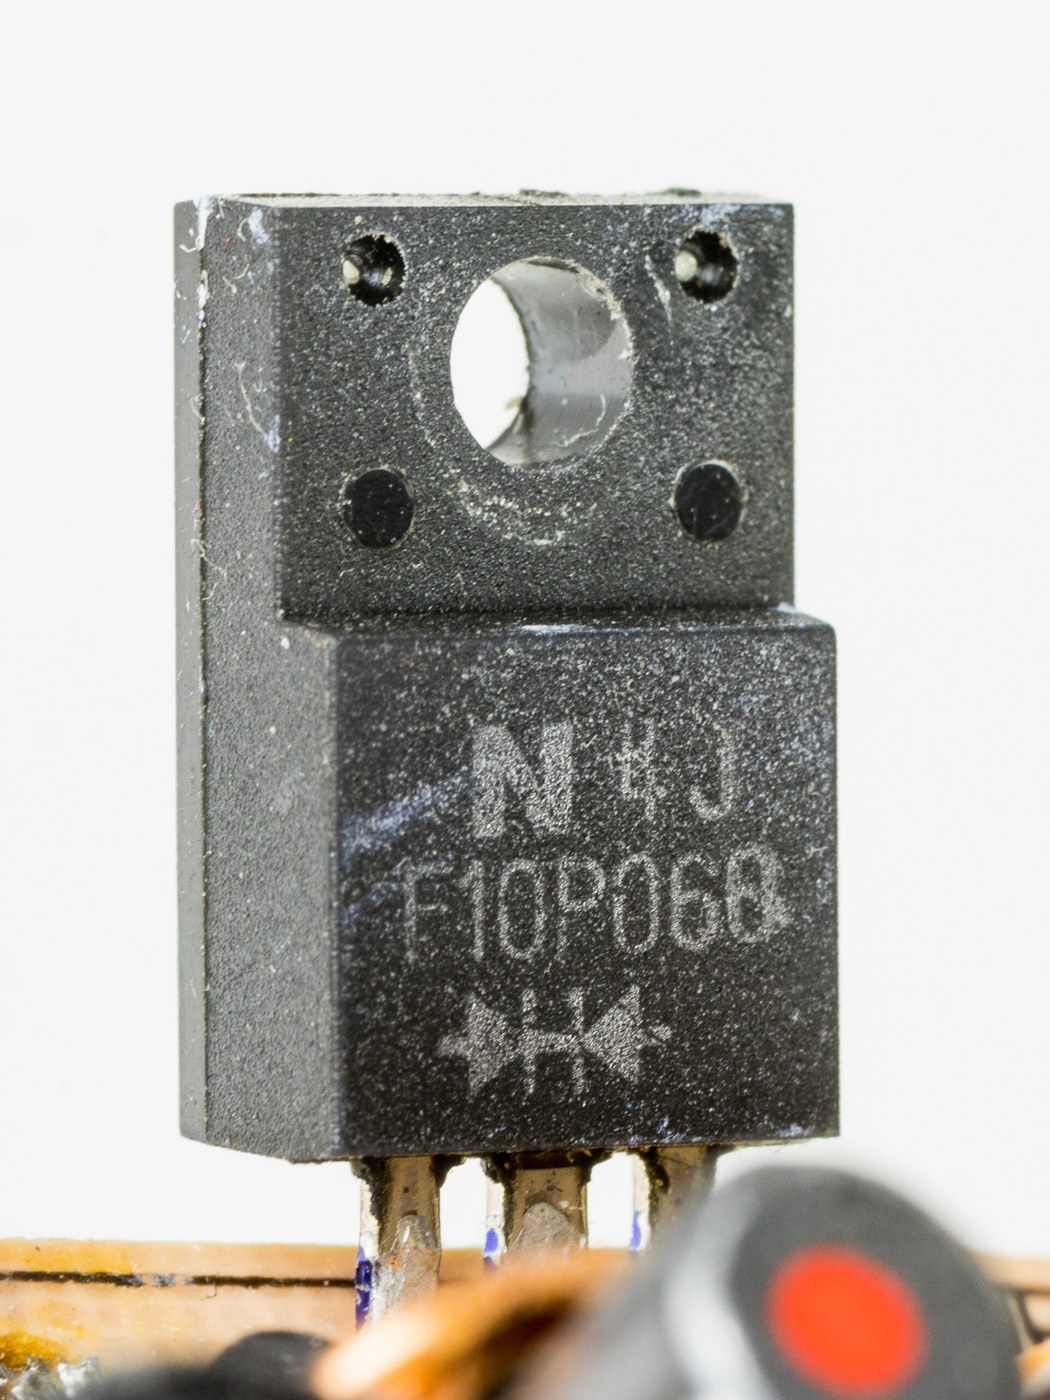
Fit R1 330 Ohm (gate), R2 10 kOhm (gate pull-down), R3 and R4 5.1 kOhm (USB-C CC pull-downs). Fit D1 1N4007 across the pump terminal with its band to +5 V, and D2 Schottky blocking diode from +5 V to VIN with its band toward VIN. Solder them and trim the leads.

Bu adım için malzemeler:

Baskı devre kartıBaskı devre kartı1 adet
330 ohm direnç330 ohm direnç1 adet
10 kiloohm direnç10 kiloohm direnç1 adet
Karbon film dirençKarbon film direnç2 adet
1N4007 doğrultucu diyot1N4007 doğrultucu diyot1 adet
Engelleme diyotu (Schottky)Engelleme diyotu (Schottky)1 adet
Lehim TeliLehim Teli1 adet

Gerekli aletler:

HavyaHavya
Yan keskiYan keski
10

Solder USB-C socket and capacitor

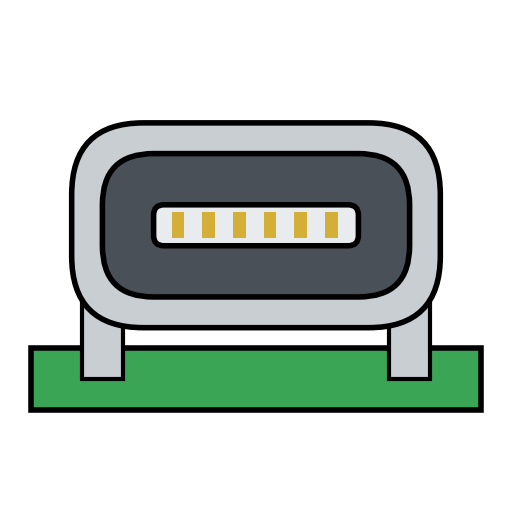
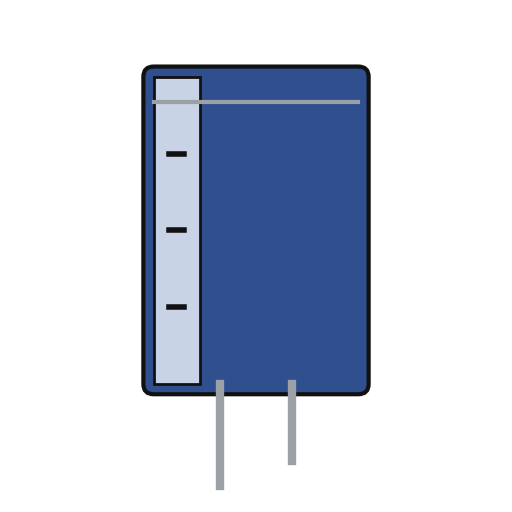
Solder the USB-C receptacle J1 on the left edge, including its shell tabs. Fit the 470 uF 10 V electrolytic capacitor C1 with its minus stripe to GND and solder it.

Bu adım için malzemeler:

USB-C soketiUSB-C soketi1 adet
Elektrolitik kondansatörElektrolitik kondansatör1 adet
Lehim TeliLehim Teli1 adet

Gerekli aletler:

HavyaHavya
11

Solder MOSFET, sockets and terminals

Solder the IRLZ44N Q1 upright with its tab facing the way shown on the silkscreen. Then solder the two 1x19 female sockets for the ESP32, the 1x4 female socket for the OLED, and the screw terminals J4 (pump), J5 (soil probe) and J6 (float switch). Their openings face the board edge.

Bu adım için malzemeler:

IRLZ44N mantık seviyeli MOSFETIRLZ44N mantık seviyeli MOSFET1 adet
Pin başlığıPin başlığı3 adet
Vidalı klemens bloğuVidalı klemens bloğu3 adet
Lehim TeliLehim Teli1 adet

Gerekli aletler:

HavyaHavya
12

Check the board for shorts

With no modules plugged in, measure the resistance between +5 V and GND, and between 3V3 and GND. Neither should read as a short. Check the polarity of D1, D2 and C1 against the silkscreen.

Gerekli aletler:

MultimetreMultimetre
13

Mount the board in the enclosure

Plug the ESP32 DevKit into the sockets with its antenna end at pin 1, as marked on the board. Plug the OLED into its 4-pin socket after checking that its pin order is GND, VCC, SCL, SDA. Screw the board onto the 5 mm standoffs of the printed enclosure base.

Bu adım için malzemeler:

ESP32 Geliştirme KartıESP32 Geliştirme Kartı1 adet
OLED ekranOLED ekran1 adet
Kendinden kılavuzlu vidaKendinden kılavuzlu vida4 adet

Gerekli aletler:

Tornavida takımıTornavida takımı
14

Flash and calibrate the firmware

Connect the soil probe to J5 (1 = GND, 2 = 3V3, 3 = AOUT), using hookup wire where its leads are too short. Unplug USB-C and connect the ESP32's own USB port to the computer. Upload firmware.ino for the esp32:esp32:esp32 board. In the serial monitor at 115200 baud, note the raw reading with the probe in dry air and again with it in a glass of water up to the line marked on the probe. Enter these as RAW_DRY and RAW_WET, then upload again.

Bu adım için malzemeler:

Kapasitif toprak nem sensörüKapasitif toprak nem sensörü1 adet
Bağlantı teliBağlantı teli1 adet

Gerekli aletler:

Arduino IDE Kurulu BilgisayarArduino IDE Kurulu Bilgisayar
USB veri kablosuUSB veri kablosu
Tornavida takımıTornavida takımı
Kablo soyucuKablo soyucu
15

Leak-test the water tank

Fill the printed PETG tank to the brim and stand it on paper towel overnight. If the paper is wet, reprint the tank with more walls and test again.

Gerekli aletler:

Kâğıt havluKâğıt havlu
SuSu
16

Fit the pump, tube and float switch

Cut the silicone tube long enough to reach the pot. Push the silicone tube onto the pump outlet and set the pump on the tank floor under the 12 mm lid hole. Fix the vertical float switch through the 10.5 mm hole in the lid arm tab with its nut, so the float hangs below the tab and drops when the water is low. Lead the tube through the 12 mm hole. Lead the pump and float wires through the cable slot.

Bu adım için malzemeler:

Dalgıç su pompasıDalgıç su pompası1 adet
Şamandıralı şalterŞamandıralı şalter1 adet
Silikon HortumSilikon Hortum1 m

Gerekli aletler:

Maket bıçağıMaket bıçağı
Tornavida takımıTornavida takımı
17

Wire the pump, probe and float switch

Stick the enclosure base to the flat lid area beside the holes with double-sided tape. Extend the leads with hookup wire where they are too short, and insulate the joints with heat shrink. Pump to J4 (1 = +5 V, the red pump wire; 2 = drain). Float switch to J6. Bring the wires in through the slot in the side wall, then push the enclosure lid on.

Bu adım için malzemeler:

Çift taraflı bantÇift taraflı bant1 adet
Bağlantı teliBağlantı teli1 adet
Isıyla daralan makaronIsıyla daralan makaron1 adet
Lehim TeliLehim Teli1 adet

Gerekli aletler:

Kablo soyucuKablo soyucu
HavyaHavya
Sıcak hava tabancasıSıcak hava tabancası
Tornavida takımıTornavida takımı
18

Place the probe and drip stake

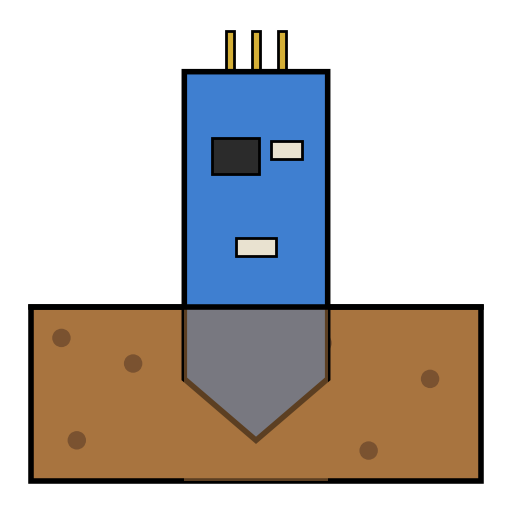
Push the soil probe into the pot up to its marked line, keeping the electronics end dry. Push the tube onto the drip stake spigot and push the stake into the soil. Set the tank lower than the pot so that the full water line sits below the soil surface. Otherwise water can siphon from the tank into the pot after the pump stops.

Gerekli aletler:

SaksıSaksı
19

Power up and test

Fill the tank and plug in the USB-C adapter and cable. Check the OLED shows soil % and tank OK. Lift the probe into air: the pump should run for at most 5 s and then wait 60 s. Empty the tank until the float drops: the display should show LOW and the pump must not run. Measure the 5 V rail while the pump runs and check that it stays above about 4.5 V.

Bu adım için malzemeler:

USB-C güç adaptörüUSB-C güç adaptörü1 adet
USB-C kablosuUSB-C kablosu1 adet

Gerekli aletler:

MultimetreMultimetre
SuSu

Malzemeler

24

Gerekli Aletler

12

Tasarım dosyaları

5
  • cus_ai_ed_electronics_01-pcb-prodjob_01M7JF9J0992HT4DPFFBR6HWMQ-pcb-1-4ae5c860.stlSTLCC0
    69.0 KB
  • cus_ai_ed_electronics_01-pcb-prodjob_01M7JF9J0992HT4DPFFBR6HWMQ-pcb-2-bba1cabe.stlSTLCC0
    3.2 KB
  • cus_ai_ed_electronics_01-product-prodjob_01M7JF9J0992HT4DPFFBR6HWMQ-1-bf47bc6c.stlSTLCC0
    1.4 KB
  • cus_ai_ed_electronics_01-product-prodjob_01M7JF9J0992HT4DPFFBR6HWMQ-2-e11cea1f.stlSTLCC0
    30.8 KB
  • cus_ai_ed_electronics_01-product-prodjob_01M7JF9J0992HT4DPFFBR6HWMQ-3-bea0de92.stlSTLCC0
    53.3 KB

CC0 Kamu Malı

Bu plan CC0 lisansıyla yayınlanmıştır. İzin almadan kopyalayabilir, değiştirebilir, dağıtabilir ve herhangi bir amaçla kullanabilirsiniz.

Planı üzerinden ürün satın alarak Maker'ı destekleyin, böylece Maker Komisyonu Satıcılar tarafından belirlenen komisyonu kazanırlar veya bu Planın yeni bir versiyonunu oluşturun ve gelir paylaşımı için kendi Planınıza bağlantı olarak ekleyin.

Tartışma

(0)

Giriş yapın tartışmaya katılmak için

Yorumlar yükleniyor...