

Driving a Servo Motor — SIK Circuit 8
Talimatlar
Parts & Introduction
Parts & Introduction
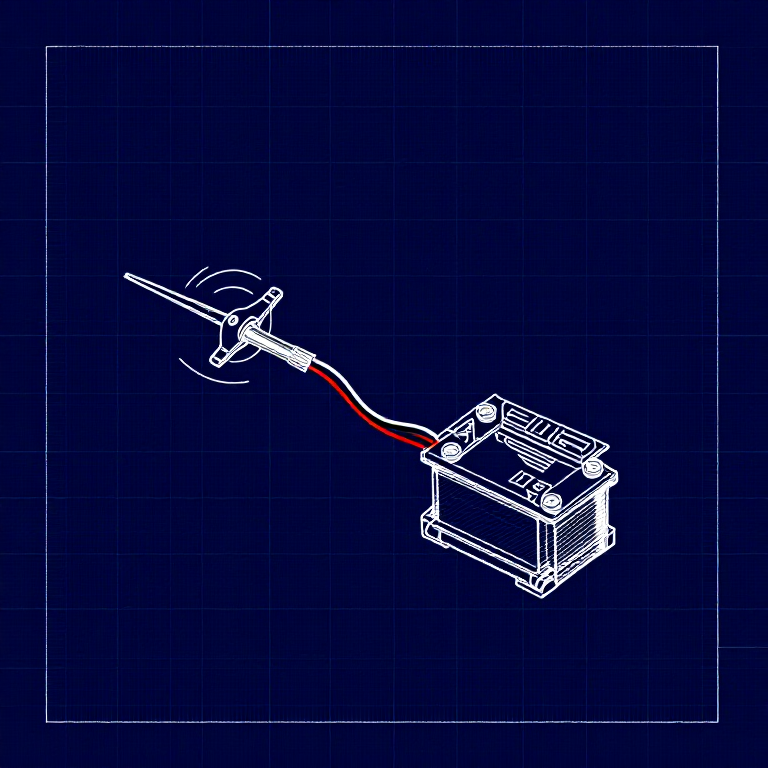
A servo motor can be precisely positioned between 0 and 180 degrees. Unlike a regular motor that just spins, servos hold their position — making them perfect for robotics, pan/tilt mechanisms, and control surfaces. This experiment introduces the Servo library.
Parts Needed
- 1x Arduino Uno + USB cable
- 1x Breadboard
- 1x Servo Motor (with 3-pin header)
- 8x Jumper Wires
The servo has three wires: Red (power), Black (ground), White (signal).
Bu adım için malzemeler:
 SparkFun Mucitler Kiti - V3.21 takım
Gerekli aletler:
 Arduino IDE Kurulu Bilgisayar
Hardware Hookup
Hardware Hookup
Wiring Instructions
- Connect 3 jumper wires to the servo's female 3-pin header for breadboarding.
- Connect the Red wire to 5V.
- Connect the Black wire to GND.
- Connect the White wire (signal) to Digital Pin 9.
Power Note: Servos draw significant current. If the servo twitches and the Arduino resets, use a wall adapter instead of USB power, or power the servo from a separate 5V supply.
Bu adım için malzemeler:
 Jumper Kablolar3 adet
Arduino Code
Arduino Code
Open the Arduino IDE and upload the following sketch to your Arduino board.
Bu adım için malzemeler:
 Arduino Uno R31 adet
Gerekli aletler:
Arduino IDE Kurulu BilgisayarTest & Experiment
Test & Experiment
What You Should See
The servo quickly moves to 90°, 180°, and 0° (1 second each), then slowly sweeps from 0° to 180° and back.
Troubleshooting
- Servo not moving: Even with colored wires, it's easy to plug a servo in backwards. Check connections.
- Twitching/resetting: The servo draws too much power from USB. Use a wall adapter or separate power supply.
Experiments to Try
- Add a potentiometer (from Circuit 2) to control servo position with a knob.
- Change the step size and delay to experiment with speed and smoothness.
- Build a simple pan/tilt mechanism with two servos.
Malzemeler
5- SparkFun Mucitler Kiti - V3.2%10 komisyon1 takım$104.50
- Yer Tutucu
- Yer Tutucu
- Yer Tutucu
- 1 adetYer Tutucu
Gerekli Aletler
1- Yer Tutucu
CC0 Kamu Malı
Bu plan CC0 lisansıyla yayınlanmıştır. İzin almadan kopyalayabilir, değiştirebilir, dağıtabilir ve herhangi bir amaçla kullanabilirsiniz.
Planı üzerinden ürün satın alarak Maker'ı destekleyin, böylece Maker Komisyonu Satıcılar tarafından belirlenen komisyonu kazanırlar veya bu Planın yeni bir versiyonunu oluşturun ve gelir paylaşımı için kendi Planınıza bağlantı olarak ekleyin.