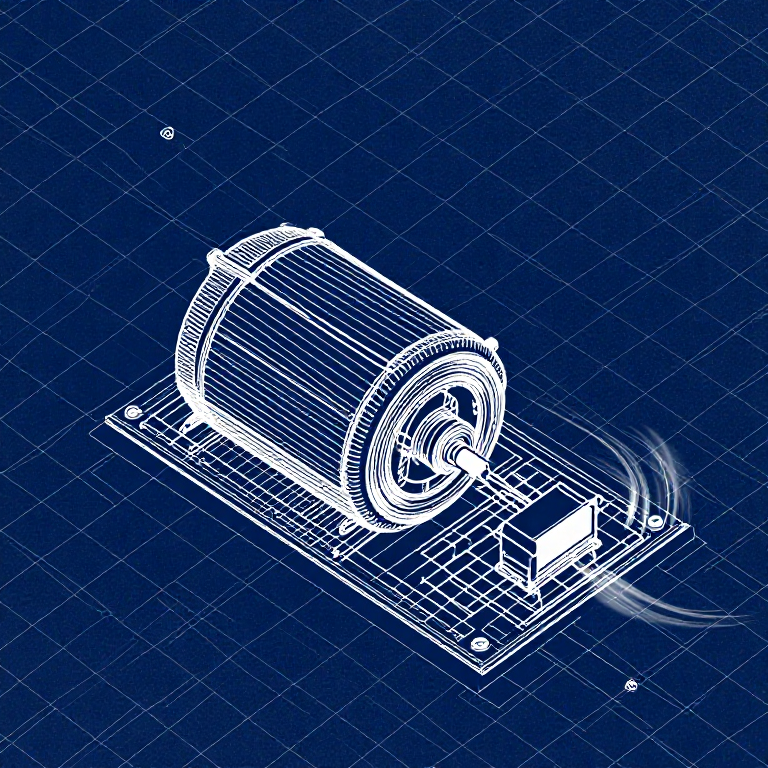


Driving a Motor — SIK Circuit 12
Talimatlar
Parts & Introduction
Parts & Introduction
DC motors draw too much current for an Arduino pin to drive directly. A transistor acts as an electronic switch — a small signal from the Arduino controls a larger current flowing through the motor. The flyback diode protects against voltage spikes when the motor turns off.
Parts Needed
- 1x Arduino Uno + USB cable
- 1x Breadboard
- 1x DC Motor
- 1x NPN Transistor (P2N2222A)
- 1x Diode (1N4148)
- 1x 330Ω Resistor
- 6x Jumper Wires
Bu adım için malzemeler:
 SparkFun Mucitler Kiti - V3.21 takım
Gerekli aletler:
 Arduino IDE Kurulu Bilgisayar
Hardware Hookup
Hardware Hookup
Wiring Instructions
Transistor pinout (flat side facing you, pins down): Collector, Base, Emitter (left to right).
- Place the transistor in the breadboard.
- Connect Base (middle pin) through a 330Ω resistor to Arduino Digital Pin 9.
- Connect Emitter (right pin) to GND.
- Connect Collector (left pin) to the motor's black wire.
- Connect the motor's red wire to 5V.
- Flyback Diode: Connect the banded end (cathode) to 5V, the other end (anode) to the motor's black wire.
Bu adım için malzemeler:
 Redüktörlü DC motor1 adet
 Devre Tahtası1 adet
 Jumper Kablolar6 adet
Arduino Code
Arduino Code
Open the Arduino IDE and upload the following sketch to your Arduino board.
Bu adım için malzemeler:
 Arduino Uno R31 adet
Gerekli aletler:
Arduino IDE Kurulu BilgisayarTest & Experiment
Test & Experiment
What You Should See
The default serialSpeed() function lets you type speed values (0-255) into the Serial Monitor to control motor speed in real time.
Troubleshooting
- Motor not spinning: If you sourced your own transistor, double-check the pinout — many NPN transistors have reversed pin orders compared to the P2N2222A.
- Motor won't start at low values: Below ~50, the motor doesn't have enough torque to overcome friction. This is normal.
- Connection issues: Try unplugging and re-plugging the USB cable.
Experiments to Try
- Uncomment
motorAcceleration()to see smooth speed ramping. - Add a potentiometer to control speed with a knob instead of serial input.
- Add a button for on/off control.
Malzemeler
8- SparkFun Mucitler Kiti - V3.2%10 komisyon1 takım$104.50
- Yer Tutucu
- Yer Tutucu
- Yer Tutucu
- Yer Tutucu
- 1 adetYer Tutucu
- 1 adetYer Tutucu
- 1 adetYer Tutucu
Gerekli Aletler
1- Yer Tutucu
CC0 Kamu Malı
Bu plan CC0 lisansıyla yayınlanmıştır. İzin almadan kopyalayabilir, değiştirebilir, dağıtabilir ve herhangi bir amaçla kullanabilirsiniz.
Planı üzerinden ürün satın alarak Maker'ı destekleyin, böylece Maker Komisyonu Satıcılar tarafından belirlenen komisyonu kazanırlar veya bu Planın yeni bir versiyonunu oluşturun ve gelir paylaşımı için kendi Planınıza bağlantı olarak ekleyin.