МИСТЕЦТВО
КРАСА ТА ЗДОРОВ'Я
РЕМЕСЛО
КУЛЬТУРА ТА ІСТОРІЯ
РОЗВАГИ
СЕРЕДОВИЩЕ
ЇЖА ТА НАПІЇ
ЗЕЛЕНЕ МАЙБУТНЄ
ЗБОРНА ІНЖЕНЕРІЯ
НАУК
СПОРТ
ТЕХНОЛОГІЯ
НОСИМО

Перекладено
BLUEPRINT NFT

Мигаючий LED — Ваш перший проект Arduino
Класичний перший проект в електроніці! Зберіть схему мигаючого LED за допомогою Arduino, макетної плати, резистора та одного LED. Ідеально для абсолютних новачків — паяння не потрібно.
Інструкції
1
1
Зберіть свої компоненти
Зберіть свої компоненти
Зберіть усі компоненти, перелічені нижче. Паяння не потрібне — усе підключається до макетної плати.
Матеріали для цього кроку:
 SparkFun Inventor's Kit - V3.21 набір
Arduino Uno R31 штука
5mm LED (any color)1 штука
 220 ohm Resistor (1/4W)1 штука
Breadboard1 штука
Jumper Wires (Male-to-Male)2 штук
USB-B Cable1 штука
Необхідні інструменти ({count})
Computer with Arduino IDE
2
2
Схема електричної схеми
Схема електричної схеми
Сигнал тече від Arduino Pin 13 → резистор 220Ω (R1) → LED (D1) → GND. Резистор обмежує струм для захисту LED.
Матеріали для цього кроку:
Arduino Uno R31 штука
5mm LED (any color)1 штука
220 ohm Resistor (1/4W)1 штука3
3
Підключіть дроти
Підключіть дроти
- Вставте LED на макетну плату — довга ніжка (анод +) в один рядок, коротка ніжка (катод −) в наступний.
- Вставте одну ніжку резистора 220Ω у той же рядок, що й катод LED. Іншу ніжку в окремий рядок.
- Перемичка з рядка анода LED → Arduino Pin 13.
- Перемичка з вільного рядка резистора → Arduino GND.
Матеріали для цього кроку:
5mm LED (any color)1 штука
220 ohm Resistor (1/4W)1 штукаBreadboard1 штука
Jumper Wires (Male-to-Male)2 штук
4
4
Завантажити код Blink
Завантажити код Blink
Підключіть Arduino через USB. Відкрийте Arduino IDE, оберіть Tools → Board → Arduino Uno, вставте код і натисніть Upload.
blink.inoarduino
Матеріали для цього кроку:
Arduino Uno R31 штука
USB-B Cable1 штука
Необхідні інструменти ({count})
Computer with Arduino IDE
5
5
PCB Макет (Довідка)
PCB Макет (Довідка)
Це показує схему як макет PCB. Не потрібно для цього проекту — макетна плата працює чудово — але показує, як виглядала б та сама схема, якби вона була виготовлена як реальна плата.
6
6
Тест та експеримент
Тест та експеримент
LED блимає? Вітаємо! Ви щойно запрограмували обладнання.
Усунення несправностей:
Наступні експерименти:
Усунення несправностей:
- LED не світиться? Переверніть LED — довга ніжка до Pin 13.
- LED залишається увімкненим? Перевірте, чи успішно завантажено код.
- Нічого не відбувається? Перевірте, чи схема проводки відповідає схемі на кроці 2.
Наступні експерименти:
- Змініть значення
delay(), щоб контролювати швидкість блимання - Додайте другий LED на Pin 12
- Замініть на RGB LED (див. SIK Circuit 3)
Матеріали
7- $105.00
- Заповнювач
Необхідні інструменти
2- Computer with Arduino IDE
- Заповнювач
Орієнтовна сума
$105.00Related blueprints
Other builds that share materials, tools, or techniques with this one.

Using a Shift Register — SIK Circuit 14electronics/active
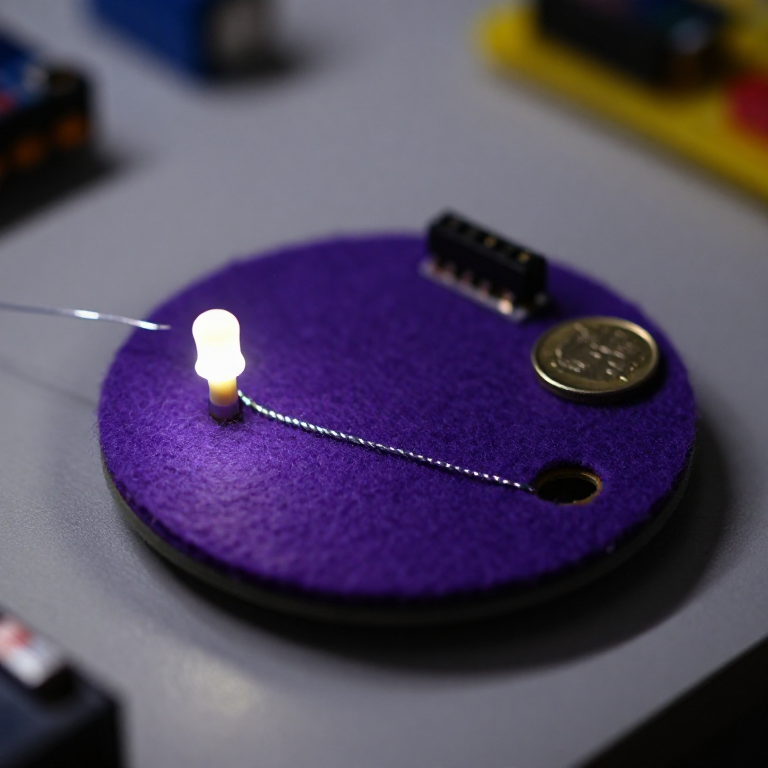
Blinking an LED with LilyPad Arduinoelectronics

Making Charcoal — The First Chemical Processmaterials

The Spinning Jenny — Multi-Spindle Yarn Productiontextiles

Starting Seeds Indoors — Raising Seedlings for a Head Start

Driving a Motor — SIK Circuit 12electronics/electromech
CC0 Суспільне надбання
Це креслення випущено під ліцензією CC0. Ви можете вільно копіювати, змінювати, поширювати та використовувати цю роботу для будь-яких цілей без запиту дозволу.
Підтримайте мейкера, купуючи продукти через його креслення, де він отримує Комісію мейкера встановлену вендорами, або створіть нову ітерацію цього креслення та включіть його як зв'язок у власне креслення для розподілу доходу.