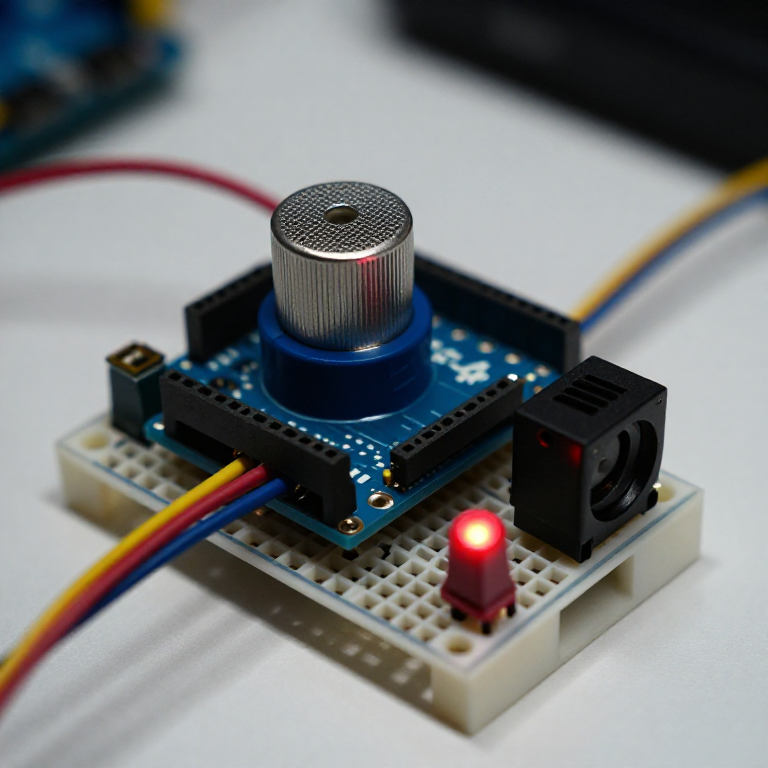


Building a Methane Gas Leak Detector
Build a circuit that sniffs out methane — the main component of natural gas — and alarms when it rises. An MQ-4 sensor's reading climbs when combustible gas is present; the Arduino compares it to clean air and triggers a buzzer and red LED. A great combustible-gas sensing project — with two honest notes: methane is flammable, and this is a demonstration, NOT a certified gas-leak detector.
Інструкції
Wire the sensor, buzzer and LED
Wire the sensor, buzzer and LED
On the breadboard: MQ-4 VCC to Arduino 5V, GND to GND, and its analog output (AOUT) to A0. Active buzzer + to pin 8, - to GND. Red LED anode to pin 7 through a 330 Ω resistor, cathode to GND.
Матеріали для цього кроку:
 Arduino Uno R31 штука
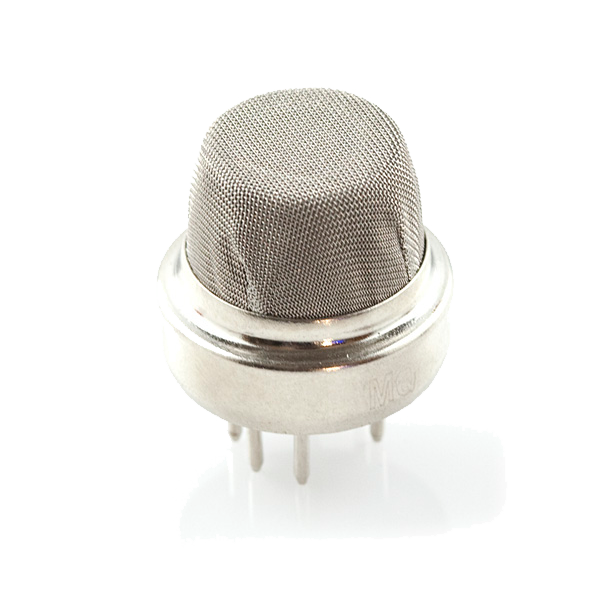 Methane CNG Gas Sensor - MQ-41 штука
 Active Buzzer Module (5V, 5-Pack)1 штука
 LED - Basic 5mm1 штука
 Resistor 330 Ohm 1/6 Watt PTH - 20 pack1 пакет
 Breadboard1 штука
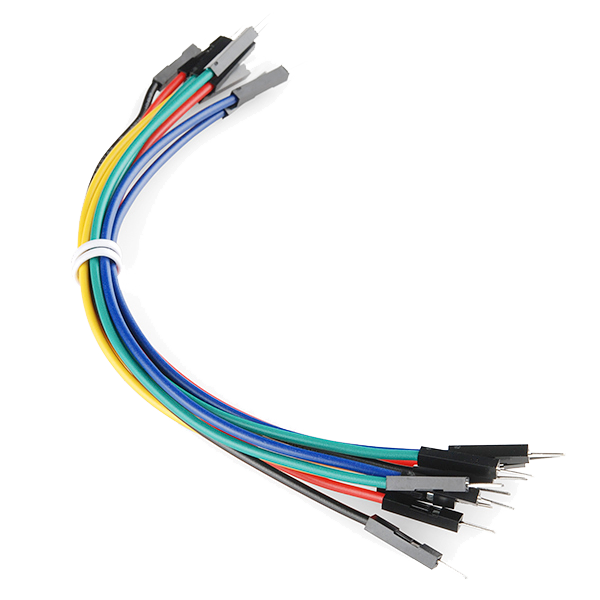 Jumper Wires (Male-to-Male)1 пакет
Connect and open the IDE
Connect and open the IDE
Plug the Arduino into your computer with the USB cable, open the Arduino IDE, and select Arduino Uno and its serial port.
Матеріали для цього кроку:
 USB-B Cable1 штука
Необхідні інструменти ({count})
 Computer with Arduino IDE
Upload the detector sketch
Upload the detector sketch
Paste this sketch and upload. It warms the sensor, records a clean-air baseline, then sounds the buzzer and lights the LED whenever the reading rises above that baseline.
Warm up, baseline and test SAFELY
Warm up, baseline and test SAFELY
Power it in fresh air and let the 2-minute warm-up set the baseline (a new MQ-4 also needs a 24–48 h burn-in). Test with only a TINY controlled source in a well-ventilated room — a brief puff of gas from an UNLIT lighter held near the sensor. NEVER test with a real gas leak, a large amount of gas, or anywhere near a flame or spark. Adjust ALARM_MARGIN for sensitivity.
Safety limits
Safety limits
Methane is highly flammable and, in enough concentration, explosive. This circuit is a LEARNING project and at best a supplementary indicator — it is NOT a certified gas-leak detector: the hobby MQ-4 gives a relative reading, not calibrated ppm, drifts, and needs re-baselining. For real protection use a certified natural-gas detector, and if you ever smell gas, do not switch anything on or off — leave and call your gas utility.
Матеріали
8- Arduino Uno R3 SMD10% комісія1 штука$27.06
- Methane CNG Gas Sensor - MQ-410% комісія1 штука$5.01
- 1 штукаЗаповнювач
- LED - Basic 5mm10% комісія1 штука$0.77
- Resistor 330 Ohm 1/6 Watt PTH - 20 pack10% комісія1 пакет$1.19
- Breadboard - Classic10% комісія1 штука$9.50
- 1 пакет$5.01
- SparkFun Cerberus USB Cable - 1.8 meter10% комісія1 штука$5.69
Необхідні інструменти
2- Заповнювач
- Breadboard - Classic10% комісія$9.50
Пов'язані креслення
Ці креслення діляться знаннями — техніки, матеріали або принципи
CC0 Суспільне надбання
Це креслення випущено під ліцензією CC0. Ви можете вільно копіювати, змінювати, поширювати та використовувати цю роботу для будь-яких цілей без запиту дозволу.
Підтримайте мейкера, купуючи продукти через його креслення, де він отримує Комісію мейкера встановлену вендорами, або створіть нову ітерацію цього креслення та включіть його як зв'язок у власне креслення для розподілу доходу.