
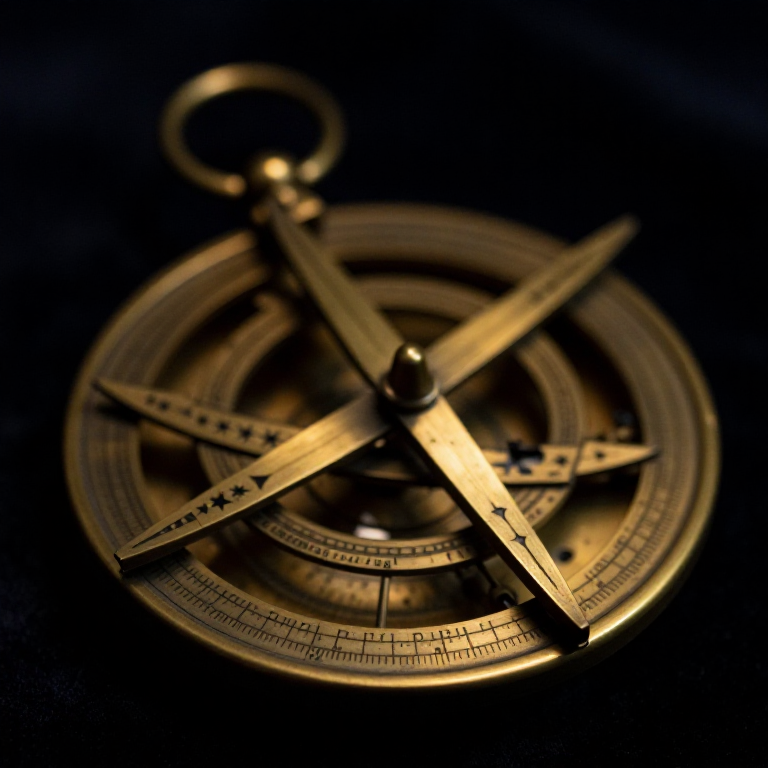
Building a Chinese Armillary Sphere — The Bronze Instrument That Mapped the Heavens
The armillary sphere is one of the oldest and most important astronomical instruments ever built — a nested set of graduated metal rings representing the great circles of the celestial sphere: the equator, the ecliptic, the meridian, and the horizon. Chinese astronomers were constructing armillary spheres by the 1st century BC, and the instrument reached its highest development under Zhang Heng (78–139 AD), who added a water-powered drive to rotate the sphere in step with the heavens. By rotating the rings and sighting along them, an observer could measure the position of any star, planet, or the Moon in coordinates that could be recorded and compared across centuries. This blueprint builds a simplified but functional desktop armillary sphere from metal rings and a wooden base — accurate enough to demonstrate celestial coordinates and identify star positions by right ascension and declination.
Інструкції
Understand the celestial coordinate system
Understand the celestial coordinate system
Prepare the metal strips
Prepare the metal strips
Матеріали для цього кроку:
 Brass Strip3 метрів
Необхідні інструменти ({count})
 Metal File
Form the meridian ring
Form the meridian ring
Form the horizon ring
Form the horizon ring
Необхідні інструменти ({count})
 Soldering Iron
 Solder Wire
Join the meridian and horizon rings
Join the meridian and horizon rings
Form the equatorial ring
Form the equatorial ring
Mark degree graduations on the equator
Mark degree graduations on the equator
Необхідні інструменти ({count})
 Protractor
 Diamond Scriber
Form the ecliptic ring
Form the ecliptic ring
Install the equatorial and ecliptic rings
Install the equatorial and ecliptic rings
Add the polar axis
Add the polar axis
Матеріали для цього кроку:
 Brass Rod1 штука
Add the sighting tube
Add the sighting tube
Build the wooden base and support
Build the wooden base and support
Матеріали для цього кроку:
 Hardwood Block1 штука
Необхідні інструменти ({count})
 Iron Chisel
Mount the sphere on the base
Mount the sphere on the base
Align to the celestial pole
Align to the celestial pole
Record your first star position
Record your first star position
Матеріали
3- 3 метрівЗаповнювач
- 1 штукаЗаповнювач
- 1 штукаЗаповнювач
Необхідні інструменти
6- Заповнювач
- Заповнювач
- Заповнювач
- Заповнювач
- Заповнювач
- Заповнювач
Матеріали з пов'язаних креслень
Пов'язані креслення
Ці креслення діляться знаннями — техніки, матеріали або принципи
Related blueprints
Other builds that share materials, tools, or techniques with this one.


CC0 Суспільне надбання
Це креслення випущено під ліцензією CC0. Ви можете вільно копіювати, змінювати, поширювати та використовувати цю роботу для будь-яких цілей без запиту дозволу.
Підтримайте мейкера, купуючи продукти через його креслення, де він отримує Комісію мейкера встановлену вендорами, або створіть нову ітерацію цього креслення та включіть його як зв'язок у власне креслення для розподілу доходу.