Співпраця
МИСТЕЦТВО
КРАСА ТА ЗДОРОВ'Я
РЕМЕСЛО
КУЛЬТУРА ТА ІСТОРІЯ
РОЗВАГИ
СЕРЕДОВИЩЕ
ЇЖА ТА НАПІЇ
ЗБОРНА ІНЖЕНЕРІЯ
НАУК
СПОРТ
ТЕХНОЛОГІЯ
НОСИМО
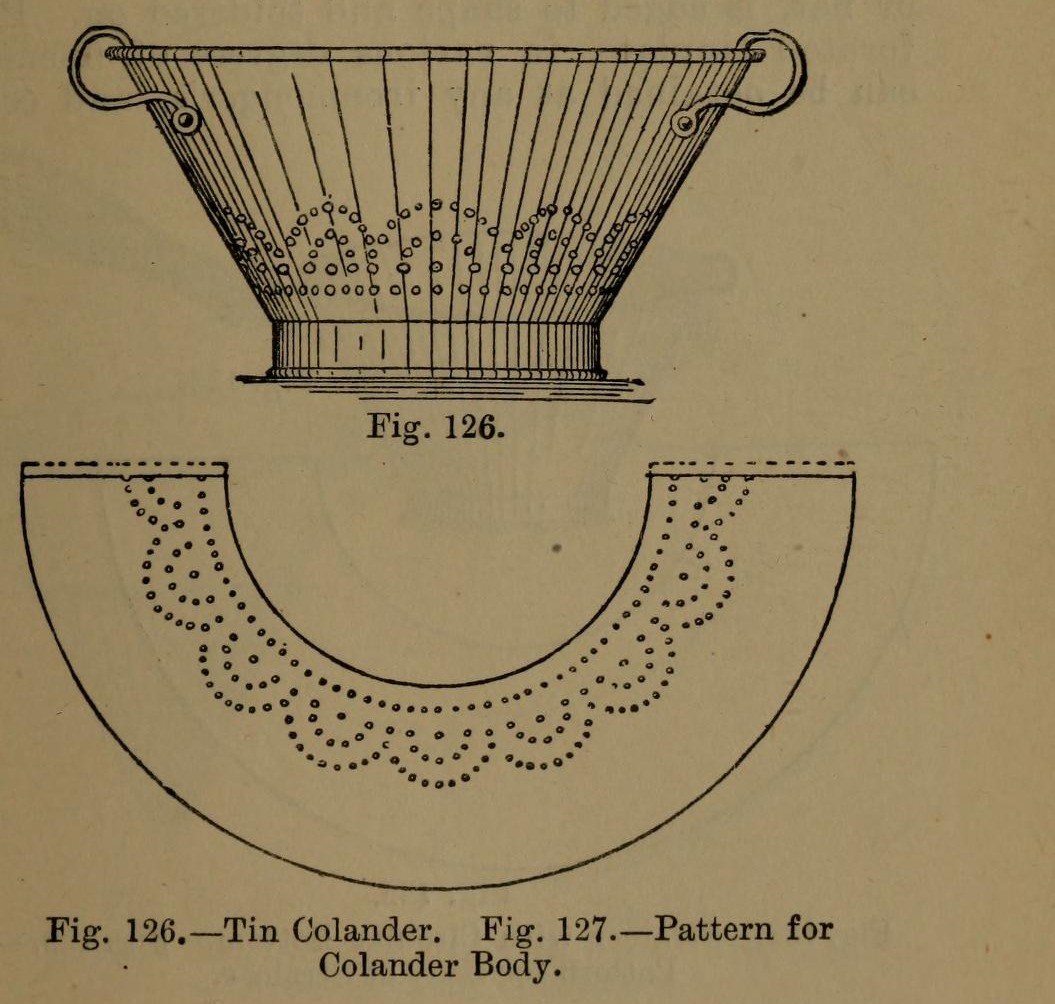


Colander: a Tinplate Colander with Perforated Body and Bottom (Hasluck, 1907)
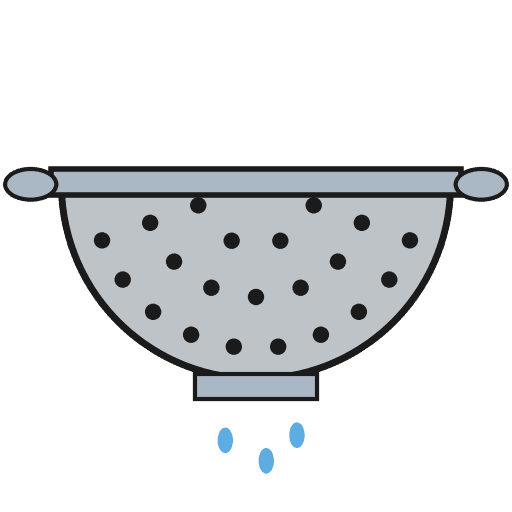
A tinsmith's colander for straining: a tapered tinplate body and a hollowed bottom, both punched full of holes, standing on a wired hoop, with two bow handles.
The body pattern is a ring segment: outer radius = top diameter, inner radius = bottom diameter, which gives sides at 60 degrees.
Source: Paul N. Hasluck, Tinplate Work (1907), pp. 50-51. Unknown: sizes, solder. Picture: Figs. 126-127 of the book.
Середній
Unknown
Інструкції
1
1
Set out the body pattern
Set out the body pattern
Choose the top and bottom diameters. On tinplate, strike an arc with radius equal to the top diameter and, from the same centre, one equal to the bottom diameter (Fig. 127); the sides then slope at 60 degrees. Mark the rows of holes, add edges for a grooved seam and the wire, and cut it out.
Матеріали для цього кроку:
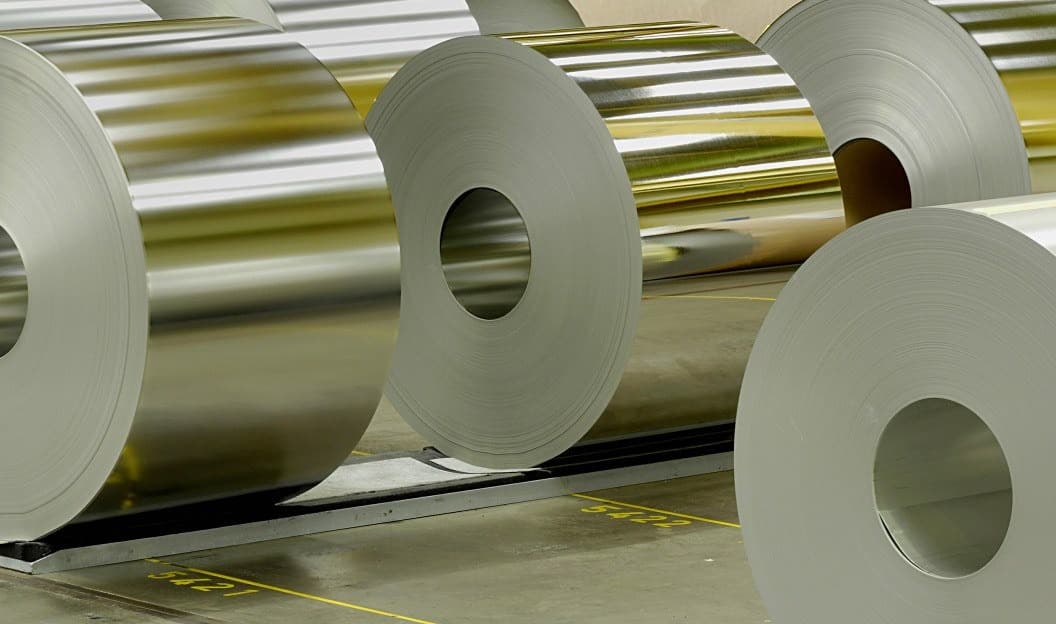
 Лист білої жерсті1 body
Необхідні інструменти ({count})
 Розмічальний циркуль
 Рисувалка
 Ножиці по металу
2
2
Break, punch and planish the body
Break, punch and planish the body
'Break' the pattern through the rollers, turning it the opposite way each pass, so it won't crease when bent. Punch the holes on a hardwood block, then flatten and planish the burrs.
Необхідні інструменти ({count})
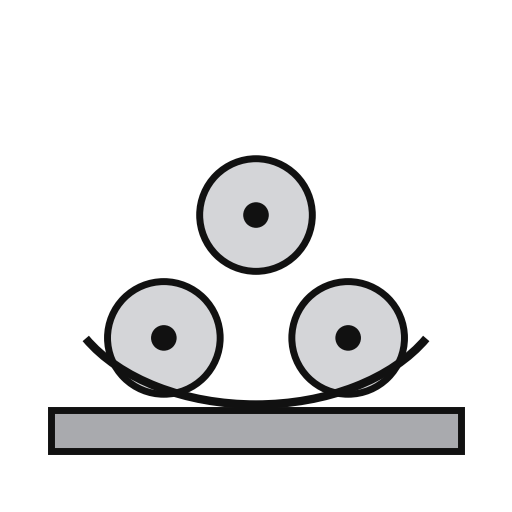 Тривалкові листозгинальні вальці
 Просічка для листового металу
 Брусок твердої деревини
 Рихтувальний молоток
3
3
Seam and wire the body
Seam and wire the body
Set off the edges for a grooved seam, bend the body to shape and seam it. Solder the seam inside. Set off an edge on the wide end and wire it with No. 10 B.W.G. wire. If you like, raise a swage about 1 1/2 in below the wired edge: it stiffens the colander and looks better.
Матеріали для цього кроку:
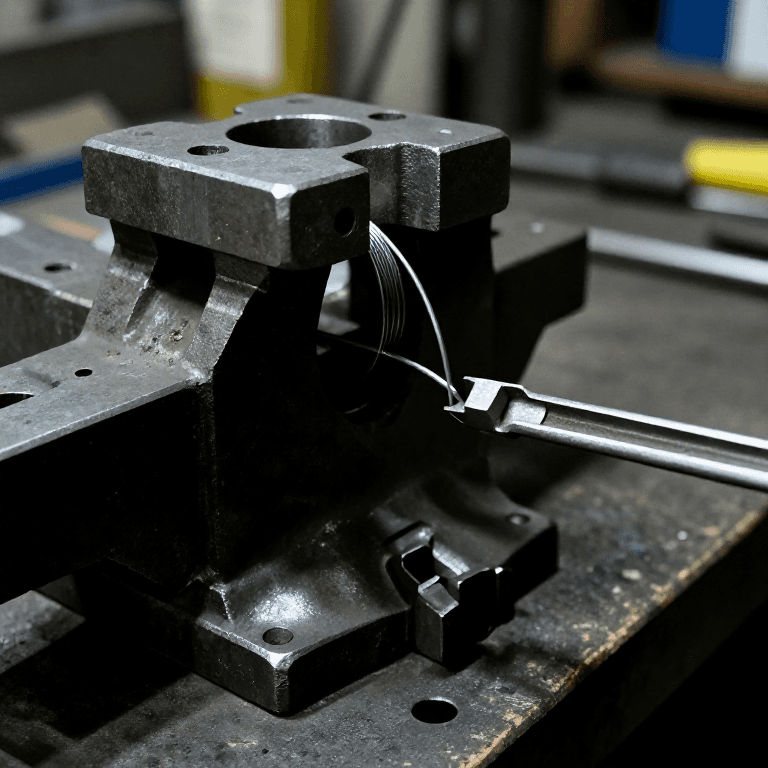
 Залізний дріт1 No. 10 B.W.G.
 Олов'яно-свинцевий припій1 seam
Необхідні інструменти ({count})
 Дерев'яний молоток (киянка)
 Кілок
 Електричний паяльник
 Флюс
4
4
Make and fit the bottom
Make and fit the bottom
Cut out the bottom, hollow it and edge it to fit the small end. Inside, mark circles from 1 in across at the centre, each 1 in wider than the last, out to the edge. Punch holes at short intervals round them and flatten the burrs on an upturned hollowing hammer. Solder the bottom on.
Матеріали для цього кроку:
Лист білої жерсті1 bottomОлов'яно-свинцевий припій1 bottomНеобхідні інструменти ({count})
Розмічальний циркульНожиці по металуПросічка для листового металуРихтувальний молотокЕлектричний паяльникФлюс5
5
Add the hoop and handles
Add the hoop and handles
Cut a strip 1 1/2 in wide, as long as the circumference of the bottom. Wire it with No. 10 B.W.G., round it, seam it and solder it on as the foot. Rivet a pair of bow handles opposite each other at the top.
Матеріали для цього кроку:
Лист білої жерсті1 hoopЗалізний дріт1 hoopОлов'яно-свинцевий припій1 hoop Руків'я2 bow handles
 Залізні заклепки1 number not given
Необхідні інструменти ({count})
Ножиці по металуЕлектричний паяльникФлюс Клепальний молоток
6
6
Clean and scald
Clean and scald
Clean with turpentine and whiting, then polish with dry whiting. Before first use, steep it a short time in boiling water, as for any metal article for the kitchen.
Необхідні інструменти ({count})
 Скипидар
 Карбонат кальцію (крейда мелена)
 Вода
Матеріали
5- 1 hoopЗаповнювач
- 1 hoopЗаповнювач
- Заповнювач
- 2 bow handlesЗаповнювач
- 1 number not givenЗаповнювач
Необхідні інструменти
15- Заповнювач
- Заповнювач
- Заповнювач
- Заповнювач
- Заповнювач
- Заповнювач
- Заповнювач
- Заповнювач
- Заповнювач
- Заповнювач
- Заповнювач
- Заповнювач
- Заповнювач
- Заповнювач
- Заповнювач
Матеріали з пов'язаних креслень

За цим кресленням виготовляють
CC0 Суспільне надбання
Це креслення випущено під ліцензією CC0. Ви можете вільно копіювати, змінювати, поширювати та використовувати цю роботу для будь-яких цілей без запиту дозволу.
Підтримайте мейкера, купуючи продукти через його креслення, де він отримує Комісію мейкера встановлену вендорами, або створіть нову ітерацію цього креслення та включіть його як зв'язок у власне креслення для розподілу доходу.