
Співпраця
МИСТЕЦТВО
КРАСА ТА ЗДОРОВ'Я
РЕМЕСЛО
КУЛЬТУРА ТА ІСТОРІЯ
РОЗВАГИ
СЕРЕДОВИЩЕ
ЇЖА ТА НАПІЇ
ЗБОРНА ІНЖЕНЕРІЯ
НАУК
СПОРТ
ТЕХНОЛОГІЯ
НОСИМО
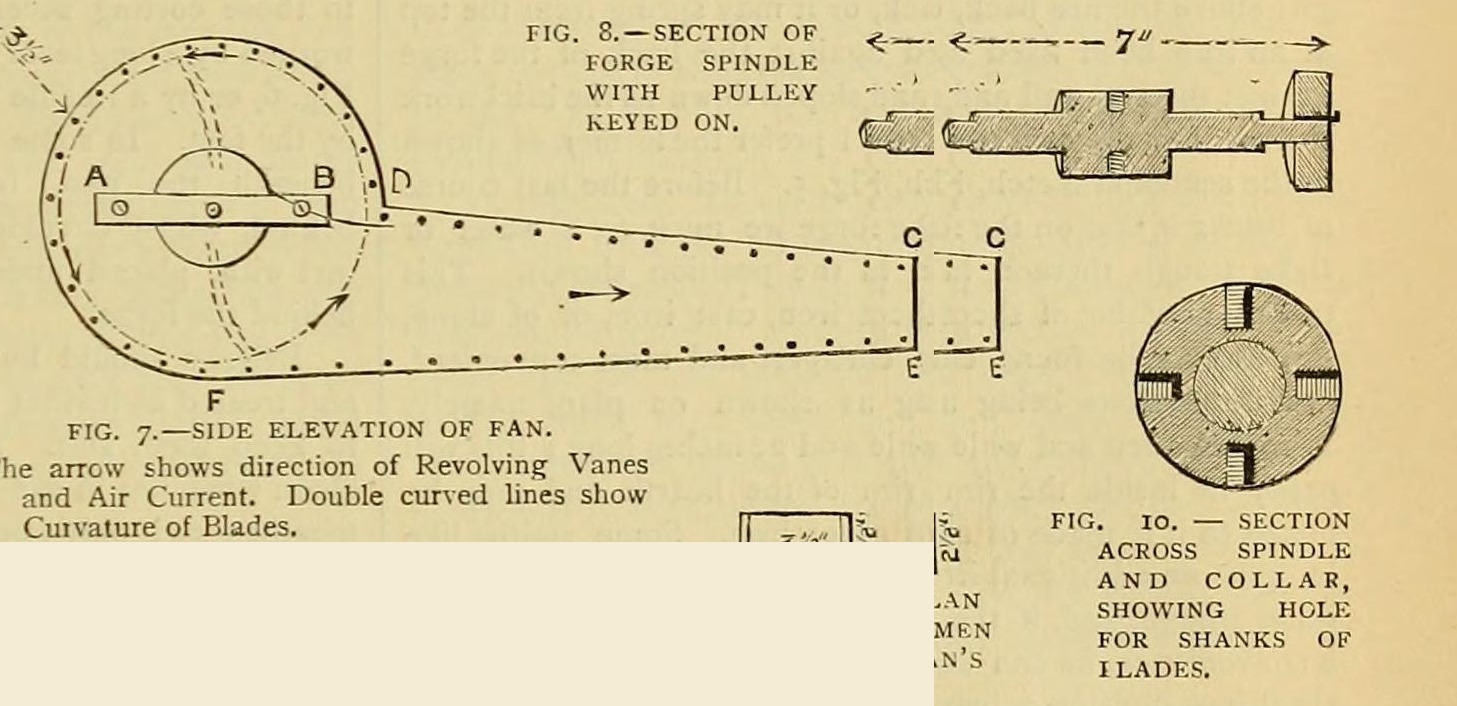
Forge Blast Fan: Riveted Sheet-Iron Drum, Shrunk-Collar Spindle and Four Screwed Blades, Belt-Driven at 360 rpm (Edwinson, 1886)
Forge

Створено

Forge

14. листопад 2026NO
5
0
0
0
0

Forge Blast Fan: Riveted Sheet-Iron Drum, Shrunk-Collar Spindle and Four Screwed Blades, Belt-Driven at 360 rpm (Edwinson, 1886)

George Edwinson's home-made forge fan (Amateur Work, 1886), which he preferred to bellows: two 1/8 in. sheet-iron sides with a 3 1/2 in. intake, a riveted 1/16 in. casing, a turned 3/4 in. spindle with a shrunk-on collar holding four forged, slightly scooped blades, brass bearings, and a 2 in. pulley driven from a 2 ft hand wheel at 30 rpm for 360 rpm.
Просунутий
Three to four days

Інструкції

1

His sizes

Завантаження блокнота Jupyter…
2

Read Edwinson

"Under no circumstances should I advise an amateur to make his own bellows, but he may be able to make a fan."
3

Cut the sides

Cut two sides from 1/8 in. sheet iron to his fig. 7: 9 in. across at the widest, 2 1/2 in. at the narrowest, 2 ft long. Cut a 3 1/2 in. hole in each for the spindle and air intake, drill two 3/8 in. holes for bolts A and B (filed square), and drill the rivet holes round the edge.

Матеріали для цього кроку:

Лист маловуглецевої сталіЛист маловуглецевої сталі1 штука

Необхідні інструменти ({count})

Ножиці по металуНожиці по металу
Свердлильний верстатСвердлильний верстат
Напилки (ручний напилок)Напилки (ручний напилок)
КернерКернер
4

Rivet the casing

Cut 5 in. strips of 1/16 in. sheet with 3/4 in. margins bent down (4 in. clear): 14 in. from C to D, 20 in. from E to F, and about 22 in. round the drum from D to F (measure it). Mark the rivet holes through the side holes, nick between holes so the drum strip bends without buckling, and rivet, backing each head with stout iron. Leave a foot of the drum strip open. (Easier: make the sides 2 in. larger with outward flanges and rivet the strips to them.)

Матеріали для цього кроку:

Лист маловуглецевої сталіЛист маловуглецевої сталі1 штука
Залізні заклепкиЗалізні заклепки1 штука

Необхідні інструменти ({count})

Ножиці по металуНожиці по металу
Свердлильний верстатСвердлильний верстат
Клепальний набірКлепальний набір
МолотокМолоток
РулеткаРулетка
5

Turn the spindle

Turn 7 in. of 3/4 in. round iron smooth. Turn one end to 1/2 in. for 5/8 in. and the other to 1/2 in. for 2 1/8 in., with sharp shoulders. Bore a 2 x 2 in. collar a shade under size, heat it red and slip it on 1 in. in from a shoulder, then cool it in water to shrink it tight.

Матеріали для цього кроку:

Пруток кованого залізаПруток кованого заліза1 штука
ВодаВода1 штука

Необхідні інструменти ({count})

Токарний верстат по металуТокарний верстат по металу
Кувальне горноКувальне горно
Ковальські кліщіКовальські кліщі
6

Drill the collar

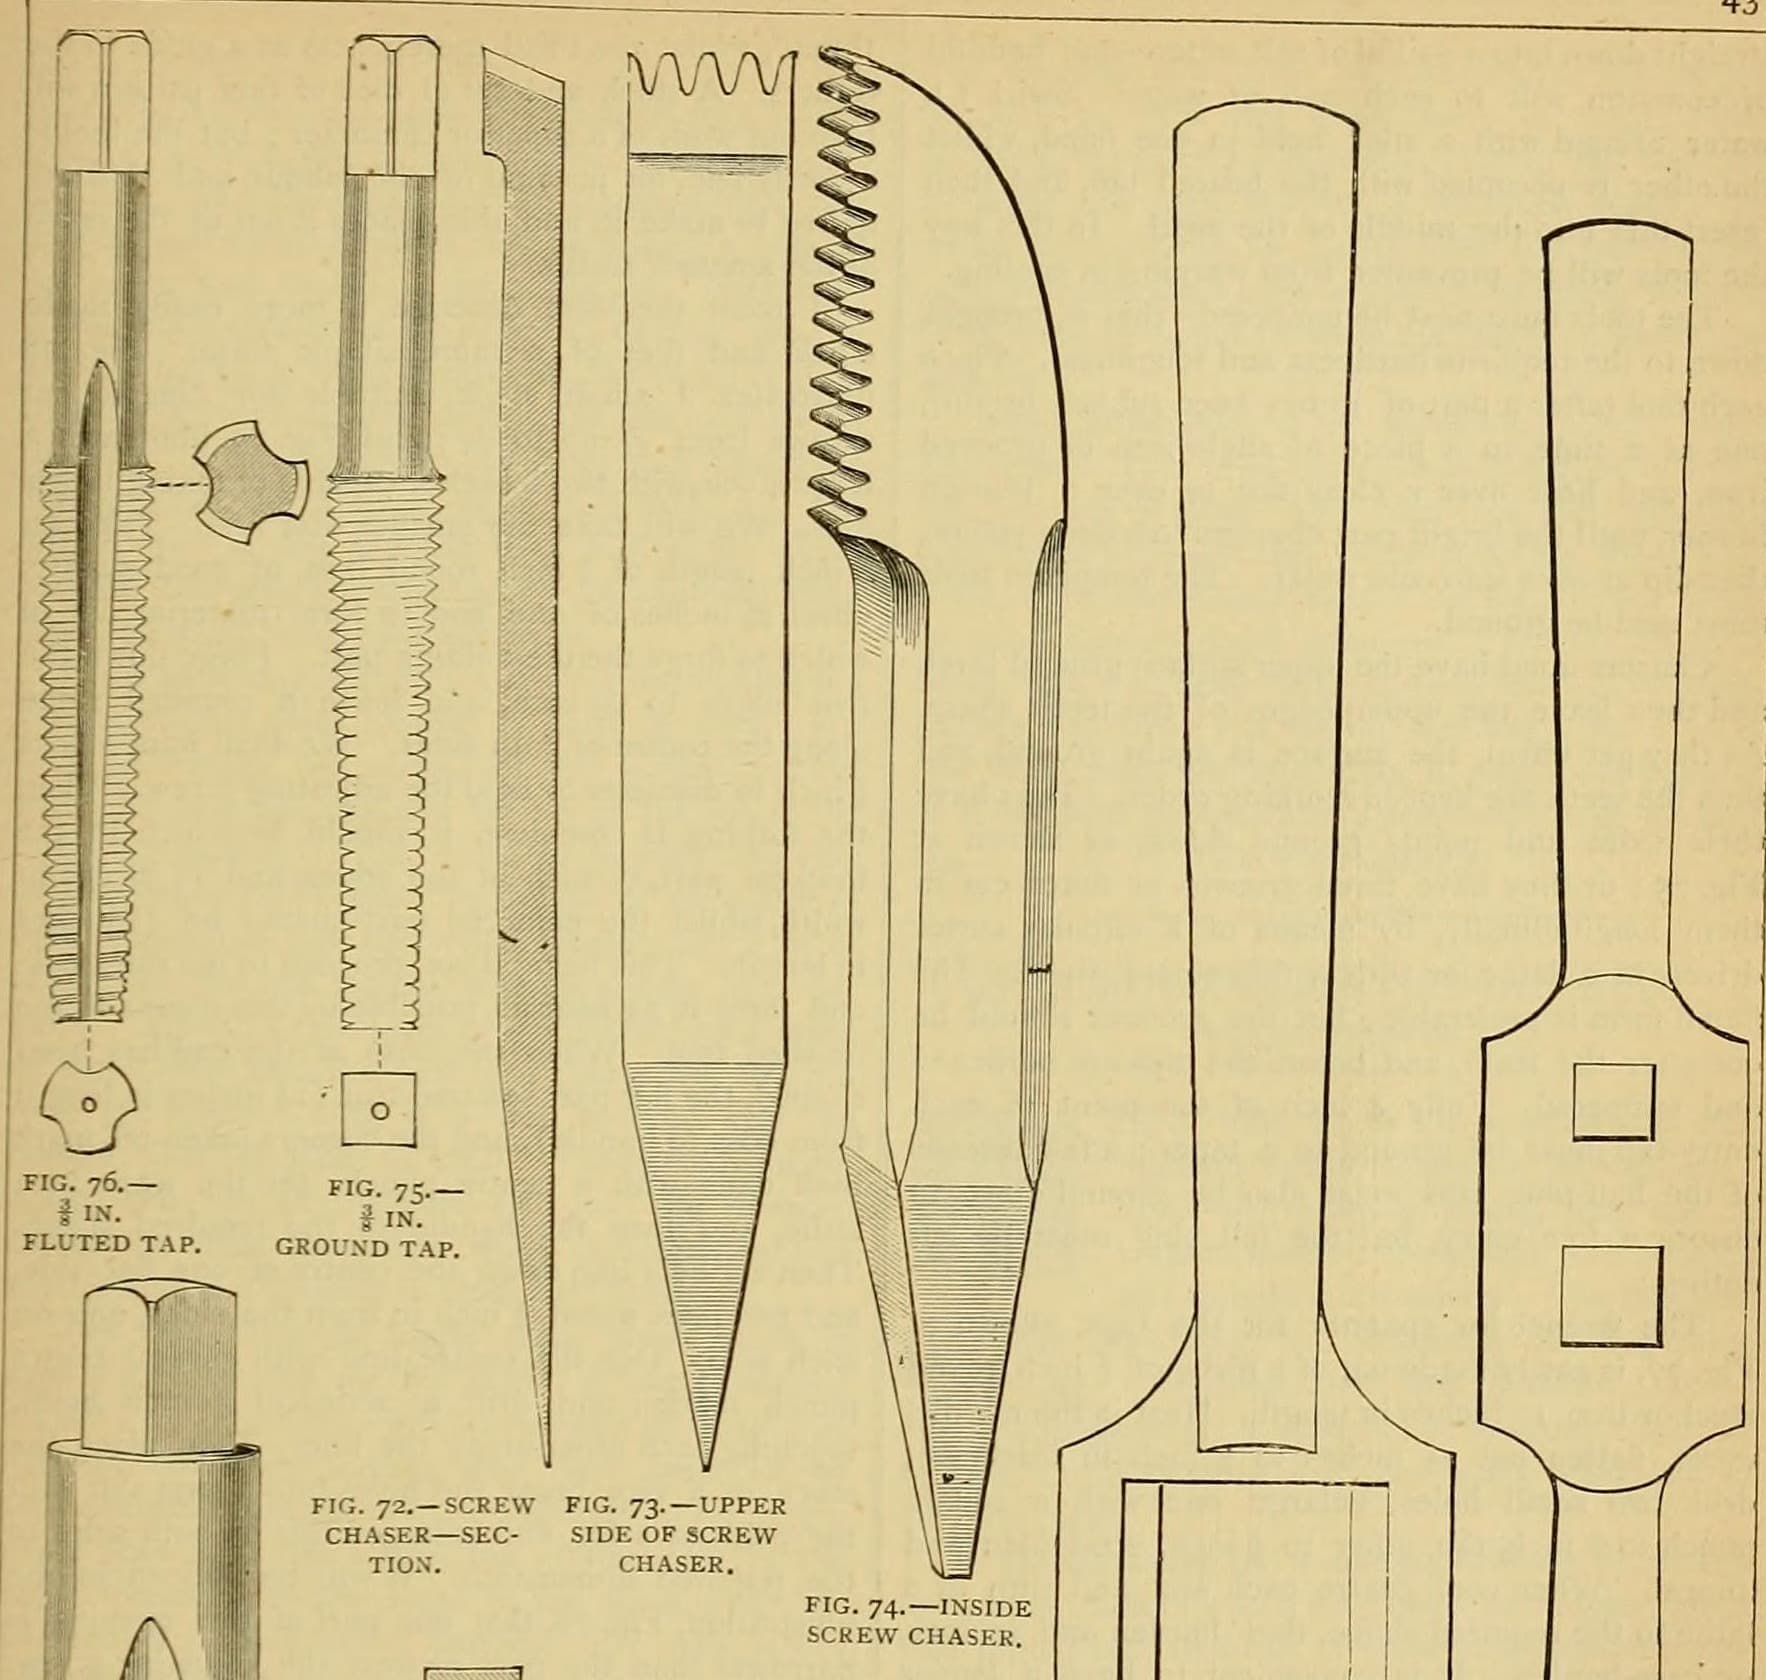
Drill four 5/16 in. holes 5/8 in. deep at quarters round the middle of the collar and tap them 3/8 in. (fig. 10).

Необхідні інструменти ({count})

Свердлильний верстатСвердлильний верстат
Мітчики ручніМітчики ручні
Коловорот для мітчиківКоловорот для мітчиків
7

Forge the blades

Forge four blades (fig. 9) from 5/8 or 3/4 in. round iron, upsetting and flattening the ends to 1/16 in. thick (or weld 1/4 in. plate to 5/8 in. arms and thin it). Thread the arm ends to fit the collar, curve the blades slightly into a scoop, and bend the arms a little off concentric for a steadier blast.

Матеріали для цього кроку:

Пруток кованого залізаПруток кованого заліза1 штука

Необхідні інструменти ({count})

Кувальне горноКувальне горно

КовадлоКовадло
МолотокМолоток
Мітчики ручніМітчики ручні
8

Bearings and assembly

Bolt a 1/2 in. brass bar at least 1 1/4 in. wide across each intake hole (A-B) and bore it true for the spindle. Fit one bearing, pass the spindle in, fit the other and bolt up. Screw the blades in through the open part of the drum, each slightly askew, check they turn without touching, and close the drum with thin-headed bolts, nuts outside.

Матеріали для цього кроку:

Латунний прутокЛатунний пруток1 штука
Набір шестигранних болтівНабір шестигранних болтів1 штука

Необхідні інструменти ({count})

Свердлильний верстатСвердлильний верстат
Токарний верстат по металуТокарний верстат по металу
Напилки (ручний напилок)Напилки (ручний напилок)
9

Drive it

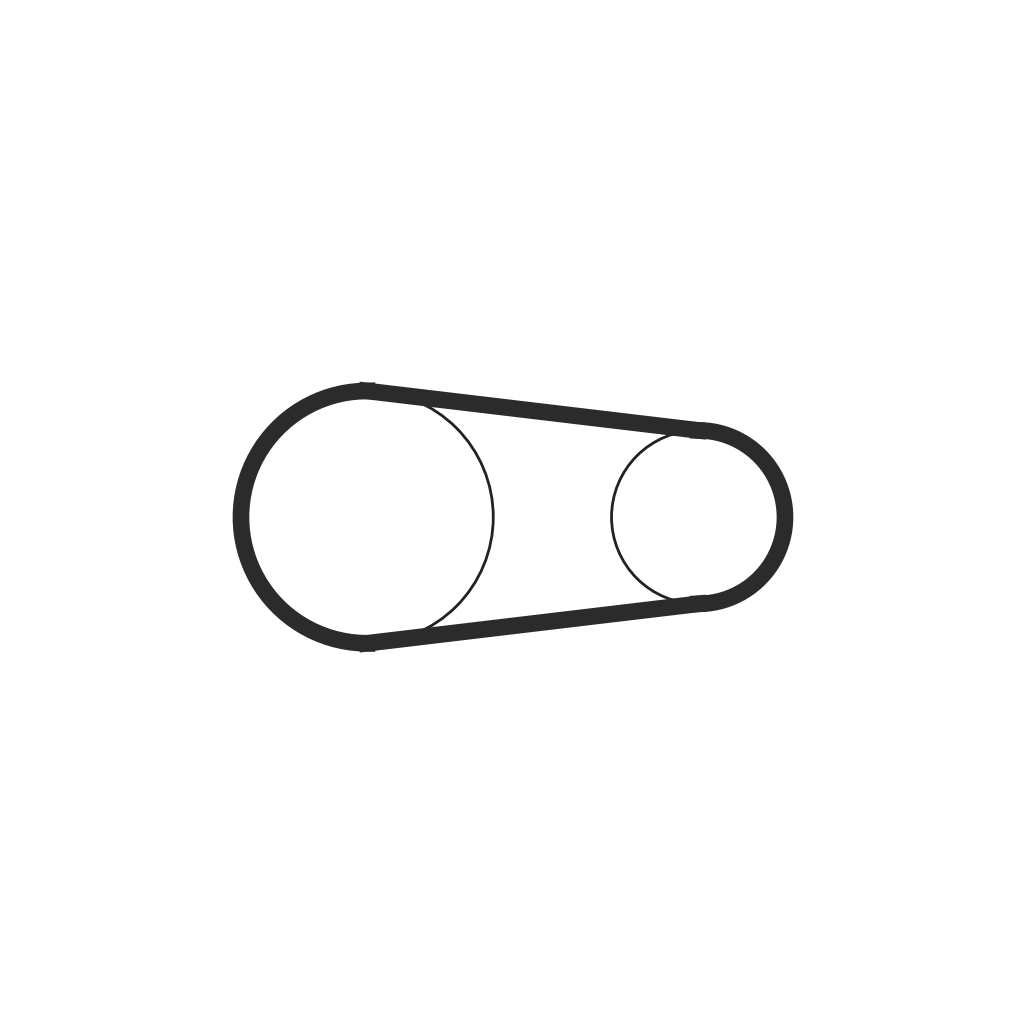
File a flat on the 1 1/2 in. of spindle that stands out on the pulley side and key a 2 in. pulley with a 1 1/2 in. face to it. Belt it from a 2 ft wheel turned at 30 rpm: the fan runs at 360 rpm. Put the crank by the forge head, worked by hand or a foot lever (ours: details left to the reader in the source), and pipe the 3 1/2 x 2 1/2 in. mouth to the tuyere.

Матеріали для цього кроку:

БлокБлок1 штука
Приводний пасПриводний пас1 штука

Необхідні інструменти ({count})

Напилки (ручний напилок)Напилки (ручний напилок)
МолотокМолоток
10

Troubleshooting

Fan troubleshooting.

Flow

Loading...
11

History and honest limits

From George Edwinson, "Smithing and Forging" I, **Amateur Work, Illustrated**, vol. V (1886), pp. 162-164 and figs. 7-11 (checked on the archive.org scan amateurworkillus05lond). He leaves the crank, wheel frame and pipe to the reader; the metric figures and tools are ours.

Матеріали

8

Необхідні інструменти

13

За цим кресленням виготовляють

CC0 Суспільне надбання

Це креслення випущено під ліцензією CC0. Ви можете вільно копіювати, змінювати, поширювати та використовувати цю роботу для будь-яких цілей без запиту дозволу.

Підтримайте мейкера, купуючи продукти через його креслення, де він отримує Комісію мейкера встановлену вендорами, або створіть нову ітерацію цього креслення та включіть його як зв'язок у власне креслення для розподілу доходу.

Обговорення

(0)

Увійти щоб приєднатися до обговорення

Завантаження коментарів...