Співпраця
МИСТЕЦТВО
КРАСА ТА ЗДОРОВ'Я
РЕМЕСЛО
КУЛЬТУРА ТА ІСТОРІЯ
РОЗВАГИ
СЕРЕДОВИЩЕ
ЇЖА ТА НАПІЇ
ЗБОРНА ІНЖЕНЕРІЯ
НАУК
СПОРТ
ТЕХНОЛОГІЯ
НОСИМО
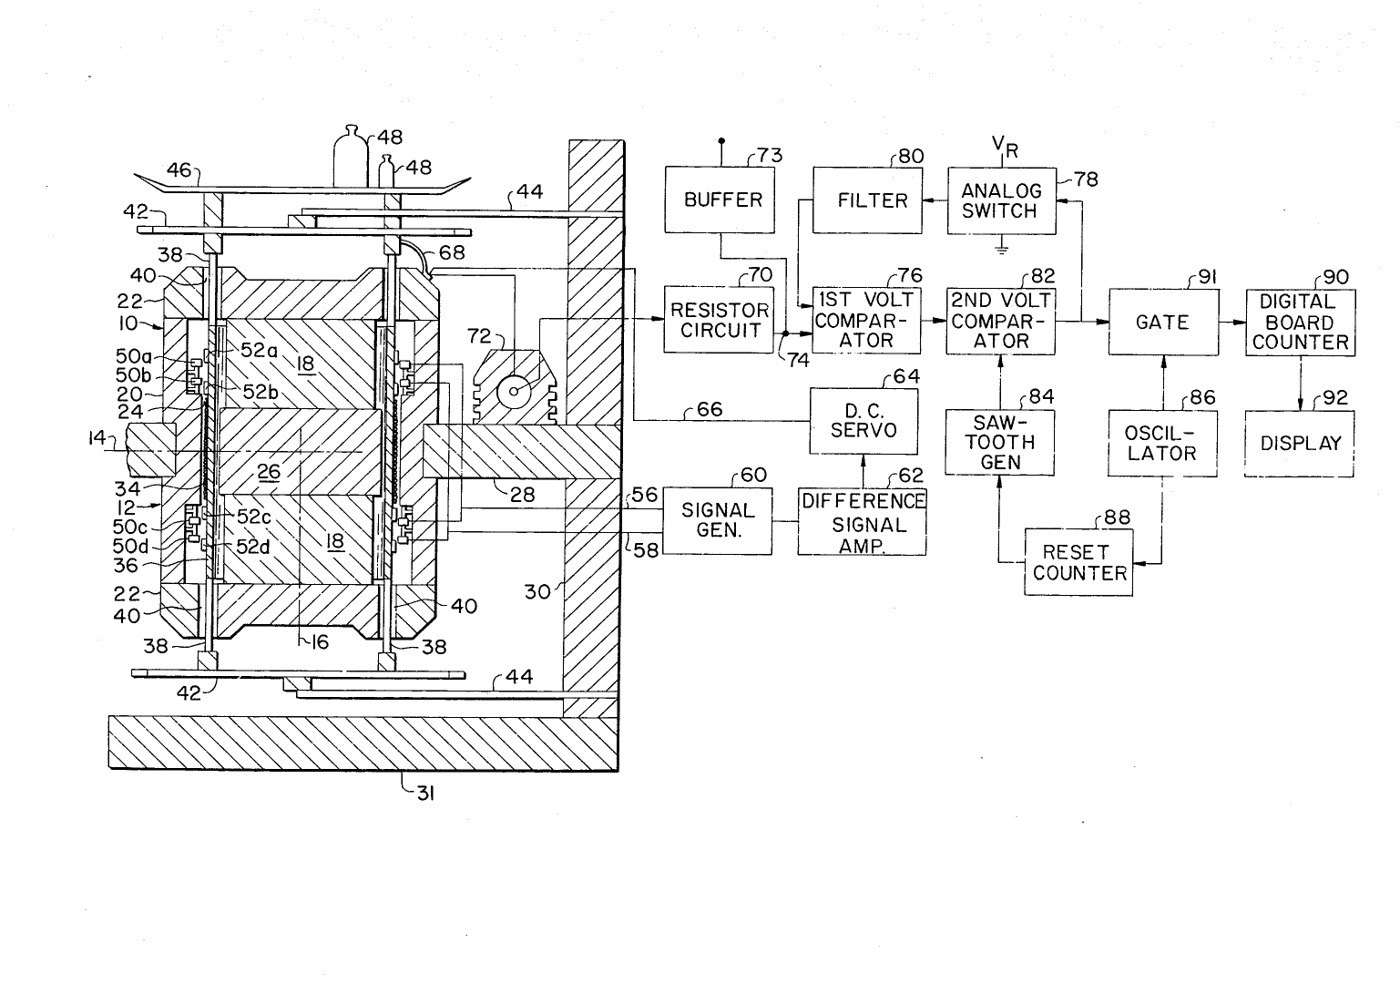


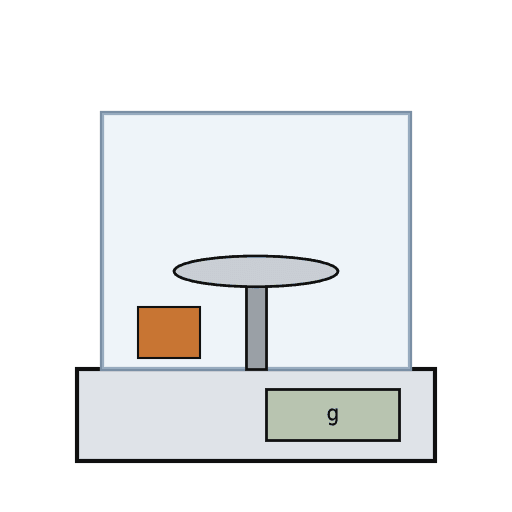
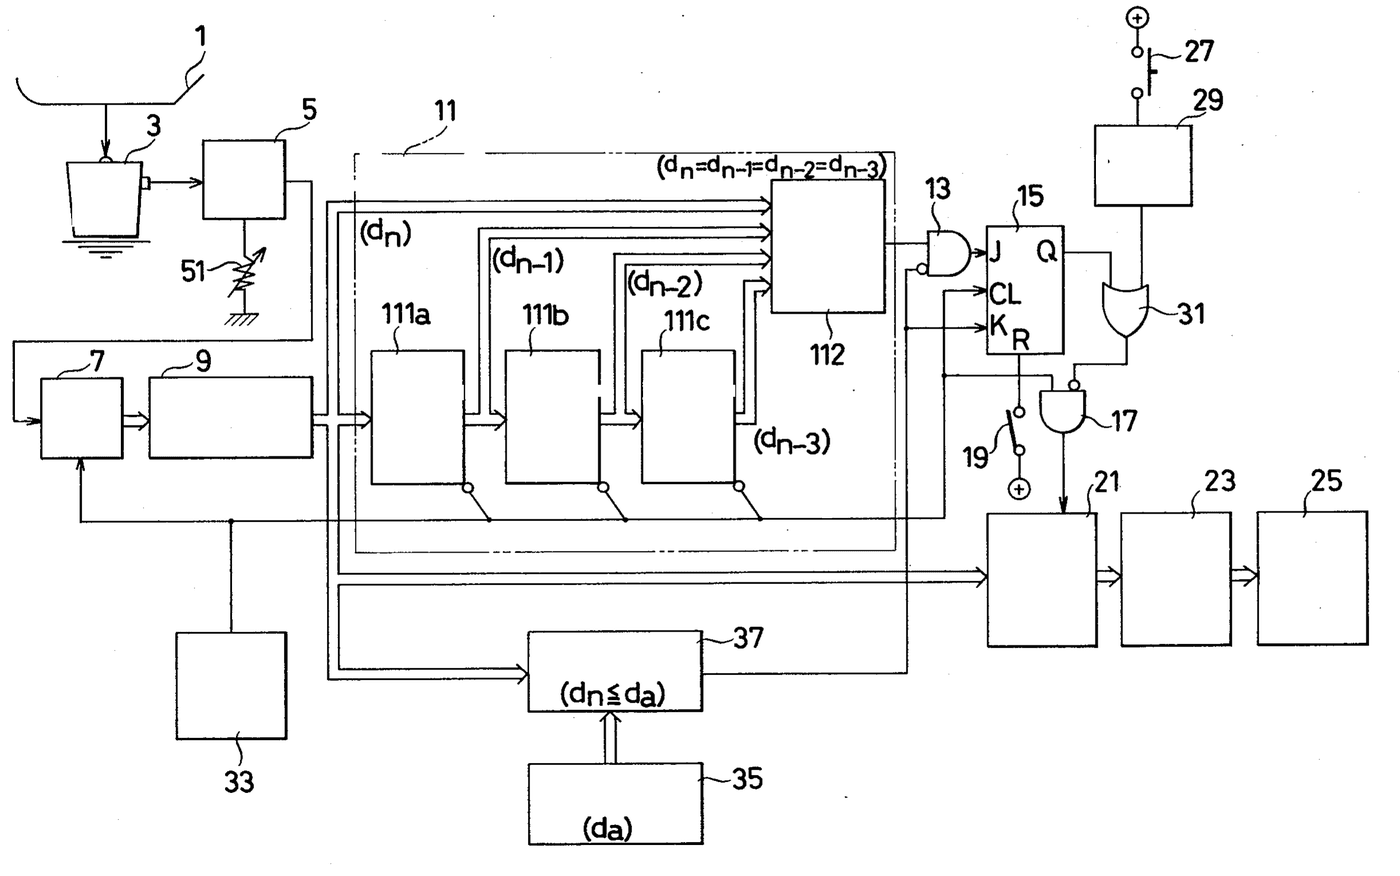
Electronic Analytical Balance: a Coil Current in Place of Weights (Akers et al., 1977)
The equal-arm balance with its weights replaced by electricity. The pan sits on a coil in the gap of a permanent magnet. A load pushes it down; capacitor rings sense the smallest movement, and a servo drives just enough current through the coil to lift it back to its rest position. That current is the weight.
Result: a balance that reads the weight in grams or ounces on a digital display, with no weights to handle, and tare by its circuit.
Source: C. B. Akers and others (Arbor Laboratories), US Patent 4,034,819 (1977). Unknown: the resolution, capacity, magnet type, materials and sizes; the circuits are given as blocks only. Picture: patent drawing.
Просунутий
2 weeks
Інструкції
1
1
Build the magnet circuit
Build the magnet circuit
Stack permanent magnets into a column with a soft iron core. Enclose them in an annular outer housing with end caps, shaped so the field crosses a narrow annular air gap at a constriction. Keep the whole structure symmetrical about its vertical axis. Mount it on a support plate fixed to an upright, such as a housing panel on a base. Not given: the magnet type, materials and sizes.
Матеріали для цього кроку:
 Невеликий магніт1 column
 Круглий залізний пруток1 soft iron core
 Невідомий метал1 housing and end caps
 Невідомий матеріал1 support plate, panel, base
Необхідні інструменти ({count})
 Набір викруток
 Невідомі розміри
2
2
Hang the coil in the gap
Hang the coil in the gap
Wind the coil tightly round the middle of a light bobbin that surrounds the core, the coil sitting in the air gap. Tabs at both ends of the bobbin pass out through holes in the end caps to suspension frames. Hang the frames from thin springy cantilevers fixed to the upright, so the bobbin can only move a short way straight up and down. Keep the bobbin and its suspension as light as possible. Put the weighing pan on top. Ours: enamelled wire.
Матеріали для цього кроку:
 Мідний дріт в емалевій ізоляції1 coilНевідомий матеріал1 bobbin, frames, cantilevers
 Шалька терезів1 штука
Необхідні інструменти ({count})
Невідомі розміри3
3
Fit the capacitor rings
Fit the capacitor rings
Mount four capacitor rings inside the outer housing, two above and two below the air gap, facing matching rings on the bobbin. Cross-connect them so a tilt of the bobbin cancels out and only up-and-down movement shows. Connect them to a signal generator: as the bobbin moves, one set's capacitance rises and the other's falls, and the difference becomes the control voltage.
Матеріали для цього кроку:
Невідомий метал1 rings Інтегральна мікросхема1 sensing circuit
 Монтажний провід1 штука
 Дріт припою1 a little
Необхідні інструменти ({count})
 Паяльник
4
4
Close the servo loop and read the current
Close the servo loop and read the current
Feed the control voltage to a d.c. servo that drives current through the coil, through a flexible lead, until the bobbin is back at its rest position. Pass that current through a large stable resistor, a thermal resistor that corrects for temperature and a calibration potentiometer: the voltage across them stands for the weight. A separate circuit (comparators, saw-tooth generator, oscillator and counter) turns it into a count read out as grams or ounces. Tare is ordinary circuit logic. Ours: a segment LCD; check with calibration weights.
Матеріали для цього кроку:
Інтегральна мікросхема1 servo and counting circuits Опір2 stable resistor, thermal resistor
 Потенціометр1 calibration
 Сегментний РК-індикатор1 displayДріт припою1 a little
Необхідні інструменти ({count})
Паяльник Набір калібрувальних гир
Матеріали
12- 1 columnЗаповнювач
- 1 soft iron coreЗаповнювач
- 1 ringsЗаповнювач
- 1 bobbin, frames, cantileversЗаповнювач
- Заповнювач
- 1 штукаЗаповнювач
- 1 servo and counting circuitsЗаповнювач
- 1 штукаЗаповнювач
- 2 a littleЗаповнювач
- 2 stable resistor, thermal resistorЗаповнювач
- Заповнювач
- 1 displayЗаповнювач
Матеріали з пов'язаних креслень
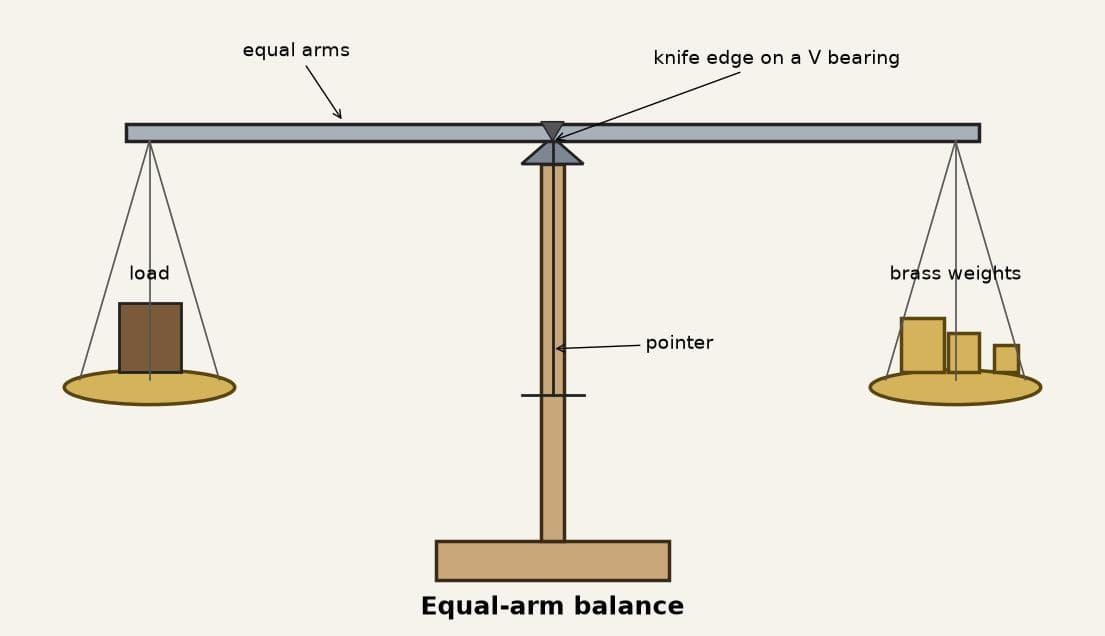
За цим кресленням виготовляють
Пов'язані креслення
Ці креслення діляться знаннями — техніки, матеріали або принципи
CC0 Суспільне надбання
Це креслення випущено під ліцензією CC0. Ви можете вільно копіювати, змінювати, поширювати та використовувати цю роботу для будь-яких цілей без запиту дозволу.
Підтримайте мейкера, купуючи продукти через його креслення, де він отримує Комісію мейкера встановлену вендорами, або створіть нову ітерацію цього креслення та включіть його як зв'язок у власне креслення для розподілу доходу.