МИСТЕЦТВО
КРАСА ТА ЗДОРОВ'Я
РЕМЕСЛО
КУЛЬТУРА ТА ІСТОРІЯ
РОЗВАГИ
СЕРЕДОВИЩЕ
ЇЖА ТА НАПІЇ
ЗБОРНА ІНЖЕНЕРІЯ
НАУК
СПОРТ
ТЕХНОЛОГІЯ
НОСИМО
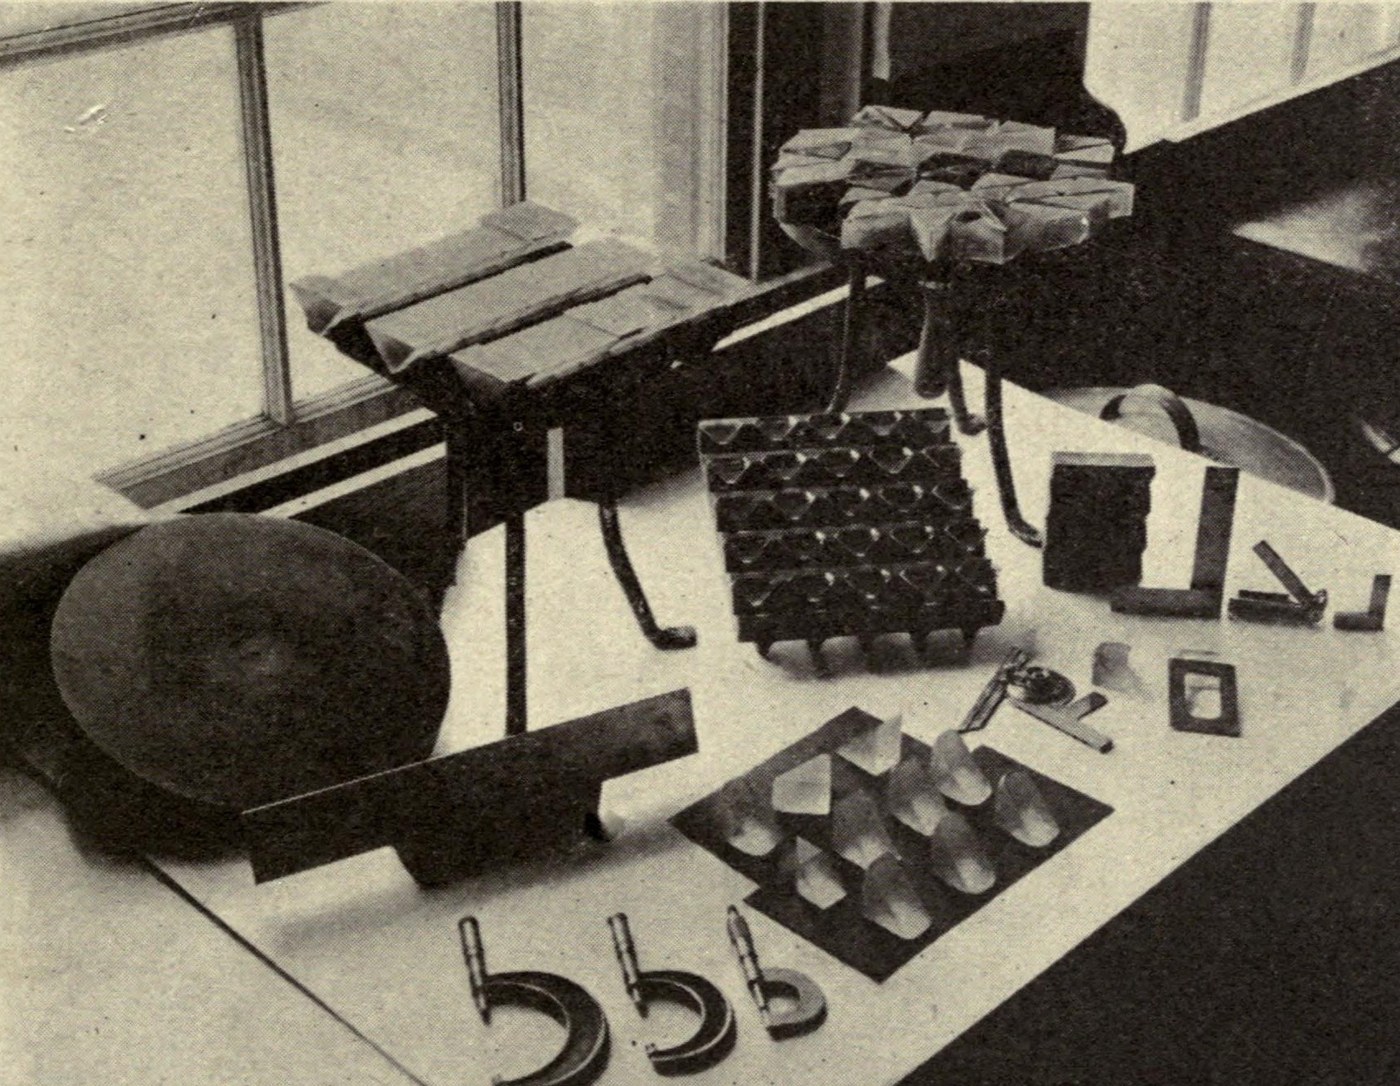


Equilateral Glass Prism: Sawn, Ground and Pitch-Polished
A prism splits white light into its colours, so its faces must be optically flat and its angles true. This is how the US arsenals ground prisms in 1918, as F. E. Wright recorded for the Ordnance Department in 1921: saw a blank from optical glass, rough-grind it on iron disks, set a batch of prisms in plaster, fine-grind, and polish on pitch with rouge. Wright's worked example is a right-angle prism; an equilateral prism has three 60° angles, made the same way.
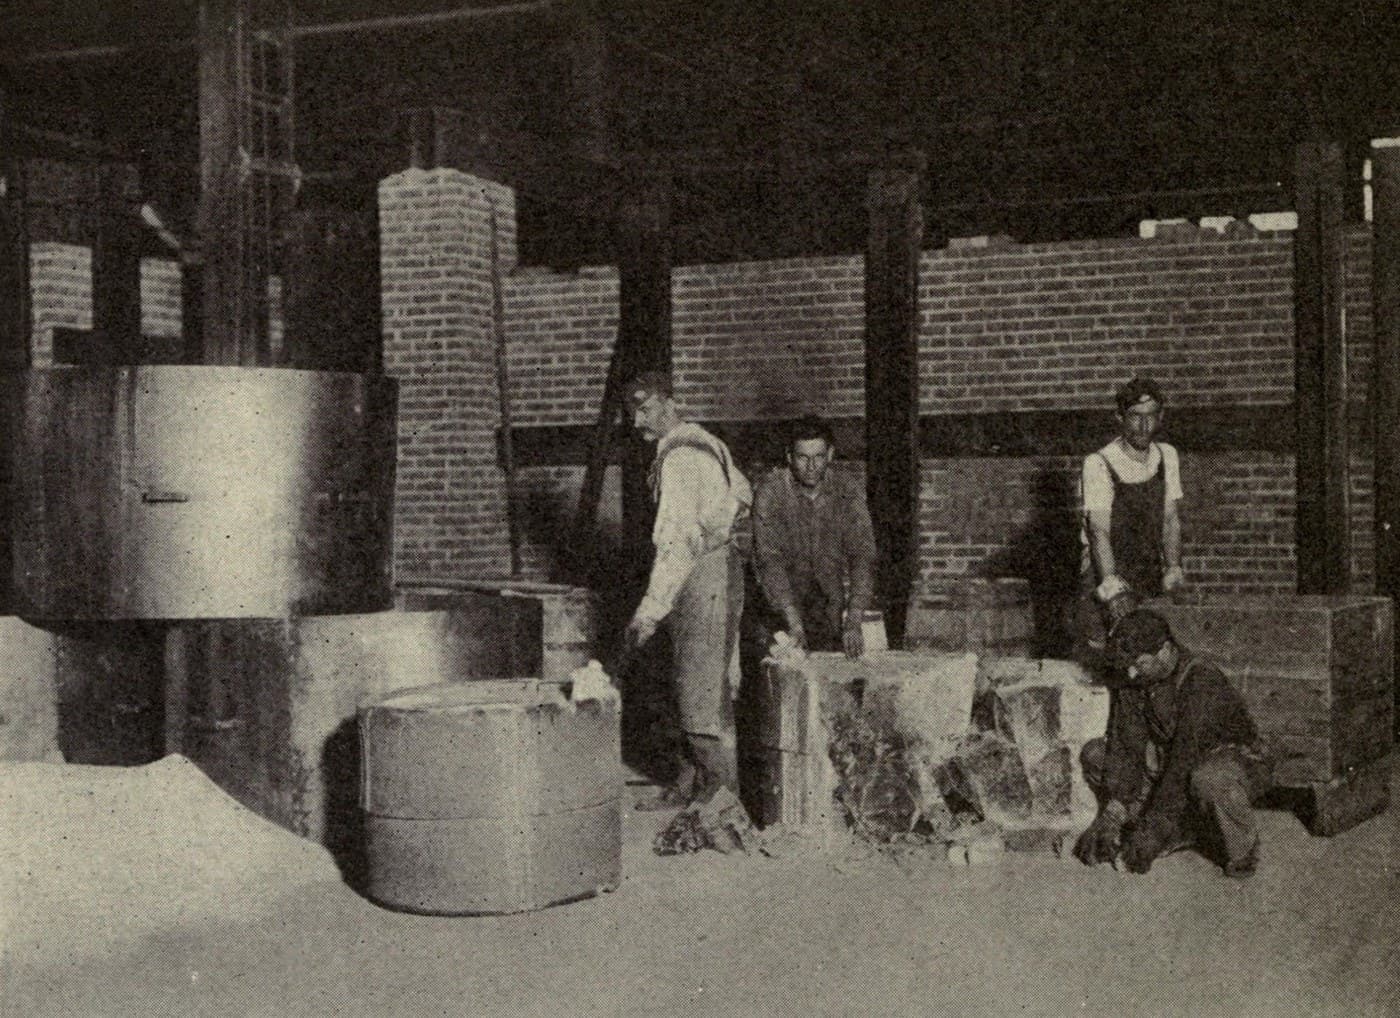
The picture: blocking prisms for rough grinding at Frankford Arsenal (Wright 1921, Fig. 77, public domain).
Просунутий
2-3 days
Інструкції
1
1
Saw out the blank
Saw out the blank
Saw a triangular blank from a block of optical glass with a diamond saw, using kerosene as lubricant. Leave several millimetres extra on each face for grinding.
Матеріали для цього кроку:
 Оптичне скло1 as required
Необхідні інструменти ({count})
 Алмазна пилка
 Гас
 Цифровий штангенциркуль 6 дюймів
 Захисні окуляри
2
2
Rough-grind the faces
Rough-grind the faces
Grind one triangular end flat on a rotating iron disk with 90 or 150 mesh grit. Then rough out the three side faces at right angles to it, checking the 60° angles with an angle gauge.
Необхідні інструменти ({count})
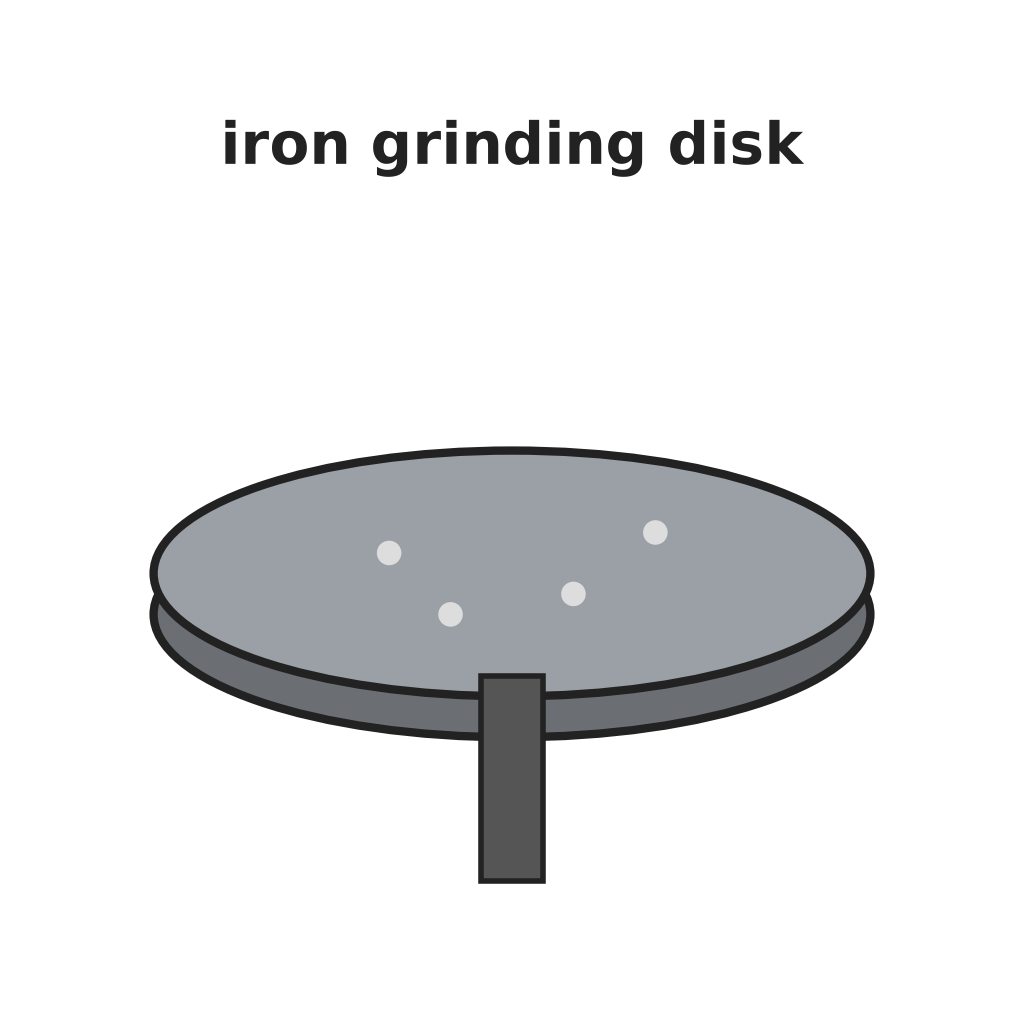 Чавунний шліфувальний диск
 Набір абразивного зерна з карбіду кремнію
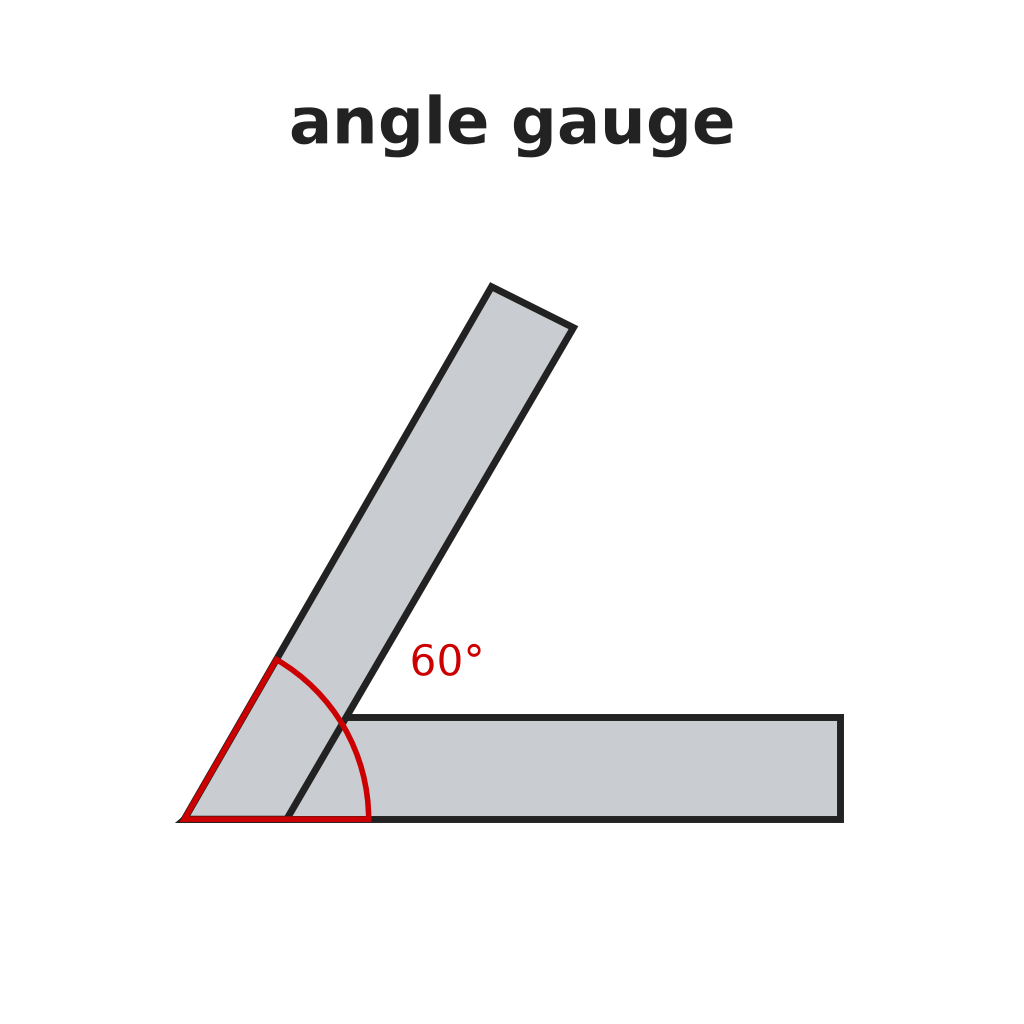 Кутовий калібр
3
3
Grind the ends in a batch
Grind the ends in a batch
Wax 20 or more prisms by their ground ends onto a heated iron disk and grind the other ends together: 90, 150, then 220 mesh, then smoothing grit. Change grit only when the surface is free of scratches. Regrind to the set thickness.
Необхідні інструменти ({count})
Чавунний шліфувальний дискНабір абразивного зерна з карбіду кремнію Парафін
 Бджолиний віск
 ЕлектроплиткаЦифровий штангенциркуль 6 дюймів
4
4
Block the prisms in plaster
Block the prisms in plaster
Set the prisms face down in melted paraffin on a flat iron disk and coat their backs with beeswax. Clamp a ring round them, fill with plaster of Paris and a little Portland cement (10 : 1), and let it harden about 16 hours. Cut the plaster back 1/8 in from the prisms and give it two coats of shellac.
Необхідні інструменти ({count})
ЕлектроплиткаПарафінБджолиний віск Гіпс будівельний
 Портландцемент
 Гранули бджолиного воску
5
5
Fine-grind
Fine-grind
Grind the block on a slightly convex plate with wet flour emery (the part that settles out of water between 10 and 60 minutes). After five minutes check with a magnifier: the faces should have an even velvet finish, slightly hollow by less than 0.001 in.
Необхідні інструменти ({count})
Чавунний шліфувальний дискНабір абразивного зерна з карбіду кремнію Ювелірна лупа
6
6
Polish on pitch
Polish on pitch
Pour strained pitch with a little rosin 1/4 in deep on an iron tool and cut crossed grooves 1/8 in wide, 1 in apart. Press it true with a rouge-wetted flat. Polish the block with creamy rouge and water on the machine, usually 4–8 hours, running nearly dry at the end.
Необхідні інструменти ({count})
 Деревний дігтярний пек
 Соснова каніфоль
 Крокус ювелірний
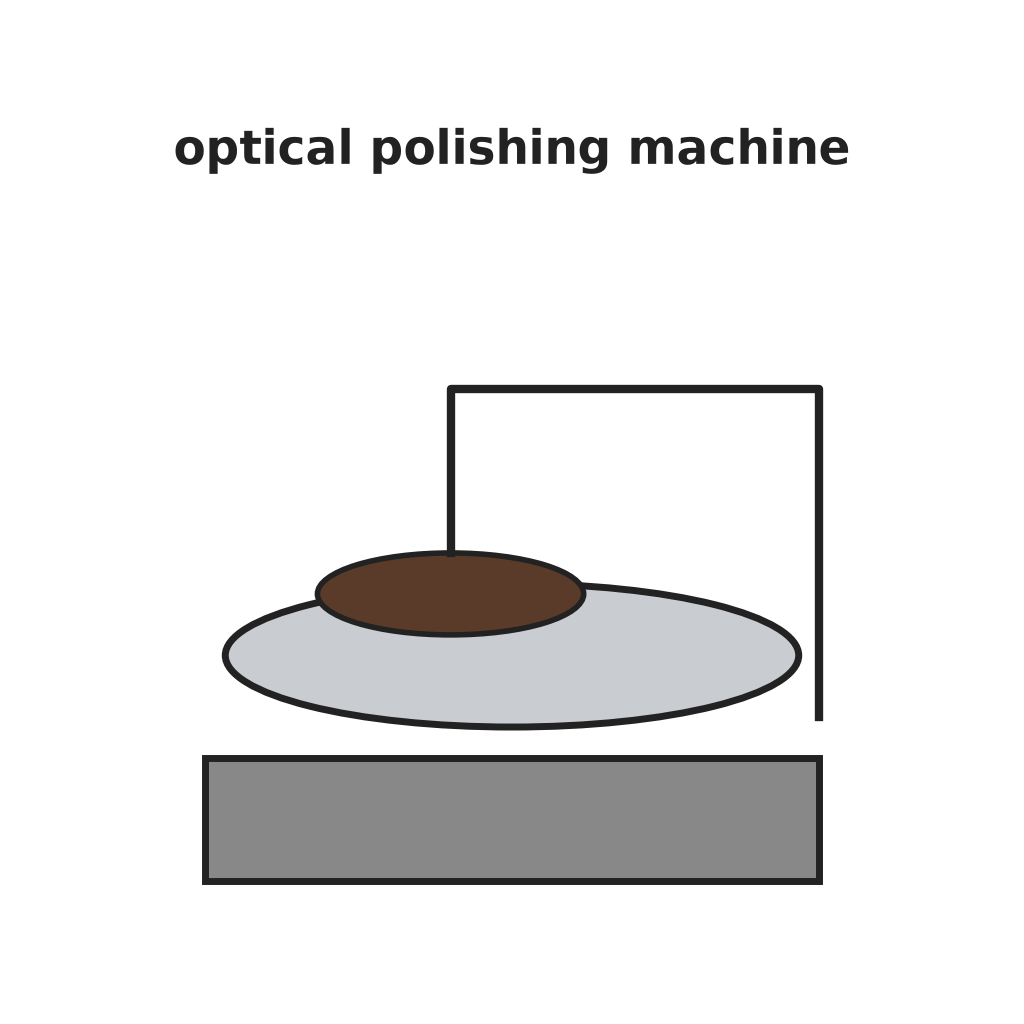 Верстат для полірування оптики
7
7
Test for flatness
Test for flatness
Lay an optical flat on each face and look at the Newton colours in sodium light (salt in a Bunsen flame). Straight bands to the edge, or one colour over the whole face, mean it is flat.
Необхідні інструменти ({count})
 Оптична площина (взірець)
 Пальник Бунзена
 СільЮвелірна лупа
8
8
Free, clean, check the angle, repeat
Free, clean, check the angle, repeat
Break the plaster away, clean the prisms with benzene and check each angle with the angle gauge. Correct by hand on a flat tool with smoothing grit. Repeat blocking and polishing for every face, smallest face first.
Необхідні інструменти ({count})
 Молоток
 БензолКутовий калібрЧавунний шліфувальний дискНабір абразивного зерна з карбіду кремнію
Матеріали
1- 1 as requiredЗаповнювач
Необхідні інструменти
23- Заповнювач
- Заповнювач
- Заповнювач
- Заповнювач
- Заповнювач
- Заповнювач
- Заповнювач
- Заповнювач
- Заповнювач
- Заповнювач
- Заповнювач
- Заповнювач
- Заповнювач
- Заповнювач
- Заповнювач
- Заповнювач
- Заповнювач
- Заповнювач
- Заповнювач
- Заповнювач
- Заповнювач
- Заповнювач
За цим кресленням виготовляють

Пов'язані креслення
Ці креслення діляться знаннями — техніки, матеріали або принципи
CC0 Суспільне надбання
Це креслення випущено під ліцензією CC0. Ви можете вільно копіювати, змінювати, поширювати та використовувати цю роботу для будь-яких цілей без запиту дозволу.
Підтримайте мейкера, купуючи продукти через його креслення, де він отримує Комісію мейкера встановлену вендорами, або створіть нову ітерацію цього креслення та включіть його як зв'язок у власне креслення для розподілу доходу.