МИСТЕЦТВО
КРАСА ТА ЗДОРОВ'Я
РЕМЕСЛО
КУЛЬТУРА ТА ІСТОРІЯ
РОЗВАГИ
СЕРЕДОВИЩЕ
ЇЖА ТА НАПІЇ
ЗБОРНА ІНЖЕНЕРІЯ
НАУК
СПОРТ
ТЕХНОЛОГІЯ
НОСИМО
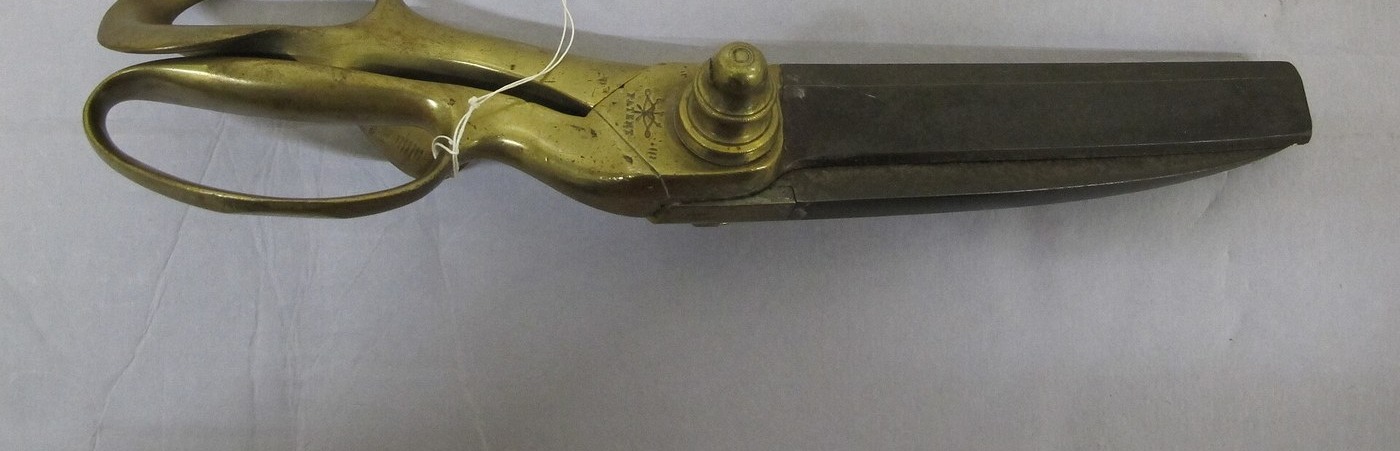


Scissors: Forged, Ground Hollow and Set
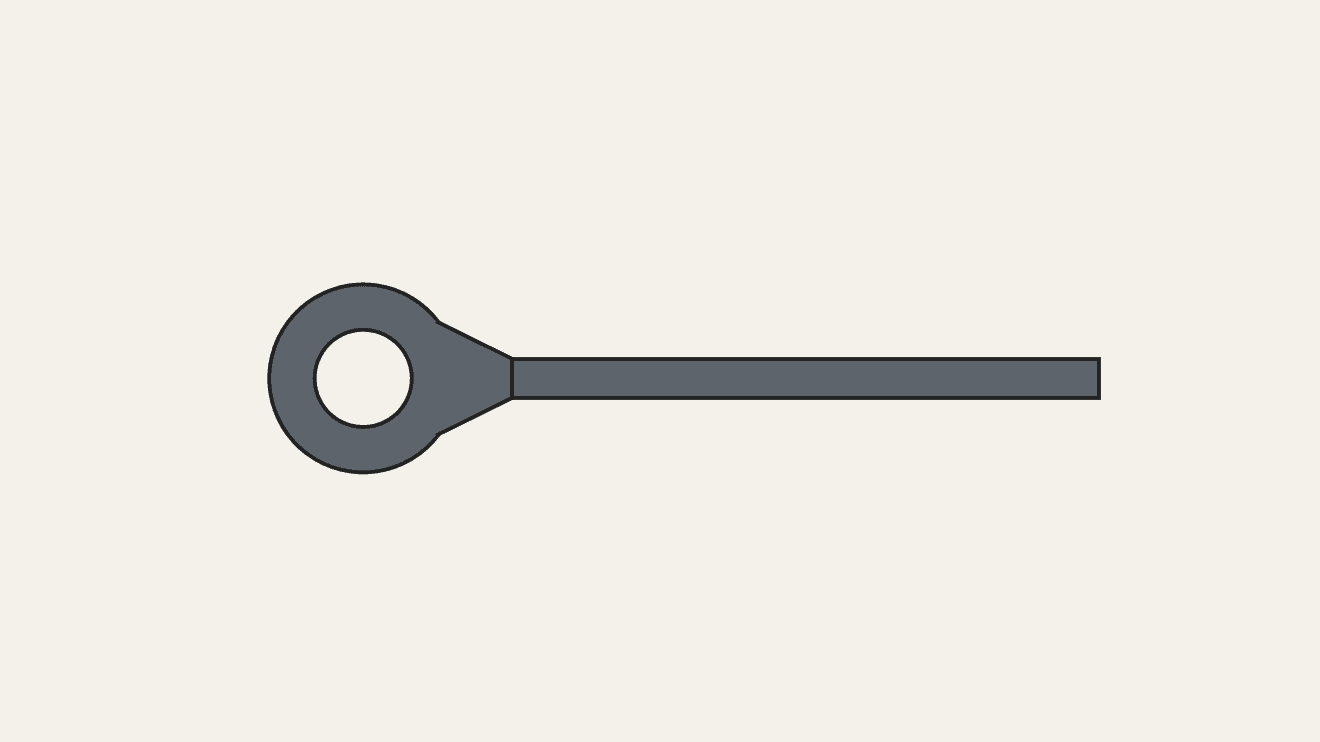
As the Sheffield cutlery trade made them, each scissor blade and its bow (finger loop) is forged from steel: a hole is punched through the flattened rod and opened over the point of a small beaked anvil to form the bow. Die-forging under a heavy stamp, with the surplus rim sheared off in a fly-press, was replacing hand forging by 1913. The blades are annealed, filed and drilled for the rivet, then ground: each is hollow on its inner face, concave from rivet to point, and given a slight twist toward the other so the edges meet along their whole length. The pair is fitted, wound with iron wire, hardened, reground and polished, and finally riveted together and set.
Просунутий
Works process (early 1900s)
Інструкції
1
1
Forge the blades
Forge the blades
Forge each blade and shank; punch a hole through the flattened rod and open it over the beaked anvil to form the bow.
Матеріали для цього кроку:
 Штаба з інструментальної сталі1 штука
Необхідні інструменти ({count})
 Кувальне горно
 Ковадло
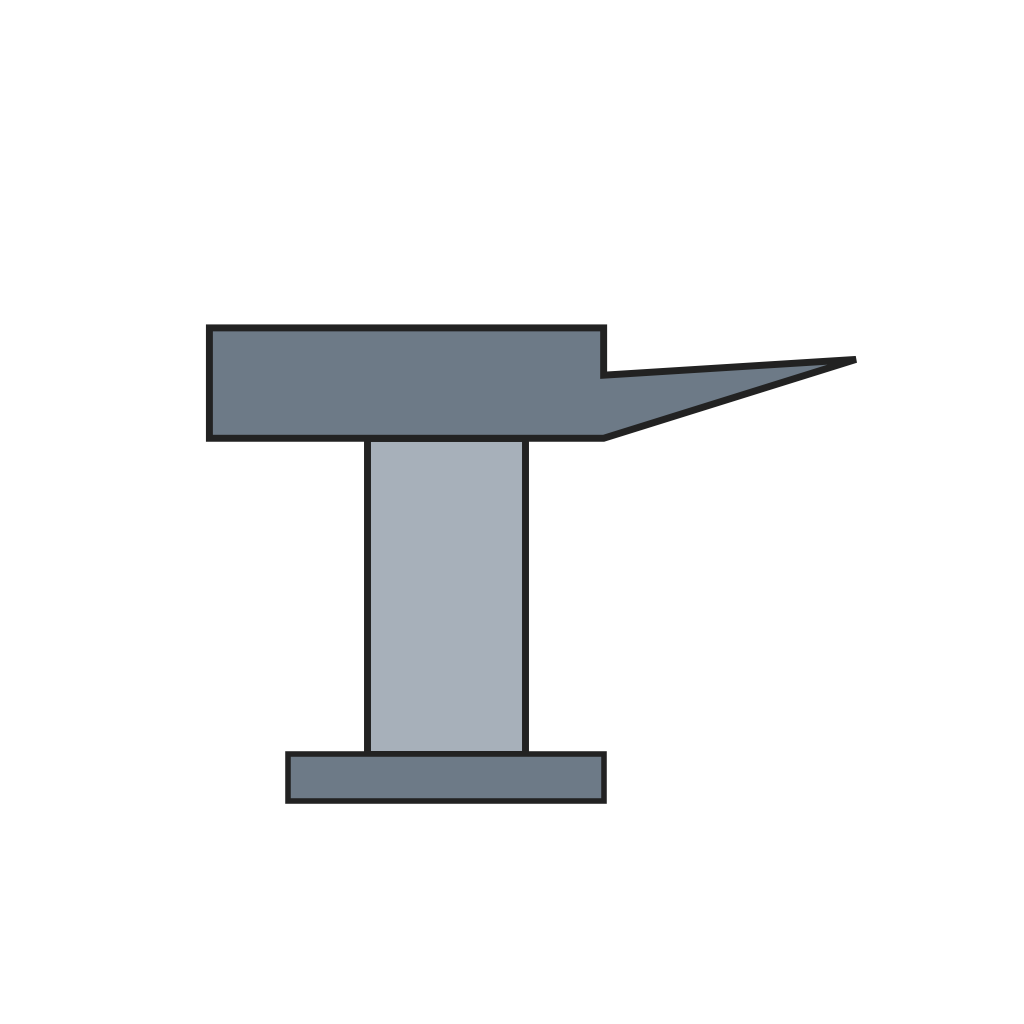 Шперак (ковадельце з дзьобом)
 Ковальський молот
2
2
Anneal, file and drill
Anneal, file and drill
Anneal the blades instead of hardening them; file the shanks and bows to shape, square the joint and bore the rivet hole.
Необхідні інструменти ({count})
 Напилок по металу
 Свердлильний верстат
3
3
Grind
Grind
Grind each blade hollow from back to edge, concave from rivet to point, with a slight twist toward its partner.
Необхідні інструменти ({count})
 Точильний круг
4
4
Fit and harden
Fit and harden
Fit the pair, wind them from the points upward with iron wire, take out the rivet and harden the blades.
Матеріали для цього кроку:
 Сталевий дріт0.5 m
Необхідні інструменти ({count})
Кувальне горно Гартівна діжка
5
5
Finish and set
Finish and set
Grind, glaze and polish the bows and shanks again and burnish them; rivet the blades together and set them so the edges meet along their length.
Матеріали для цього кроку:
 Сталеві заклепки1 штука
Необхідні інструменти ({count})
Точильний круг Полірувальний круг з наждаком
Матеріали
3- Заповнювач
- 0.5 mЗаповнювач
- 1 штукаЗаповнювач
Необхідні інструменти
9- Заповнювач
- Заповнювач
- Заповнювач
- Заповнювач
- Заповнювач
- Заповнювач
- Заповнювач
- Заповнювач
- Заповнювач
За цим кресленням виготовляють

Пов'язані креслення
Ці креслення діляться знаннями — техніки, матеріали або принципи
CC0 Суспільне надбання
Це креслення випущено під ліцензією CC0. Ви можете вільно копіювати, змінювати, поширювати та використовувати цю роботу для будь-яких цілей без запиту дозволу.
Підтримайте мейкера, купуючи продукти через його креслення, де він отримує Комісію мейкера встановлену вендорами, або створіть нову ітерацію цього креслення та включіть його як зв'язок у власне креслення для розподілу доходу.