
Співпраця
МИСТЕЦТВО
КРАСА ТА ЗДОРОВ'Я
РЕМЕСЛО
КУЛЬТУРА ТА ІСТОРІЯ
РОЗВАГИ
СЕРЕДОВИЩЕ
ЇЖА ТА НАПІЇ
ЗБОРНА ІНЖЕНЕРІЯ
НАУК
СПОРТ
ТЕХНОЛОГІЯ
НОСИМО
Fume Hood (Ducted): Sloping Stone Baffle Set from Outside by a Crank (Liptay, US 2,779,265, 1957)
Penny

Створено

Penny

3. листопад 2026DK
14
0
0
0
0

Fume Hood (Ducted): Sloping Stone Baffle Set from Outside by a Crank (Liptay, US 2,779,265, 1957)

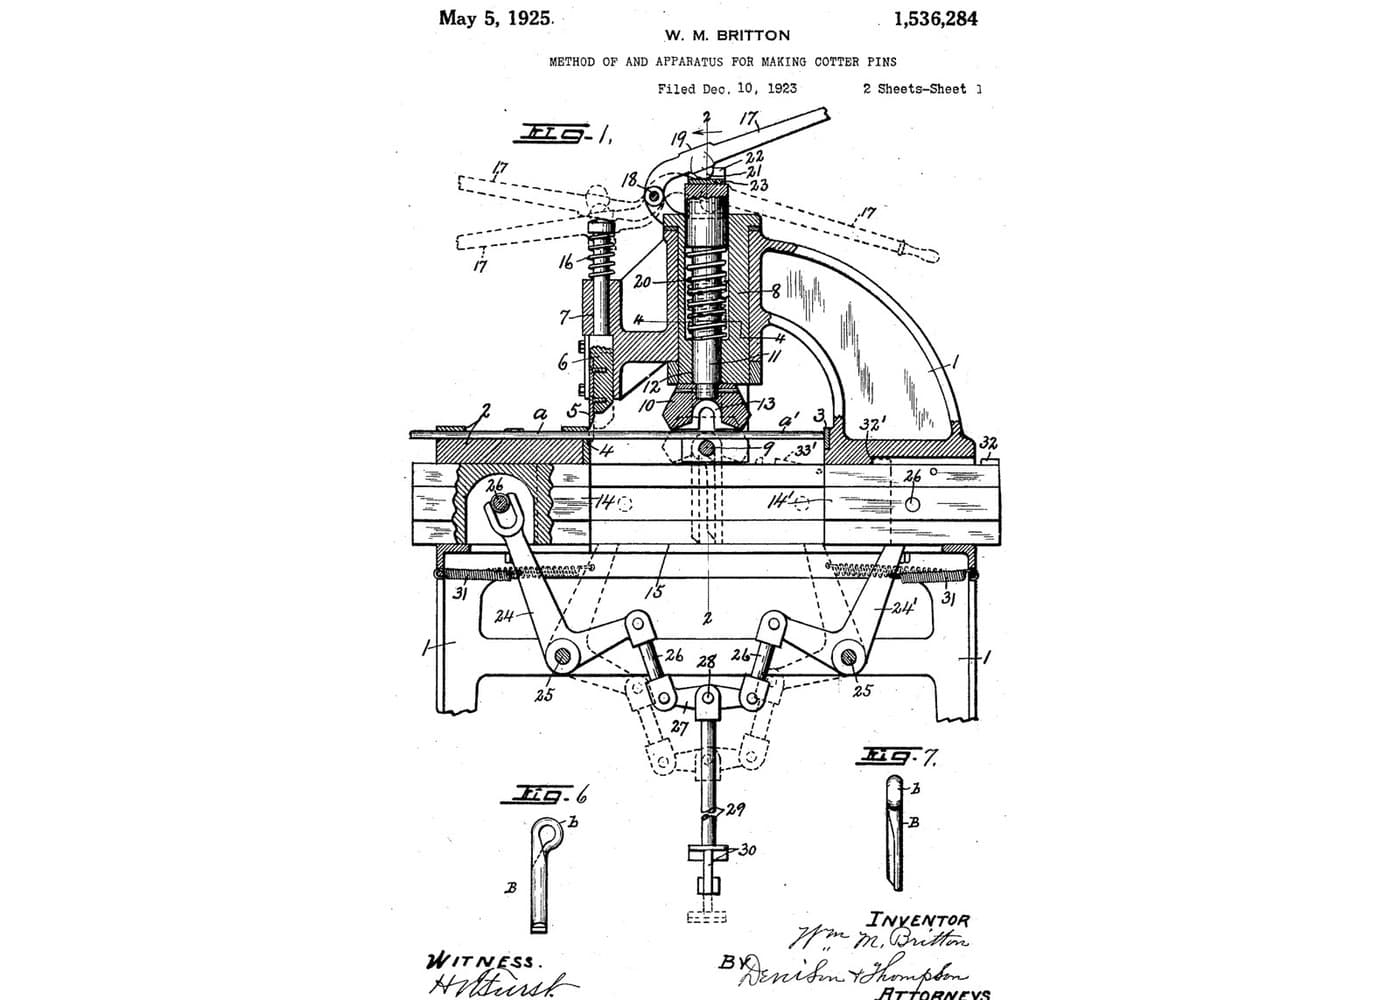
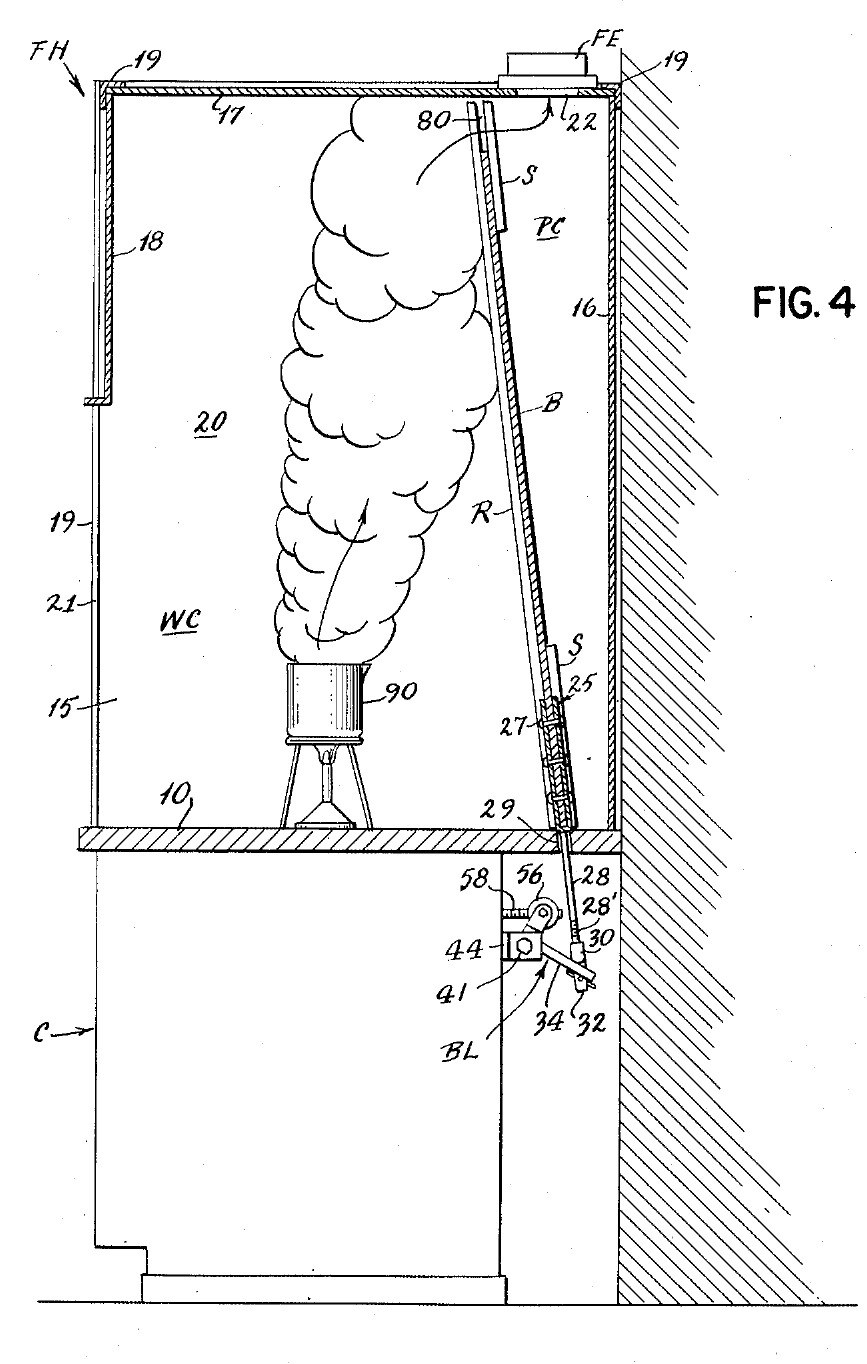
A bench fume hood on a stone counter, drawn off through a duct with a fan. Inside, a sloping stone baffle leaves a gap at the top and one at the bottom. A crank under the counter slides the baffle: one gap grows as the other shrinks, so the air sweeps light fumes out at the top or heavy fumes out at the bottom, with no one reaching inside. Result: a ducted hood whose air flow can be set for light or heavy fumes during work. Source: J. M. Liptay, US 2,779,265 (1957). Unknown: sizes, air flow, the fan and most materials. Picture: the patent drawing.
Просунутий
Unknown

Інструкції

1

Build the cabinet and stone counter

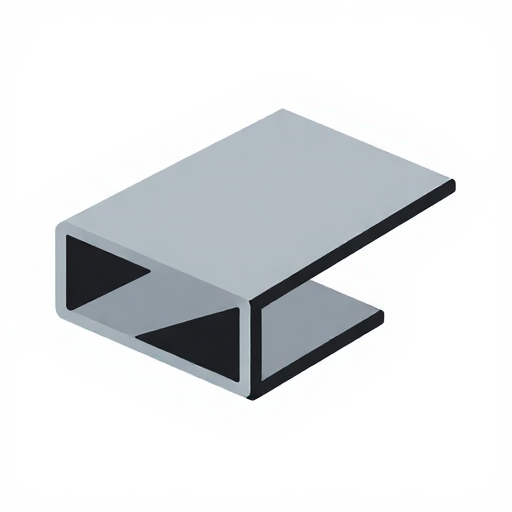
Build a sheet metal cabinet. Fix spaced sheet metal channels to its front panel and rear wall, and lay a stone slab on them as the counter. Bore a hole through the slab near the back, at the middle, for the baffle's lifting rod. Not given: sizes, the metal.

Матеріали для цього кроку:

Невідомий металНевідомий метал1 cabinet and channels
Пласка кам'яна плитаПласка кам'яна плита1 counter

Необхідні інструменти ({count})

Ножиці по металуНожиці по металу
Свердлильний верстатСвердлильний верстат
Невідомі розміриНевідомі розміри
2

Build the hood

On the counter, make a frame of corner angle irons. Fix to it two sides, a rear wall, a roof and a front panel. Leave the front open below the front panel: this is the large opening where you work and where air comes in. Cut the fume outlet in the roof, towards the back. Not given: the panel material, sizes.

Матеріали для цього кроку:

Кутник із м'якої сталіКутник із м'якої сталі1 corner frame
Невідомий матеріалНевідомий матеріал1 sides, rear wall, roof, front panel

Необхідні інструменти ({count})

Ножівка по металуНожівка по металу
Невідомі розміриНевідомі розміри
3

Fit the exhaust pipe and fan

Fix an exhaust pipe over the roof outlet, with a fan in it, to draw the fumes out. Not given: the pipe, the fan, the air flow.

Матеріали для цього кроку:

ПовітроводиПовітроводи1 exhaust pipe
ПовітродувкаПовітродувка1 fan

Необхідні інструменти ({count})

Розвідний ключРозвідний ключ
4

Fit the sloping baffle

Make a solid stone baffle almost as wide as the hood. Set it sloping up and forward from the rear wall, so it splits the inside into the work space in front and a duct behind that widens upward to the outlet. Guide it on sloping rails in front and strips behind, fixed to the sides, so it can slide. Leave a gap between its top and the roof, and one between its bottom and the counter. Not given: the rails' metal, sizes.

Матеріали для цього кроку:

Пласка кам'яна плитаПласка кам'яна плита1 baffle
Невідомий металНевідомий метал1 rails and strips

Необхідні інструменти ({count})

Невідомі розміриНевідомі розміри
5

Make the lifting rod

Cut a notch in the middle of the baffle's lower edge. Make a V-shaped yoke whose legs straddle the baffle front and back, rivet the legs to it, and give the yoke a rod that hangs down through the hole in the counter. Thread the rod's lower end. Not given: the metal.

Матеріали для цього кроку:

Невідомий металНевідомий метал1 yoke, rod, rivets

Необхідні інструменти ({count})

Клепальний набірКлепальний набір
Набір мітчиків і плашокНабір мітчиків і плашок
6

Fit the bell crank

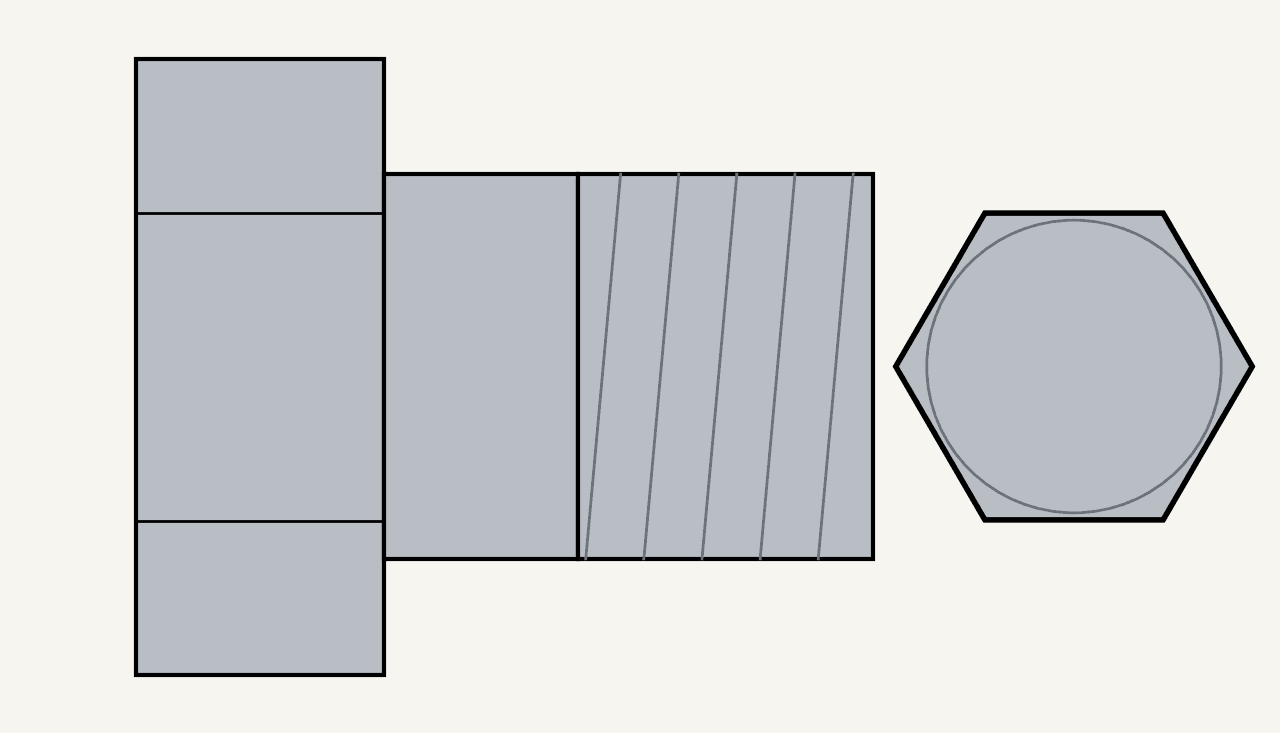
Under the counter, pivot a bell crank lever on a bolt through the lugs of a bracket fixed to the cabinet's rear channel. Screw a coupling onto the rod's threaded end. The coupling's two curved lips rock on the lever's long arm, and its tongue hangs through a slot in the arm, held by a cotter pin. On the short arm, a yoke turns on two bolts set fast in the threaded cross-holes of a round nut. Ours: hex bolts and nuts.

Матеріали для цього кроку:

Кутовий важільКутовий важіль1 bell crank
Невідомий металНевідомий метал1 bracket, coupling, round nut

Набір шестигранних болтівНабір шестигранних болтів3 штук
Шестигранна гайкаШестигранна гайка1 штука
ШплінтШплінт1 штука

Необхідні інструменти ({count})

Набір мітчиків і плашокНабір мітчиків і плашок
Розвідний ключРозвідний ключ
7

Fit the crank and set the baffle

Screw a metal operating rod through the round nut and run it forward to the cabinet front. Screw its front socket onto the shaft of a hand crank and pin it with a cotter pin. Weld an angle iron to the inside of the front panel to stiffen it. Clamp a bushing through the panel with a nut, and set a ball bearing between two rings on the shaft, between the bushing and the crank. Turning the crank tips the bell crank, which raises the rod and baffle or lets them slide down by their own weight: as one gap grows the other shrinks. Air comes in at the front; the upper stream carries light fumes to the top gap, the lower stream heavy fumes to the bottom gap. Open the top fully for light fumes, the bottom fully for heavy ones, or set any point between, without reaching inside. A sliding safety sash may be fitted over the front opening, to watch dangerous reactions safely.

Матеріали для цього кроку:

Невідомий металНевідомий метал1 operating rod, crank, bushing
ШплінтШплінт1 штука
Шестигранна гайкаШестигранна гайка1 штука
Кутник із м'якої сталіКутник із м'якої сталі1 stiffener
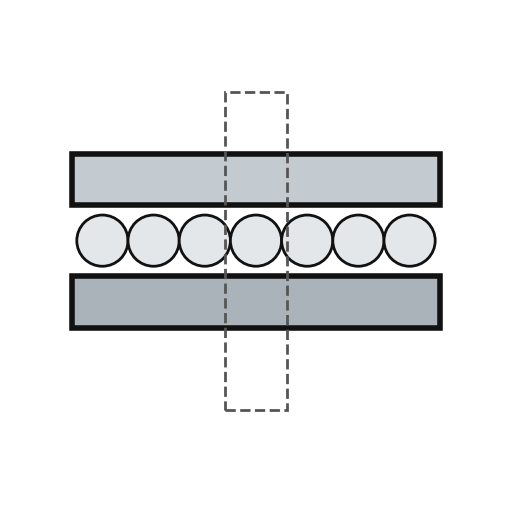
Упорний кульковий підшипникУпорний кульковий підшипник1 штука

Необхідні інструменти ({count})

Апарат дугового зварюванняАпарат дугового зварювання
Набір мітчиків і плашокНабір мітчиків і плашок
Розвідний ключРозвідний ключ

Матеріали

11

Необхідні інструменти

8

За цим кресленням виготовляють

Пов'язані креслення

Ці креслення діляться знаннями — техніки, матеріали або принципи

CC0 Суспільне надбання

Це креслення випущено під ліцензією CC0. Ви можете вільно копіювати, змінювати, поширювати та використовувати цю роботу для будь-яких цілей без запиту дозволу.

Підтримайте мейкера, купуючи продукти через його креслення, де він отримує Комісію мейкера встановлену вендорами, або створіть нову ітерацію цього креслення та включіть його як зв'язок у власне креслення для розподілу доходу.

Обговорення

(0)

Увійти щоб приєднатися до обговорення

Завантаження коментарів...