
МИСТЕЦТВО
КРАСА ТА ЗДОРОВ'Я
РЕМЕСЛО
КУЛЬТУРА ТА ІСТОРІЯ
РОЗВАГИ
СЕРЕДОВИЩЕ
ЇЖА ТА НАПІЇ
ЗБОРНА ІНЖЕНЕРІЯ
НАУК
СПОРТ
ТЕХНОЛОГІЯ
НОСИМО
Glass Saw: Rigid Diamond Wire Ring Driven by Its Rim
Martin

Створено

Martin

23. жовтень 2026NO
5
0
0
0
0

Glass Saw: Rigid Diamond Wire Ring Driven by Its Rim

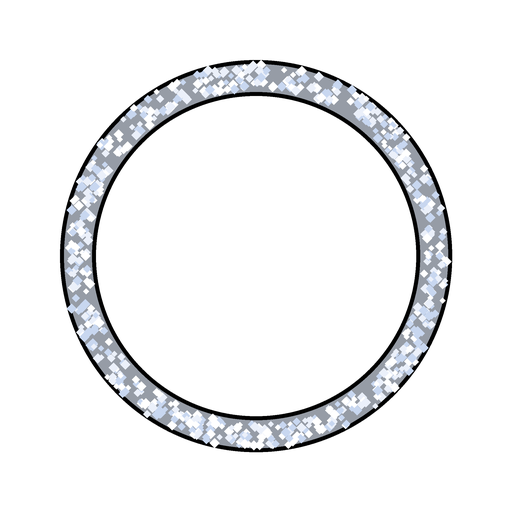
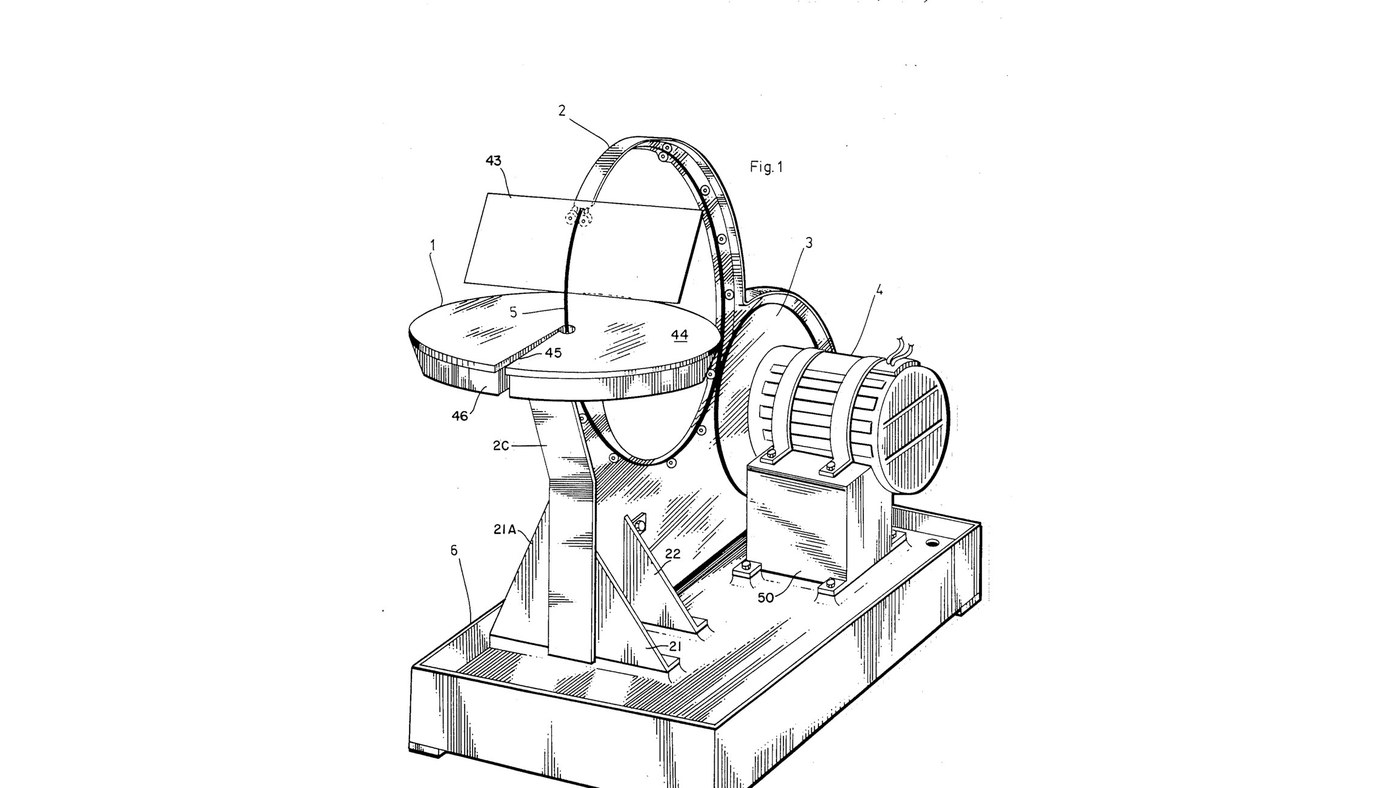
Jesse Cogswell's ring saw (US 4,576,139, 1986) for glass, ceramics and stone. The blade is a rigid circle of wire coated with bonded diamond, standing upright through a cutting table. A rubber-tyred wheel on the motor drives it by friction round its own rim at 3000 ft/min or more, and twelve guide wheels on slots round an aluminium back-plate hold it true. Because it cuts with any part of its rim, the work can be turned freely for curves and inside shapes; a sponge in a water tray wets the wire. The patent sizes the ring from the thickest work to be cut (8 in ring for 3/16 in); the notebook does the sums. The picture: the patent's Fig. 1.
Просунутий
3 days

Інструкції

1

Cut and brace the back-plate

Cut the back-plate (2A) from aluminium plate, its upper part curved as an arc to shield the saw, stiffened by an angle (2B) along the top and a flat splatter strip (2C) at the front. Bolt on two front struts (21, 21A) and two side struts (22) and bolt them to the base. Ours: drill press.

Матеріали для цього кроку:

Алюмінієва пластинаАлюмінієва пластина1 штука
Алюмінієвий куточокАлюмінієвий куточок1 штука
Болт із шестигранною головкою - клас 8.8Болт із шестигранною головкою - клас 8.81 штука

Необхідні інструменти ({count})

Свердлильний верстатСвердлильний верстат
Розвідний ключРозвідний ключ
2

Cut the wheel-slider apertures

Cut slots (32) through the back-plate's arc at 0, 30, 60, 90, 120, 210, 240, 270, 300 and 330° round the ring's centre: two slots at 90° and 210° for the guide pairs, one at each of the others. The slots let each guide wheel slide to the ring.

Необхідні інструменти ({count})

Свердлильний верстатСвердлильний верстат
3

Assemble the guide wheels

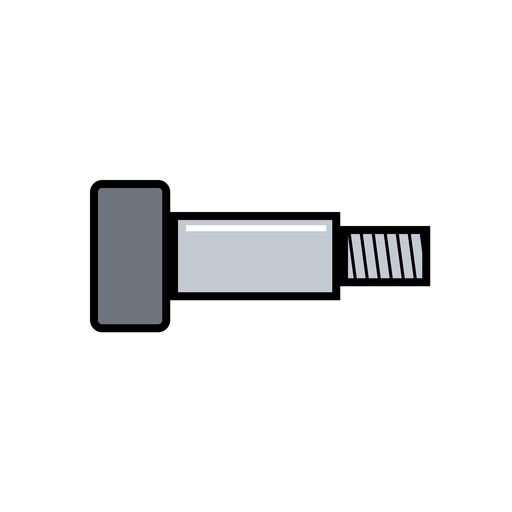
For each of the twelve guide wheels, stretch two rubber O-rings (27) into the grooves of a bearing wheel (26) with sealed roller bearings, and mount it on a shoulder bolt (28) with a washer, lockwasher and nut.

Матеріали для цього кроку:

Напрямний роликНапрямний ролик12 штук
Ущільнювальне кільце круглого перерізуУщільнювальне кільце круглого перерізу24 штук
Гвинт із буртикомГвинт із буртиком12 штук
Плоска шайбаПлоска шайба12 штук
Spring WasherSpring Washer12 штук
Шестигранна гайкаШестигранна гайка12 штук

Необхідні інструменти ({count})

Розвідний ключРозвідний ключ
4

Turn the drive wheel

Turn an aluminium disk with a hub, a bored axle hole and a deep groove round its rim, and seat a large rubber O-ring (23) in the groove as its driving tyre. Ours: lathe.

Матеріали для цього кроку:

Алюмінієва пластинаАлюмінієва пластина1 штука
Ущільнювальне кільце круглого перерізуУщільнювальне кільце круглого перерізу1 штука

Необхідні інструменти ({count})

Токарний верстат по металуТокарний верстат по металу
5

Mount the motor and drive axle

Strap the electric motor (51) onto its pillow block (50) with fastening bands (52) and bolt the block to the base. Fix the drive wheel on the motor's axle (24) and carry the axle's end in an axle pillow block (24A, 24B).

Матеріали для цього кроку:

ЕлектродвигунЕлектродвигун1 штука
Кріпильний хомут двигунаКріпильний хомут двигуна2 штук
Корпус підшипникаКорпус підшипника2 штук
Сталевий валСталевий вал1 штука
Болт із шестигранною головкою - клас 8.8Болт із шестигранною головкою - клас 8.81 штука

Необхідні інструменти ({count})

Розвідний ключРозвідний ключ
6

Fit the ring and its guides

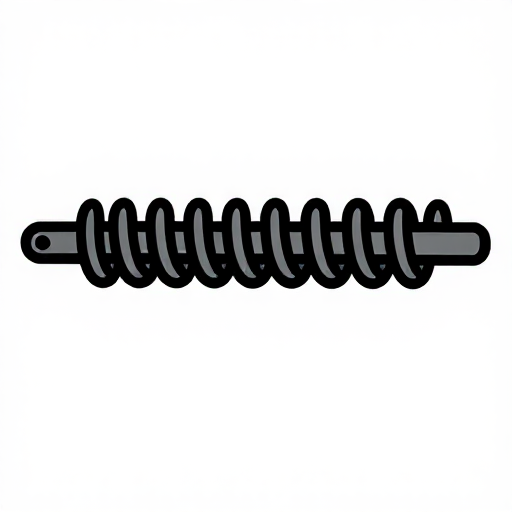
Stand the ring saw on the drive wheel's tyre. Bolt the guide wheels through their slots: each pair with a tension spring between its two wheels, each single with a spring to the back-plate's lower rim, the one at 330° pressing the ring onto the drive wheel. Set them against the ring, then tighten the nuts. Fit two horizontal roller-guides (17) at 150°, sprung together, just before the cut.

Матеріали для цього кроку:

Кільцеве алмазне пиляльне полотноКільцеве алмазне пиляльне полотно1 штука
Пружина розтягуПружина розтягу11 штук
Напрямний роликНапрямний ролик2 штук

Необхідні інструменти ({count})

Розвідний ключРозвідний ключ
7

Fit the table, tray and sponge

Bolt the water tray (46) on four bracket supports (19, 20) by its four studs; put a ring-shaped sponge (47) in it and the cutting table (44) over it, the ring passing through centre holes reached by slots offset half an inch from a radius. Set the table top below the ring's centre line by the thickest work you will cut. Add water to the tray.

Матеріали для цього кроку:

ТацяТаця1 штука
ГубкаГубка1 штука
Алюмінієва пластинаАлюмінієва пластина1 штука
ВодаВода1 batch

Необхідні інструменти ({count})

Розвідний ключРозвідний ключ
8

Fit the face shield and drip pan

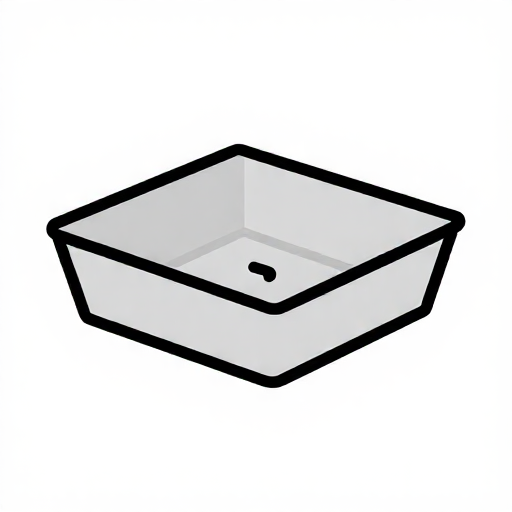
Bolt the shield arm (41) to the back-plate and pivot a clear acrylic face shield (43) in its holder (42) on a locking screw. The base is a catchment for the coolant with a drain hole in one corner.

Матеріали для цього кроку:

Акриловий листАкриловий лист1 штука
Алюмінієва пластинаАлюмінієва пластина1 штука
Піддон для крапельПіддон для крапель1 штука

Необхідні інструменти ({count})

Розвідний ключРозвідний ключ
9

Ring size and drive speed

Завантаження блокнота Jupyter…

Матеріали

20

Необхідні інструменти

3

За цим кресленням виготовляють

CC0 Суспільне надбання

Це креслення випущено під ліцензією CC0. Ви можете вільно копіювати, змінювати, поширювати та використовувати цю роботу для будь-яких цілей без запиту дозволу.

Підтримайте мейкера, купуючи продукти через його креслення, де він отримує Комісію мейкера встановлену вендорами, або створіть нову ітерацію цього креслення та включіть його як зв'язок у власне креслення для розподілу доходу.

Обговорення

(0)

Увійти щоб приєднатися до обговорення

Завантаження коментарів...