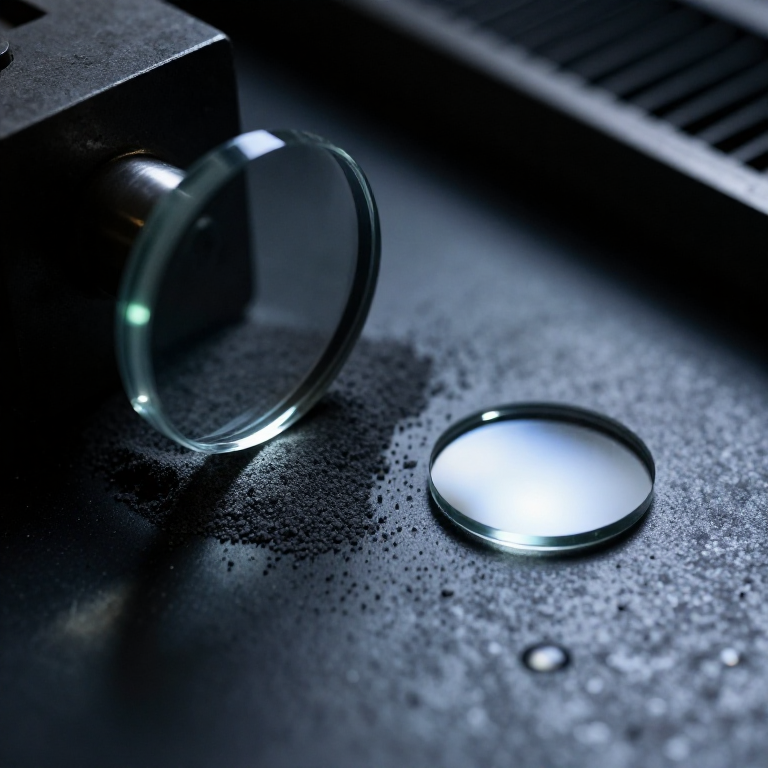
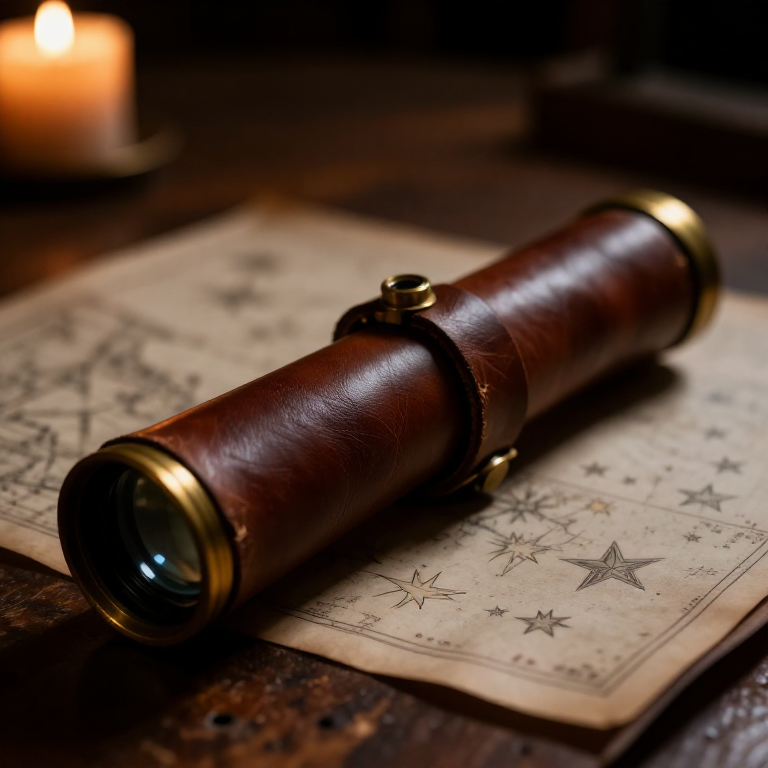
Grinding a Glass Lens for a Telescope — Shaping Light with Abrasive and Patience
Every refracting telescope, microscope, camera, and spectacle begins with a shaped piece of glass — a lens. The art of grinding glass into precise curved surfaces was developed in the late 13th century for spectacles, then refined dramatically in the early 17th century when telescope makers needed lenses of much longer focal length and higher optical quality. The process is fundamentally simple: a flat glass disc is rubbed against a curved tool (or vice versa) with abrasive grit and water between them. The grit cuts away glass where it contacts most, gradually producing a smooth spherical curve. Coarser grits establish the rough curve, finer grits remove the scratches left by coarser ones, and a final polish with cerium oxide or rouge on a pitch lap produces a transparent, optically smooth surface. Galileo ground his own lenses in 1609. Newton considered lens grinding too slow and switched to mirrors, but Huygens, Dollond, and Fraunhofer perfected the technique over the following two centuries. This blueprint grinds a plano-convex lens from a flat glass disc — the same basic process used from the Renaissance to the present day.
Інструкції
Understand lens geometry
Understand lens geometry
Select the glass blank
Select the glass blank
Матеріали для цього кроку:
 Glass Sheet1 штука
Prepare the grinding tool
Prepare the grinding tool
Матеріали для цього кроку:
Glass Sheet1 штукаRough grind with coarse grit
Rough grind with coarse grit
Матеріали для цього кроку:
 Silicon Carbide Grit200 г
Test the curve with a template
Test the curve with a template
Необхідні інструменти ({count})
 Measuring Ruler
Fine grind with progressively finer grits
Fine grind with progressively finer grits
Матеріали для цього кроку:
Prepare a pitch lap for polishing
Prepare a pitch lap for polishing
Матеріали для цього кроку:
 Pine Pitch Glue100 г
 Beeswax30 г
Polish with cerium oxide
Polish with cerium oxide
Матеріали для цього кроку:
 Cerium Oxide Polish50 г
Test the focal length
Test the focal length
Grind the eyepiece lens (shorter focal length)
Grind the eyepiece lens (shorter focal length)
Матеріали для цього кроку:
Glass Sheet1 штукаSilicon Carbide Grit100 гCerium Oxide Polish25 гМатеріали
6- 3 штукЗаповнювач
- 300 гЗаповнювач
- 100 гЗаповнювач
- 30 гЗаповнювач
- Заповнювач
Необхідні інструменти
1- Заповнювач
Матеріали з пов'язаних креслень
Пов'язані креслення
Ці креслення діляться знаннями — техніки, матеріали або принципи
Related blueprints
Other builds that share materials, tools, or techniques with this one.


CC0 Суспільне надбання
Це креслення випущено під ліцензією CC0. Ви можете вільно копіювати, змінювати, поширювати та використовувати цю роботу для будь-яких цілей без запиту дозволу.
Підтримайте мейкера, купуючи продукти через його креслення, де він отримує Комісію мейкера встановлену вендорами, або створіть нову ітерацію цього креслення та включіть його як зв'язок у власне креслення для розподілу доходу.